Landscape photographers usually strive for the highest possible sharpness from the front to the back in their photos. They use all feasible techniques to achieve this, such as focal distance, cameras or lenses with in-body stabilisation, tripods, wire release, remote controls, folded mirrors, or even focus stacking (combining different images with a distinct focus distance). But there are occasions when at least part of the image can benefit from the intended blur in your picture. This opens a new door to creative pictures. Bokeh and blurred background in landscape photography is the thing to go to. We will do this in cases where we want our subject to stand out, get all the attention, and make sure it doesn’t get lost in the background. We will achieve this while playing with the depth of field (DOF) that is defined as how much of an image is acceptably in focus (sharp).
Bokeh and blurred background in landscape photography?
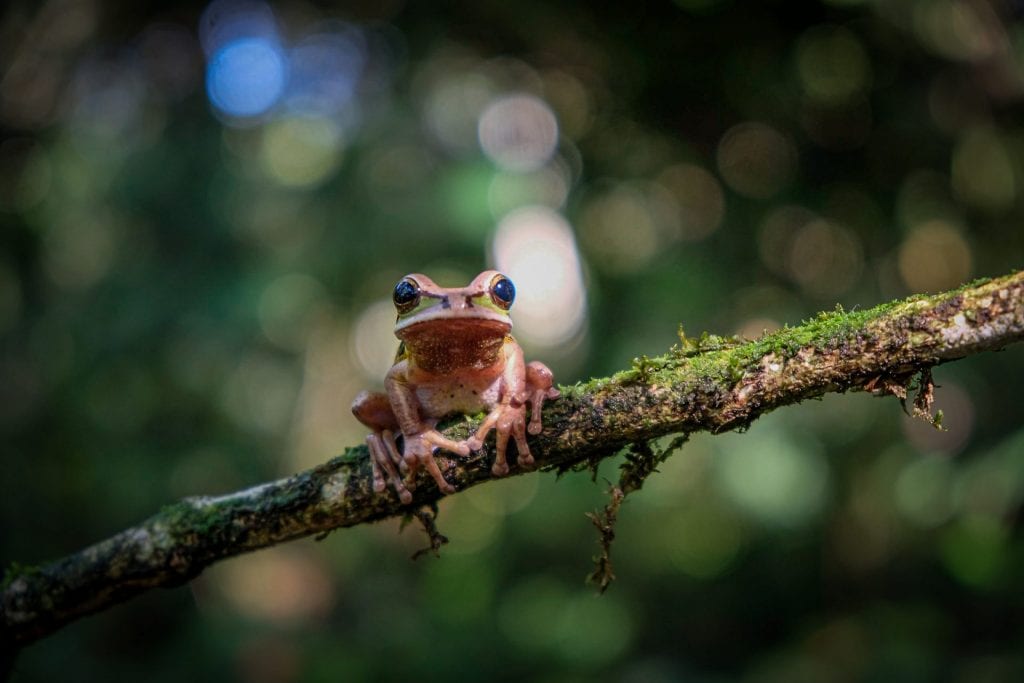
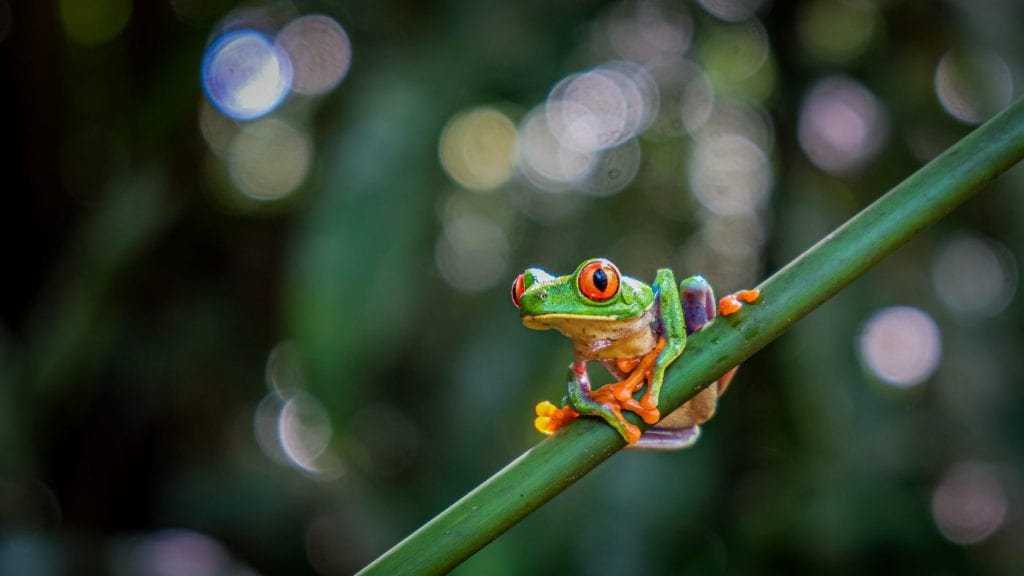
One big category of landscape photography where blur or bokeh can significantly enhance a photograph is nature and macro photography. When you add bokeh outside of the depth of field, magic happens. Bokeh comes from the Japanese word “boke,” which means blur or haze. The more colour and light spots in the background, the more visible the bokeh effect.
We do this while optimising the composition and possibly placing the focal point in the frame based on the rule of thirds.

Depth of field
You probably know that getting a blurred-out background or shallow depth of field(some call it bokeh) depends on your aperture setting. If you want to use the smallest f/number your lens allows, it will depend on your lens’s f-stop possibilities.
The aperture is the opening in the lens, which allows light into the camera, measured in f-stops. Using a wider aperture (lower f-stop number) lens, such as f/2.0 or f/2.8, increased the capabilities of the lens in comparison with F4. There are lenses with f/1.8 or 1.4, or even 1.2 around, but the lower the f-number, the higher the price. There is a direct correlation between the maximum aperture size and how much the lens costs. There is one exception, and that is 50 mm lenses, which you can find pretty cheap for F-1.8.
Remember that the aperture controls the amount of light entering the camera sensor, which influences the shutter speed to obtain the proper exposure.
Portrait photographers heavily use this technique. Landscape photographers usually don’t mind using a narrower aperture like f/8 or f/16 so that all image parts are in focus.
It is probably counterintuitive, but the lower the F-number, the larger the aperture. The F-number is expressed as a fraction: an aperture of f/2 equals ½ (one-half). The one-stop difference also means doubling or halving the amount of light let in when taking a photo.
When using a lens with a changing maximum aperture, f/3.5 -5.6, the maximum aperture when zooming out is f/3.5. Still, as you zoom in, the maximum aperture setting gets higher and higher until it reaches f/5.6.
However, the photos I added to this blog show that bokeh is still possible with F-numbers of 4 and above.
So, after choosing the lowest possible F-number, we focus on our subject. A wider aperture should give us bokeh, a fancy name for a softer, blurry background with light spots.

Distance
The first step in obtaining a blurred background is to use a large aperture, but there is more. To get a good result, it would be best to have some distance between what you focus on and what you want to blur out. Things do not immediately go from sharp to blurry, but this happens progressively. The more room you have for this, the more blur you can create.
Our choice of position and viewpoint will define this. A hectic, distracting background will not contribute to a peaceful picture.
It also helps when you focus on an object close to you. You need to try this and determine what works best through trial and error.

Focal length
Longer focal lengths (the distance from the lens to the camera’s sensor measured in millimetres) blur the background. A photo taken with a longer focal length ” compresses” the subject, creating a shallow depth of field and blurred background. Lenses with a shorter focal length cause all of the elements in the photo to be in focus.
Alternatives in post-processing for bokeh and blurred backgrounds in landscape photography
Achieving a blurred background in photos is not too difficult if you understand how to control your camera’s settings and compose the shot. However, there are ways to blur the background during post-production in Photoshop. But that is not the ideal method. Caution should be taken when doing this so as not to make it look fake. I will not elaborate on this because, first of all, I believe you should try this in-camera. Second, it takes a lot of knowledge of Photoshop techniques that can’t be explained in a few lines.
Thanks for reading this blog. I hope you will learn from it. Get outside and start experimenting. I will happily read about your experiences, comments, or questions.
2 Comments
Hallo Guy,
Prachtige foto’s.
Bedankt Greta!