In part 1 of my series of 3 of blogs, on filters in photography, I talked about different types and materials of filters. In this blog, we will dive into the practical use of neutral density filters. There is a part 3 blog planned about gradual neutral filters. In some of my other blogs and in my portfolios, you might find creative inspiration to use filters in your landscapes photography.
ND- filters: the creative instrument for landscape photographers
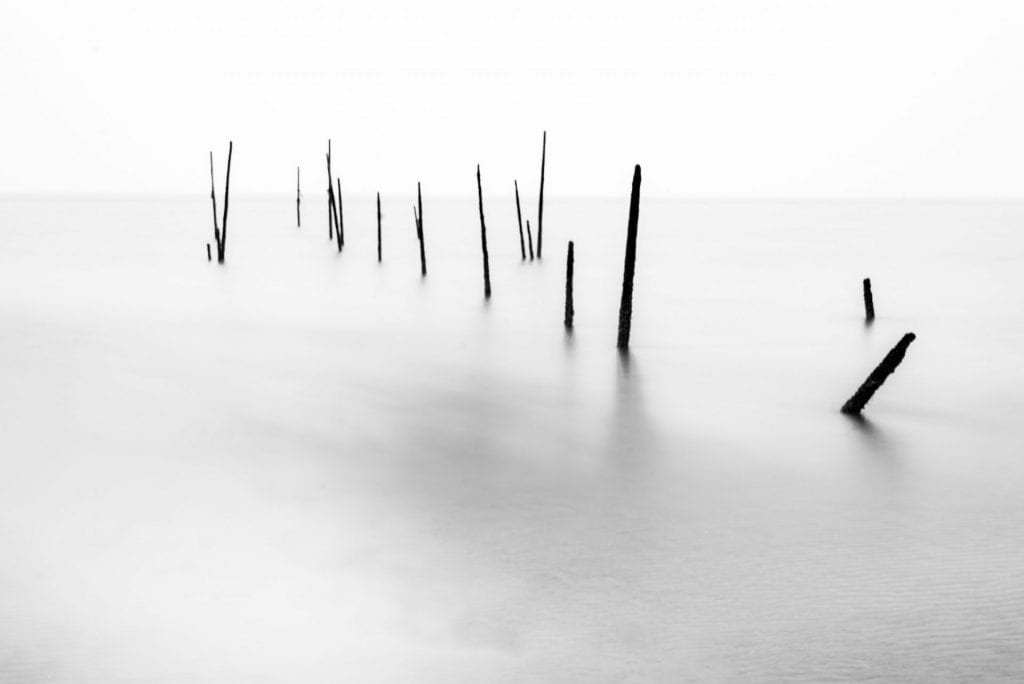
ND (neutral density) filters are filters that are completely grey, the effect of which is difficult to imitate in post-processing. In landscape photography, we usually use them to reduce the incoming light and so to slow the shutter speed. We mainly use them during the day when there is too much light to extend the shutter speed and thus blur the water, waves, clouds, grasses … The ND filter allows you to shoot with a larger opening (smaller depth of field) and to achieve slower shutter speeds (intended to get less light).
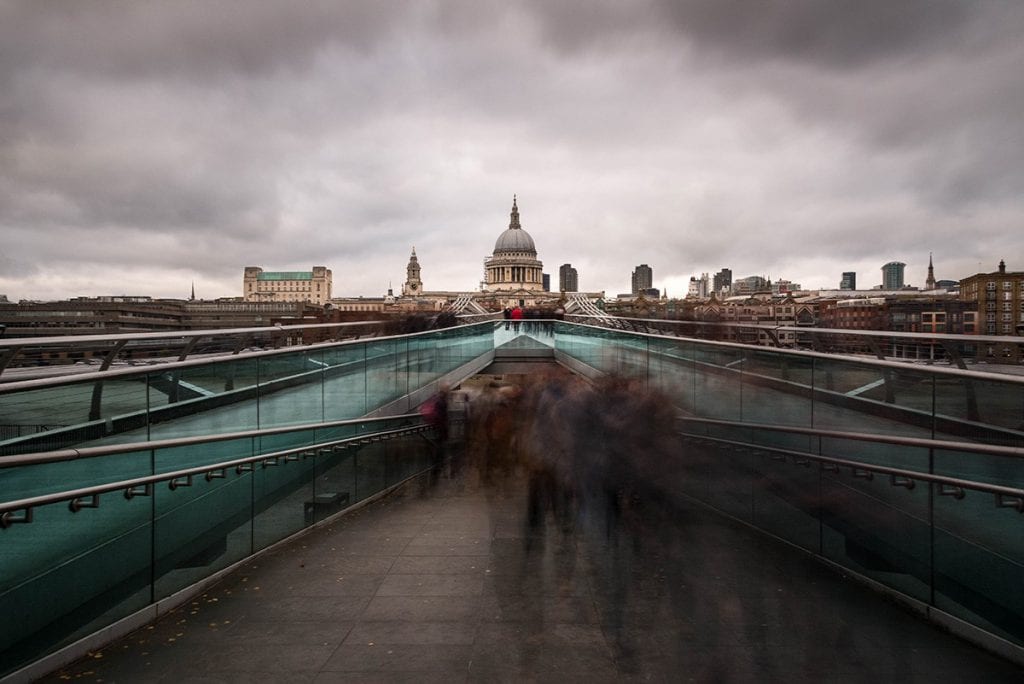
In cityscape photography, such filters are also useful for filtering people out of the image with slower shutter speed. This can be useful if, for example when you want to make a picture in a busy city where people are constantly walking back and forth and you cannot wait until night and hope for a deserted scene because then it may be too dark. If you don’t have the shutter speed too long, you can even add ghostly blur to moving people and create a sense of dynamism.
You can capture the dynamics in the landscape by using a relatively fast shutter speed or do the opposite and remove the dynamics by choosing a longer shutter, for example, longer than 5 seconds.

These filters are sold as both screw and slot-in filters (see part 1 of this series of blogs). Each filter will limit the amount of light that passes through it. The higher the value, the longer it takes for the sensor to receive the same amount of light.
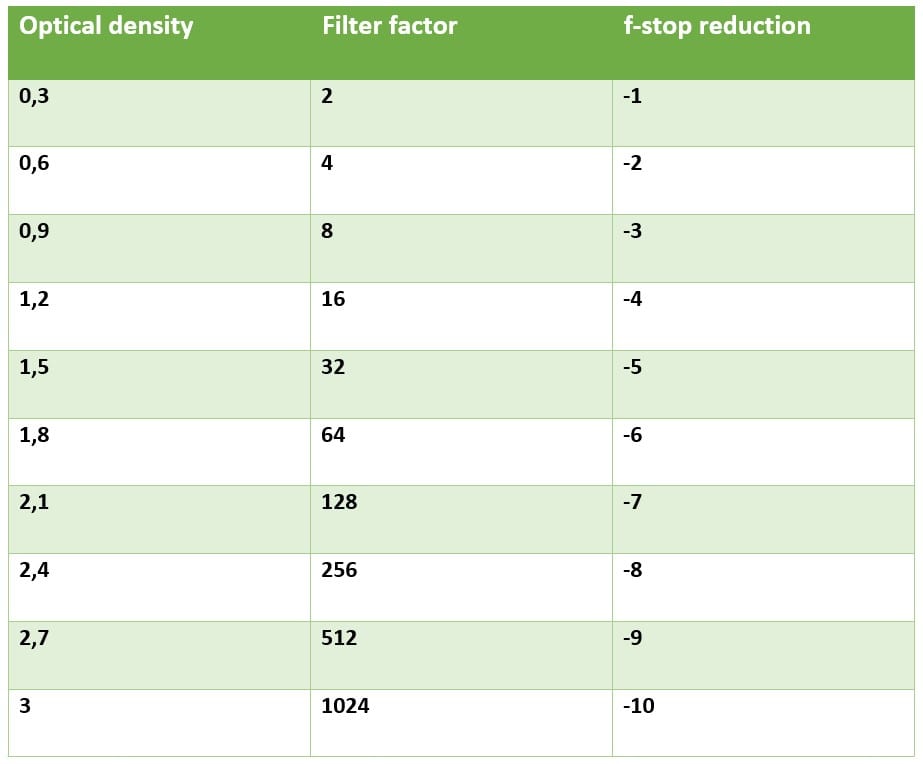
Manufacturers express this value in several ways: called f-stop reduction, optical density or ND filter factor. Below is an example of a correlation between the above classifications.
Which filter strength should you use for what? The answer to that question depends entirely on which atmosphere you want to achieve in your photo. In the afternoon, only a grey filter stronger than 10 stops will give a slower shutter speed. When it is cloudier or you don’t need too long shutter speeds, the 6 stops are probably sufficient.
You have to ask yourself the question: “Do you want to go for a full abstract image or do you prefer that it remains unrecognisable?”. Under average conditions at the coast, you get full abstraction from about 30 seconds. If you want to keep the combination of blur-recognition, then approximately 6 seconds will suffice. Experience will teach you how far to go in this.
In one of my previous blogs on “waterscapes”, you will find a small table with suggestions for shutter speeds needed to be creative with moving water.
You do not need to have all those different filters, because you can combine several gradations and that certainly saves weight in your camera bag. My advice is to select two or three filters depending on your photographic habits (and budget).
For example, if you like slow shutter speeds then a 3, 6 and 10 stops are a good choice.
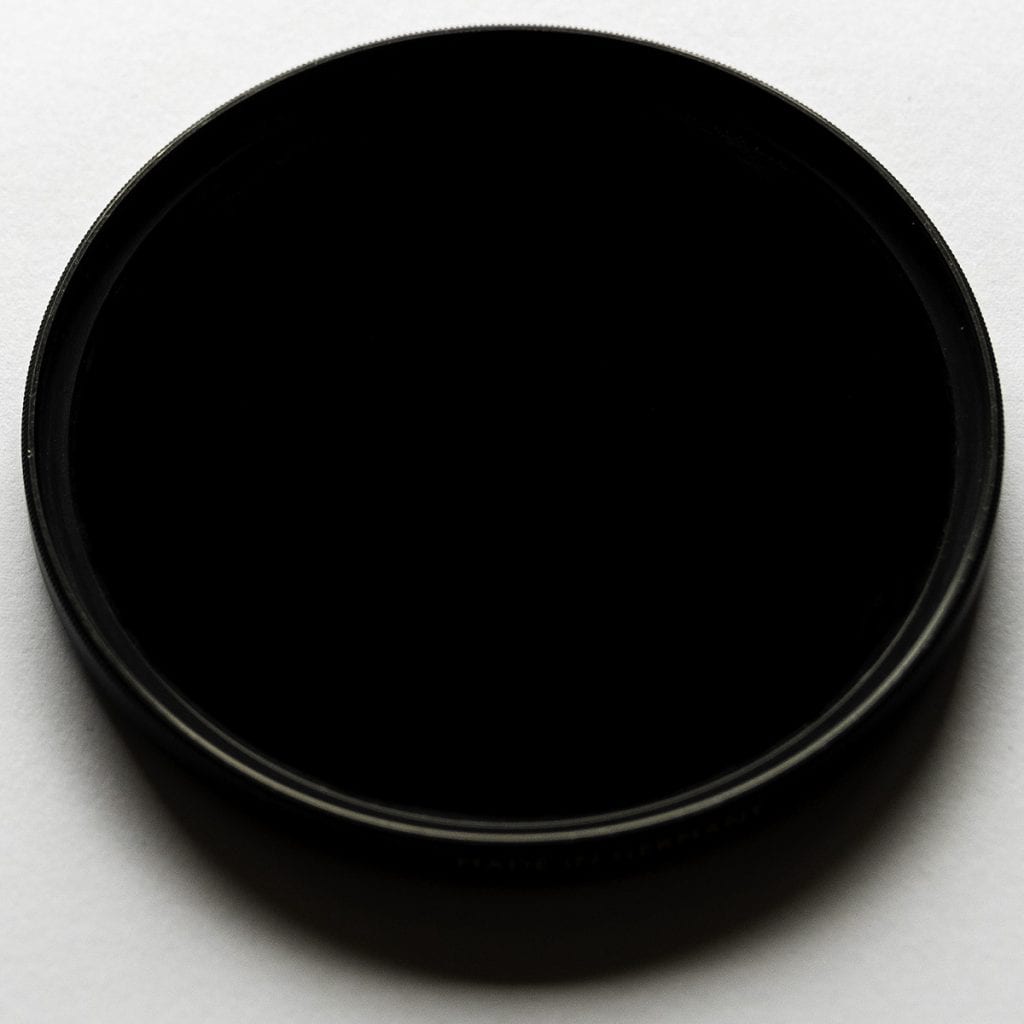
A 6-stop filter is called a “little stopper”, the 10-stop ND filter is called “big stopper”, and a 15-stop filter then becomes a “super stopper”.
The big stopper is a commonly used creative filter, so it stops 10 stops of light and can, therefore, lead to very slow shutter speeds of, for example, 30 seconds to several minutes.
There are also variable grey filters (also called fader) that you can make stronger or lighter with a twist. In fact, this type of filter consists of 2 polarization filters (see blog part 1) that, by twisting them, provide more or less transparency. I am not very much in favour of this filter because it is not always easy to read what strength you have set. A second reason, and perhaps the most important disadvantage, is that when you use a wide-angle you can get in your photo a dark cross and ruin the image. You cannot go up to 8 stops but only up to around 3 stops. I think it is better to work with fixed-value grey filters in combination with wide-angle lenses
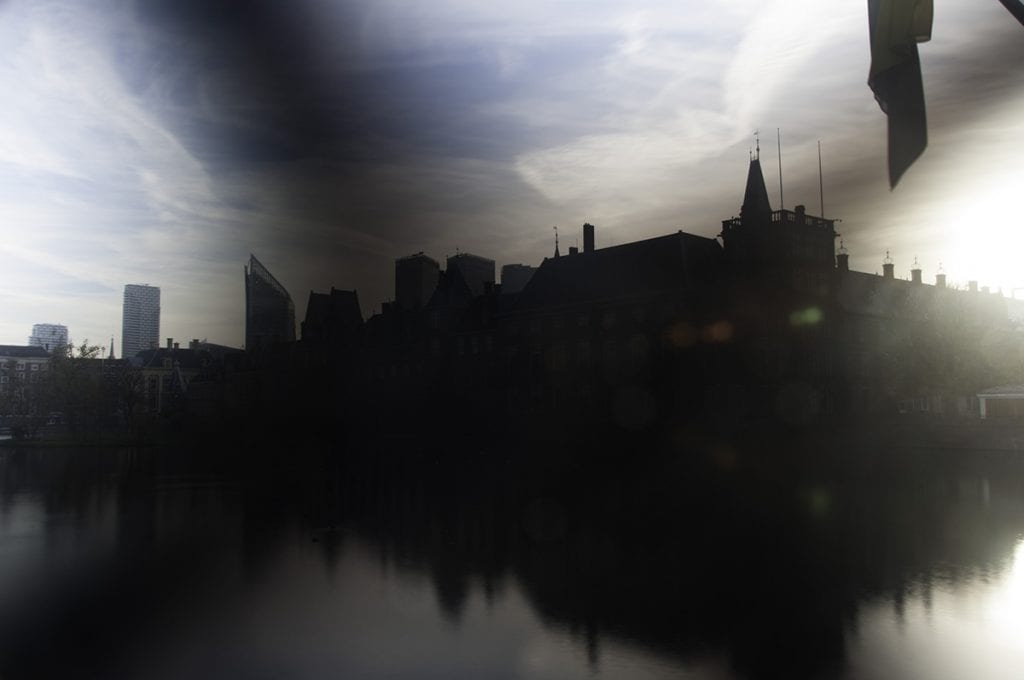
The use of ND filters in landscape photography step by step
Using ND filters is theoretically very simple: take your camera and take a photo with the correct exposure value of the scene without filter and then calculate the shutter speed you need with the filter on it.
Using the big-stopper, for example, does require some training and practice because you have to think about several things at the same time. You have to practice this so that you get the drill. It is always a bit unfortunate that you have to start again because you have forgotten one of the intermediate steps. And for “long exposures” this might take longer.
Because of the slow shutter speed, you should always use a tripod, ideally in combination with a cable release or remote control, and with mirror lock-up to prevent camera shake. Switch off the image stabilisation. Put the ISO on the lowest value that is native to your camera (this might be 64, 100 or 200 ISO depending on your camera) and the aperture at the desired value. Put the camera in aperture priority then the shutter time will then become the only variable.
The settings and focussing are done before you place the filter on your camera because with the filter fitted, it will be too dark to see through it and certainly your auto-focus system will not function correctly. In practice, automatic focusing only works up to approximately a maximum of a 6-stop filter.
So, determine the composition first and then focus manually or do it automatically and then put your camera in manual mode so that it does not change the focus. It is advisable to use live view when focussing your lens. Focus on the subject if it is close to the camera. Focussing on infinity works well for landscapes. But it is best to check whether the foreground is sharp enough. Sometimes I make two exposures of the same scene, one focused on the closer foreground and one further away and blend the shots together in photoshop afterwards. (Focus stacking)
Take a test photo to estimate the exposure. It is easier to aim for a shutter speed of 1/30 or 1/15 or 1/8 because you can easily memorize the required shutter speed with filter. 1/30 exposure with 10 stops filter becomes 30 seconds, 1/15 becomes 1 minute and 1/8 becomes 2 minutes. These are easy rules of thumb, but don’t let that limit you if you’ve downloaded the correct table or when you have one of those handy apps on your smartphone. Try to expose to the right of your histogram but avoid clipping. Once you are happy with the exposure, the real work starts.
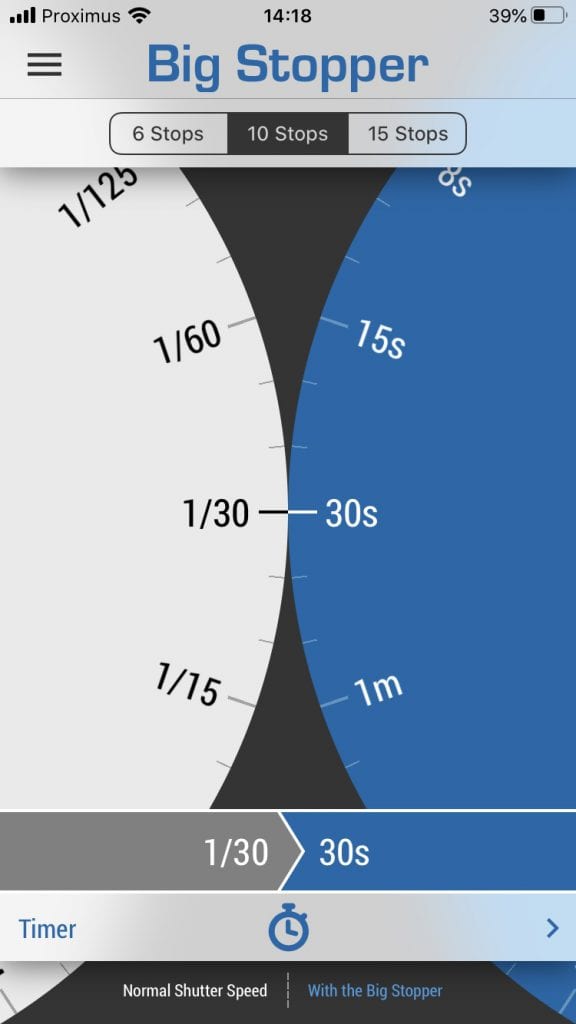
Calculate the shutter speed that corresponds to the strength of your filter. Do not forget to add the value of your polariser in your calculation if using one. This can add easily 2 stops!
Slide the filter in front of the lens (make sure there are no smudges or fingerprints on it). Cover the viewfinder because, at longer shutter speeds, light can creep in this way. Use a built-in shutter like Nikon has, or use an external shutter or if you do not have those, one can always cover it up with a cloth or even duct tape. With mirrorless cameras this problem is not an issue.
Then take the photo with your remote control or cable release and check for the result. During long exposures the light conditions might have changed and influence the result. If necessary, adjust the timing and make a better version.
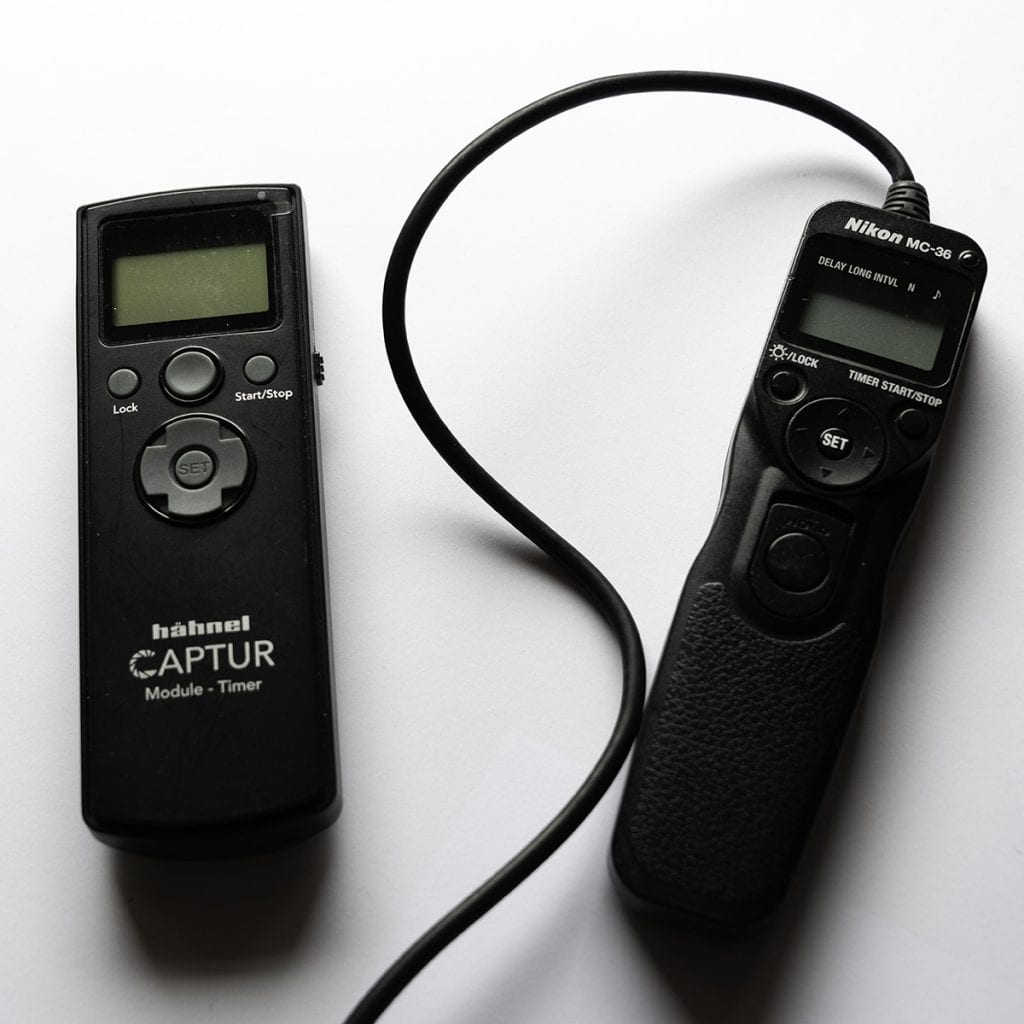
For shutter speeds below 30 seconds, you can use the built-in timer of your camera. For shutter speeds slower than 30 seconds, you must put the camera in BULB mode. In bulb mode, the shutter remains open until you press the button again. This means that you will have to time manually, or seek help with a remote control with a built-in timer. If you are going to use this technique frequently, this last gadget is very welcome and useful. Avoid shaking the camera twice, once to start and once to end the exposure and always use the remote control. Do not touch the tripod or the camera during the exposure and make sure that your lens hood or carrying strap does not start flapping in the wind.
Unfortunately, filters do not always have exactly the value specified by the manufacturer. My 10-stop filter is in reality about 11-stops. But you can find that out pretty quickly and then take it into account in your calculations. Even a half stop difference can make a big difference in the result.
So, I hope you enjoyed part 2 of this series of blogs for landscape photographers. Part 3 will follow soon with more information about the gradual neutral density filters. Try to experiment a bit and for inspiration have a look at my portfolio and many other blogs
I also invite you to leave a comment below.
Leave a reply