With autumn just around the corner and a few cold nights, most trees will start changing colour. Autumn is a season full of beautiful opportunities for landscape photographers. Taking pictures in the autumn means vibrant colours, soft light, fog, and a moody atmosphere. That is why autumn is photographically one of the most beautiful seasons of the year, partly because of the colours and the beautiful filtered light. The sun is lower in the sky these days, and the light will now fall diagonally through the trees, and the high humidity will often create a mysterious misty haze. Be ready for exciting autumn landscape photography tips in this blog.
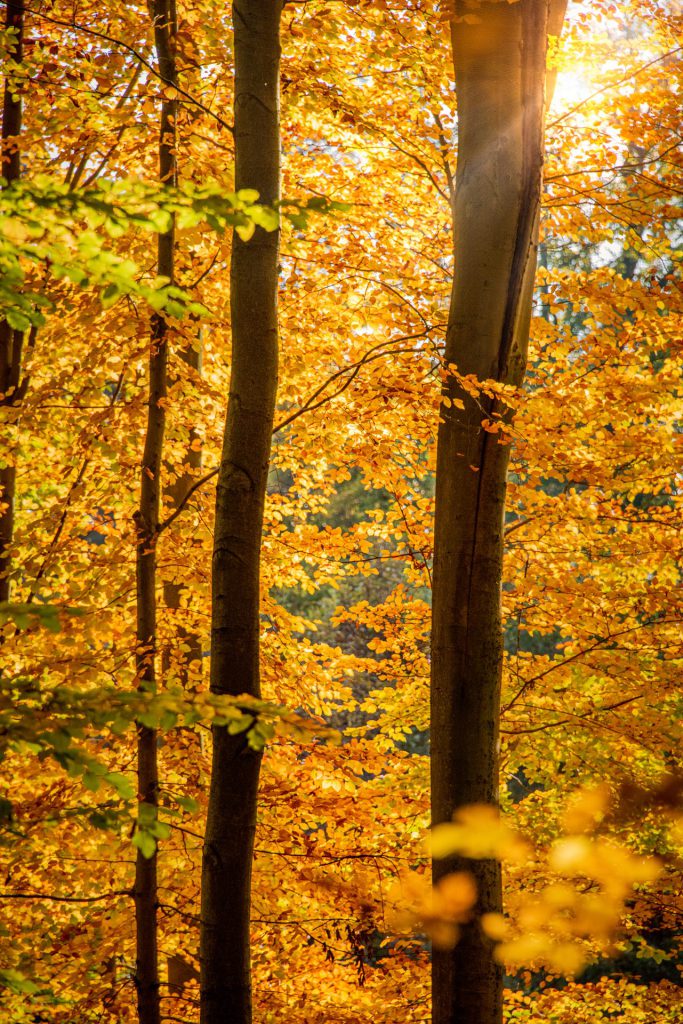
Autumn comes every year, but it can sometimes appear a few weeks earlier or later, depending on day length and temperature. To take beautiful autumn photos, you need to be there on time. Sometimes, you are too early, the colour is not yet developed, or you are too late, and an autumn storm has blown the leaves off, leaving them on the ground too quickly.
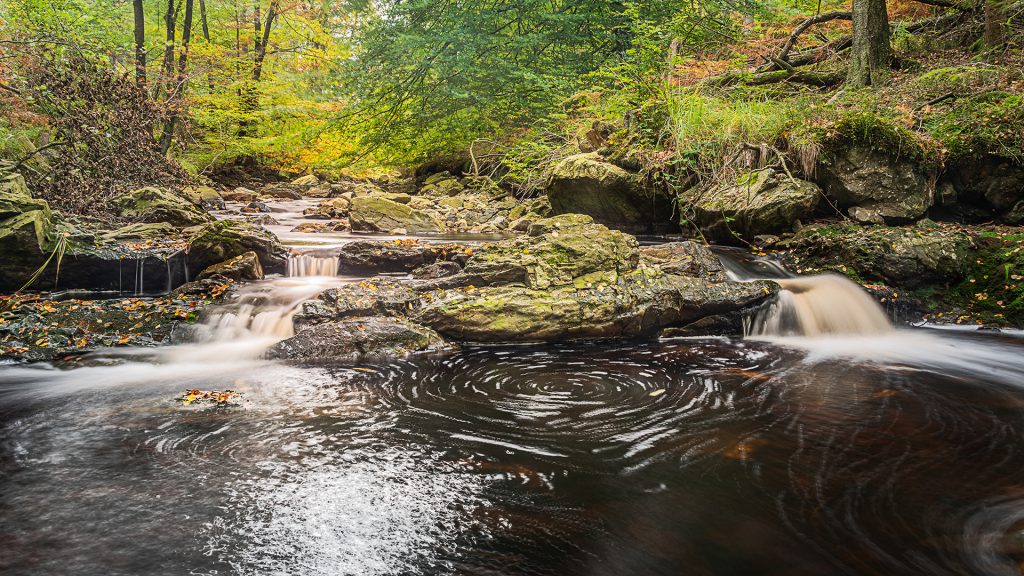
To make the most of your photography experience, I’ve shared 21 tips for photographing the autumn landscape. I hope you will be inspired.
Our autumn landscape photography tips:
- Tip# 1. Wear the right clothes
- Tip# 2. What to take along on the road
- Tip# 3. Plan your autumn photo session and research your location
- Tip #4. Composition
- Tip #5. Get low
- Tip #6. Including people in your landscape
- Tip #7. Sun rays (solar harps)
- Tip #8. Add a sun-star
- Tip #9. Mushrooms
- Tip #10. Get creative
- Tip #11. Use a polarisation filter
- Tip #12. Put your ND-filters in your bag
- Tip #13. Let the sky out of your picture
- Tip #14. Do not forget to look upwards
- Tip #15. Go with the flow and take it slow to shoot water in your autumnal landscapes
- Tip #16. Reflections
- Tip #17. Use colour in your autumn scenes
- Tip #18. Capturing details in autumn landscapes
- Tip #19. Don’t ignore the overcast days
- Tip #20. Look for that magical fog after sunrise
- Tip #21. Visit places more than once or make your walk again in the inverse directions
- Conclusion
Tip# 1. Wear the right clothes
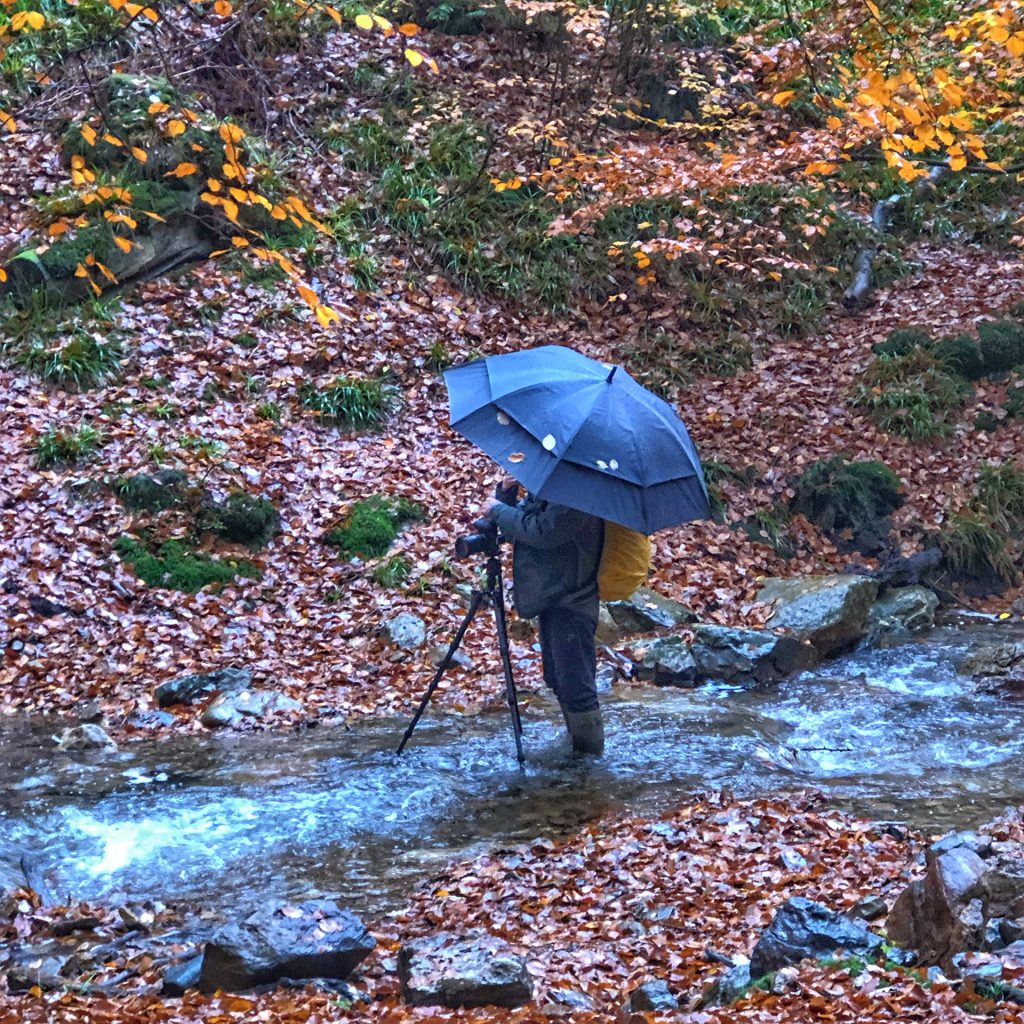
My motto is: “There is no such thing as bad weather, only the wrong clothes”. Although the weather is not always inviting, with the right clothes and accessories, nothing can stop you. I always wear waterproof clothing. I have worn rubber boots many times to avoid wet feet full of mud. Especially when shooting autumn rivers or other places with water and dirt, these boots will allow me to get into the water to capture the perfect composition for my autumn shots.
A scarf and a hat protect your ears and neck from the cold morning temperatures. If you wear several layers, you can always take one off when it warms up during the day. For morning chill, I carry a pair of gloves in my camera bag.
A mat to lie on or a rubbish bag for a macro shot is lightweight, but they are handy accessories for keeping yourself or your camera bag dry.
With a bit of drizzle, you might hide your camera under your raincoat, but if it rains hard, I will store my camera (for a while). I will always try to continue to photograph as long as possible with a camera rain cover for my camera. Or, you can wrap the camera in a plastic bag and cut a hole around the lens to protect your camera from moisture if you do not want to spend money on these prefabricated rain covers. Sometimes, I will attach a large umbrella to my backpack when it is not too windy.
Tip# 2. What to take along on the road
Camera – First of all, of course, your camera with the necessary memory cards and spare batteries. Using live view, longer shutter speeds, and colder temperatures will deplete your batteries much faster. I keep saying the best camera is the one you have with you, even when it is a smartphone. If you want to make prints or sell stock photos, a more advanced camera might be required. But be assured that any camera (compact, DSLR, mirrorless, crop sensor, full-frame ….) can make nice pictures because the photographer’s eye makes the picture. And do not forget a good camera cover, as mentioned in tip #1.
Lenses – It is also always helpful to carry different lenses with you. However, the weight will make you make choices: do you take them all or not? A wide-angle lens is helpful for global landscapes, but a telephoto lens often allows you to zoom in on details or exclude distracting elements. Telephoto lenses also compress the image. If you find some lovely mushrooms, a macro lens is also inevitable. If you do not have a macro lens? Try a telephoto lens in combination with a spacer ring. These rings will reduce the minimum focusing distance to your subject. By being closer to your subject, you will enlarge it and be able to approach the macro range quite well.
Wide-angle still has its place, especially when shooting sweeping vast landscapes for any landscape shot, whether a mountain or a rolling plain. You’ll always want to capture a shot with a wide-angle lens.
Tripod – Do not forget to bring your tripod, even a lighter one, if you have to hike far because without it, taking sharp pictures under the trees quickly becomes a losing battle. Trust me. Shutter speeds get longer in autumn, even in the middle of the day. A tripod is, therefore, ‘compulsory’. Using a tripod will significantly improve the quality of your autumn images. It will hold the camera securely in position, preventing any blur from the camera shake. A tripod is also crucial when you want to capture an identical scene multiple times with different settings (bracketing) or different focus points (focus stacking). After a day in the mud or the water, do not forget to clean the legs of your tripod. Otherwise, extending the legs of the tripod may be more difficult. To be safe, I use a SIRUI W Series Tripod specially designed for shooting in extreme environmental conditions, including directly in water, dirt or sand.
When you forget to bring your tripod or are reluctant to carry a heavy one, use an alternative. Use a cherry pit cushion or bean bag instead. This will help you align your camera ideally on uneven ground such as tree trunks, stones, or the forest floor. You can also put your camera on a rock or trunk. In these cases, use the remote or self-timer to take photos.
Backpack – A camera backpack is the best way to keep your photo gear safe with tough exteriors and padded interiors. Mine also has a pull-out rain cover to keep it secure in a downpour. Some also have thief-proof zips and extra straps, loops or pockets for holding a tripod. There are different ways to attach your tripod to your backpack, but I use a carabiner on the front so that I don’t have to take off my backpack every time I stop to take a picture. I also have so-called reporter straps attached to my backpack that I can easily click my camera onto so that the traditional camera strap does not pull at my neck.
Other accessories – I always take a polarising filter (see further in tip #11), grey filters, graduated filters, and a torch… A headlamp is indispensable if you go out early, and an LED light is always helpful for lighting macro shots. Macro-experts also carry an external flash with them, whether or not it is equipped with a colour gel. Also wise: a thermos flask of tea or coffee, something to eat, and a plastic bag to put under your backpack while shooting.
Tip# 3. Plan your autumn photo session and research your location
Knowing where to go is the first piece of the puzzle, but equally important is timing. While it might be tempting to photograph autumn colours when you see leaves change colour outside your house, researching the locations you are about to visit beforehand can be a good idea. Autumn means autumn colours; you have to be in the woods. According to the calendar, autumn lasts three months. In North-Western Europe, autumn colours are at their best in the last week of October and the first two weeks of November. This may be different in other regions, and you can photograph the autumn earlier in places at a higher latitude and altitude. So, it is best to do your research to plan the best time to visit the region you are visiting.
However, when an autumn storm is on the way, there is a good chance that the trees will soon lose their leaves. Then there is little left of that ‘colourful’ autumn except for a thick layer of leaves on the ground, which can have its charms. Lone trees or trees at the edges of the forest suffer more from the wind.
However, when the weather is calm, with relatively sunny days and cold nights, the autumn colours get an extra boost and linger for a long time.
I always like to go out when the first colours appear. The colours may not be perfect, but you can pick excellent locations and consider the ideal compositions. Then, when the top moment arrives, you are ready to get off to a flying start.
The golden hour is also one of the best times for autumn landscape photography.
If the sun is too high in the sky, there might be too much contrast, and the sunlight might diminish the colour of the leaves. But since the weather is so unpredictable and constantly changes, you will find multiple occasions all over the day for different situations and possibilities.
If you do not live near a forest in towns and cities, you can always head to your local parks for leafy, tree-lined paths and beautiful colours.
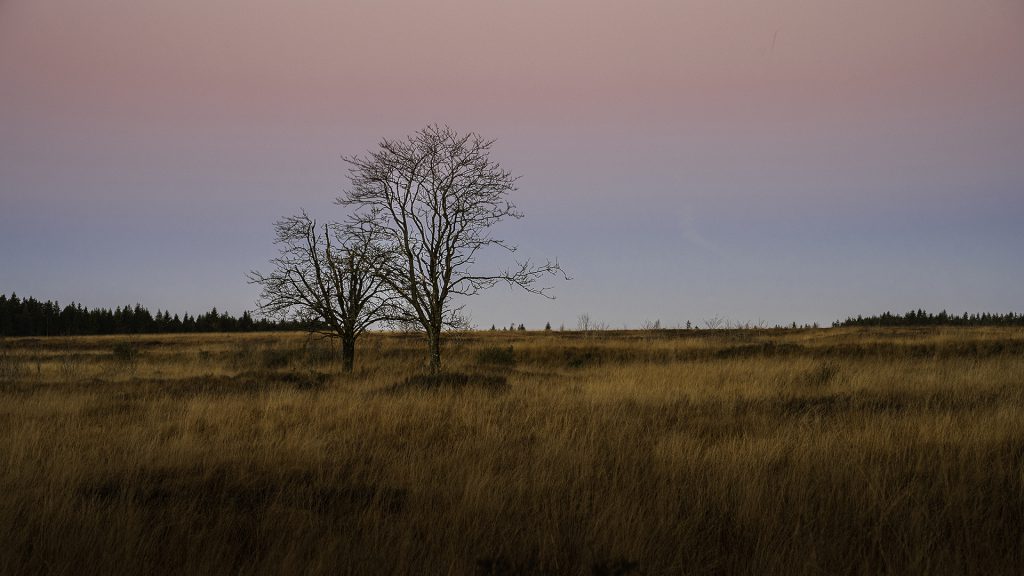
Tip# 4. Composition in Autumn Landscape Photography
Composition rules for autumn shots are not different from the rules in other types of shots.
Have also a look at my specific blog on composition in landscape photography
In my blog “About woodland landscape photography”, I also discuss some of the composition problems in forests.
Ultimately, following your feelings and deciding whether to follow the rules is essential. In any case, try to build up your image calmly and eliminate as much clutter as possible. Pay special attention to lines and depth of field. It is always worth trying out different positions. In a forest, good composition is always quite a task. But try to use lines that draw the viewer into your image. Think of paths, streams or tree trunks.
At least bring some order into the chaos because with all those bright colours and scattered branches, leaves and other details in the forest, it can otherwise quickly come across as very chaotic in the photo. Please keep it simple because the most uncomplicated compositions can be compelling. Less is more in this case, and everything that has no function or does not contribute to the picture is thrown out.
Tip# 5. Get Low
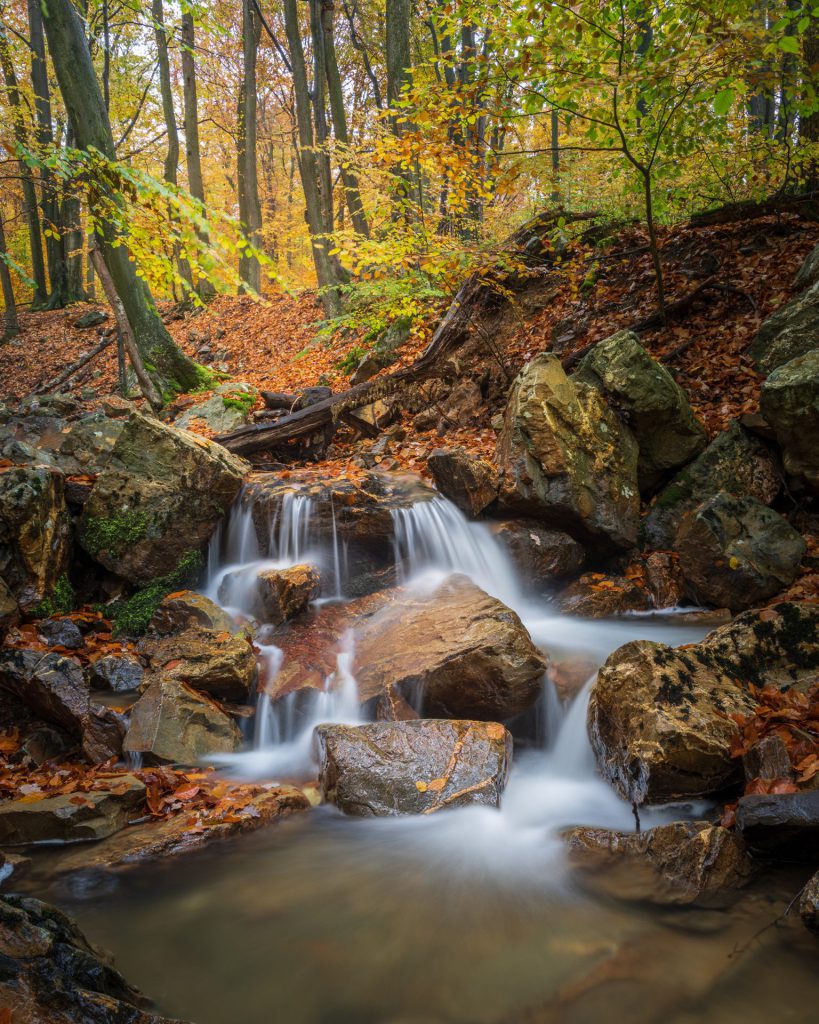
It is a good idea to photograph the trees and the ground in autumn when they are covered with a variety of leaves.
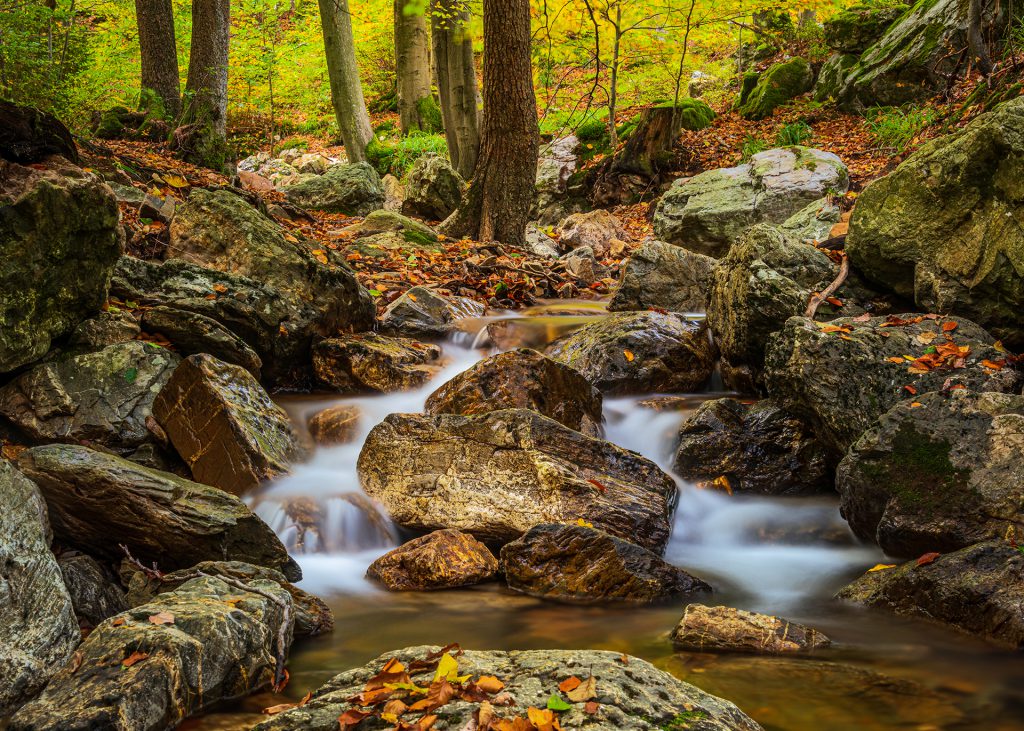
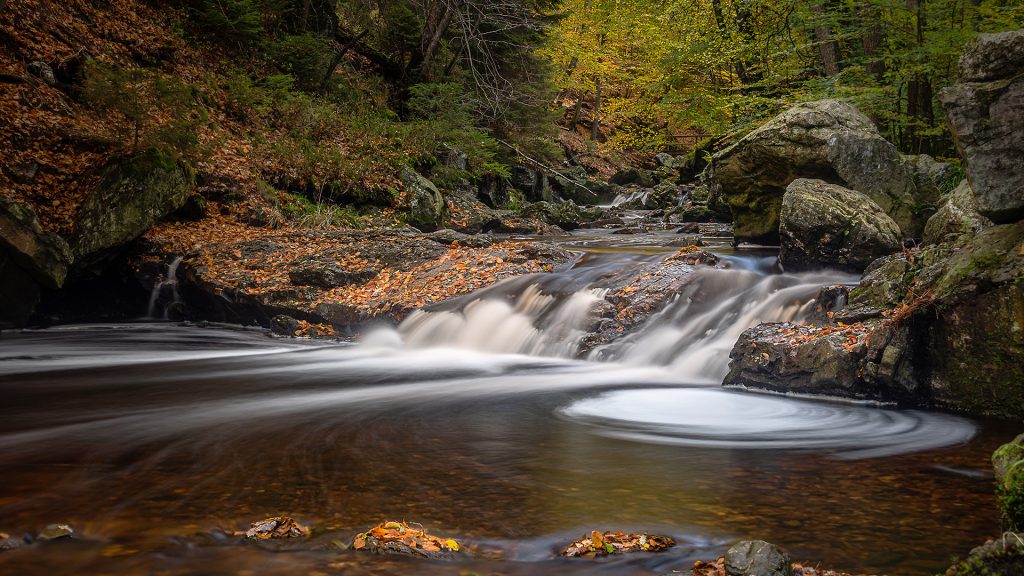
Especially in quiet rivers with small rapids, if you go low enough with your camera, you can show an impressive waterfall and include the colours of autumn in the leaves on the rocks.
Tip# 6. Including people in your landscape?
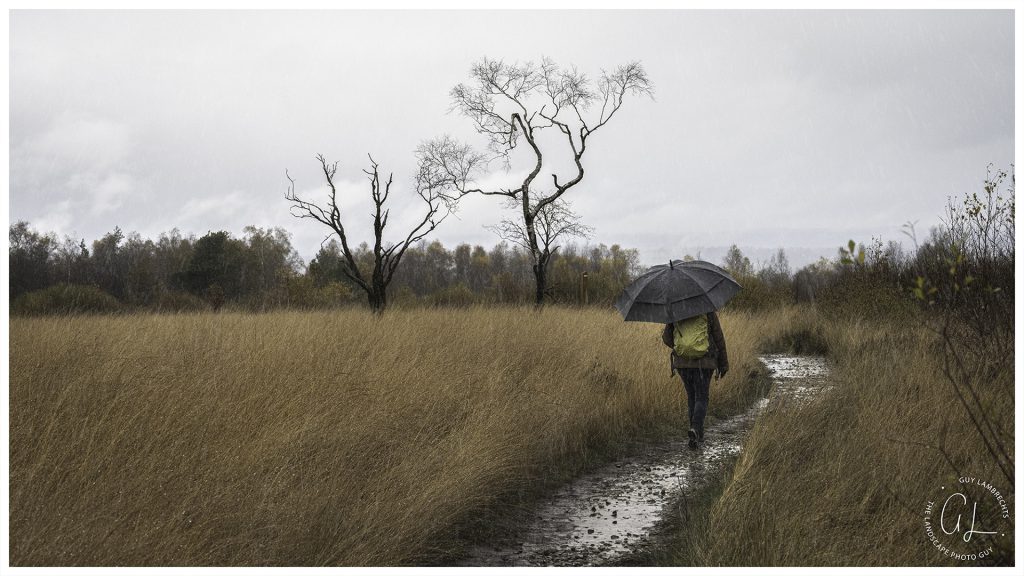
Whether you put people in your autumn photo is entirely up to you and depends on what you want to show. You will want to avoid the people in your picture to show tranquillity and peace. But if you wish to have some dynamism in your picture, it can be interesting to look for a hiker or biker to come along. If you have recognisable faces, do not forget to ask for permission, especially if you want to publicise the photo.
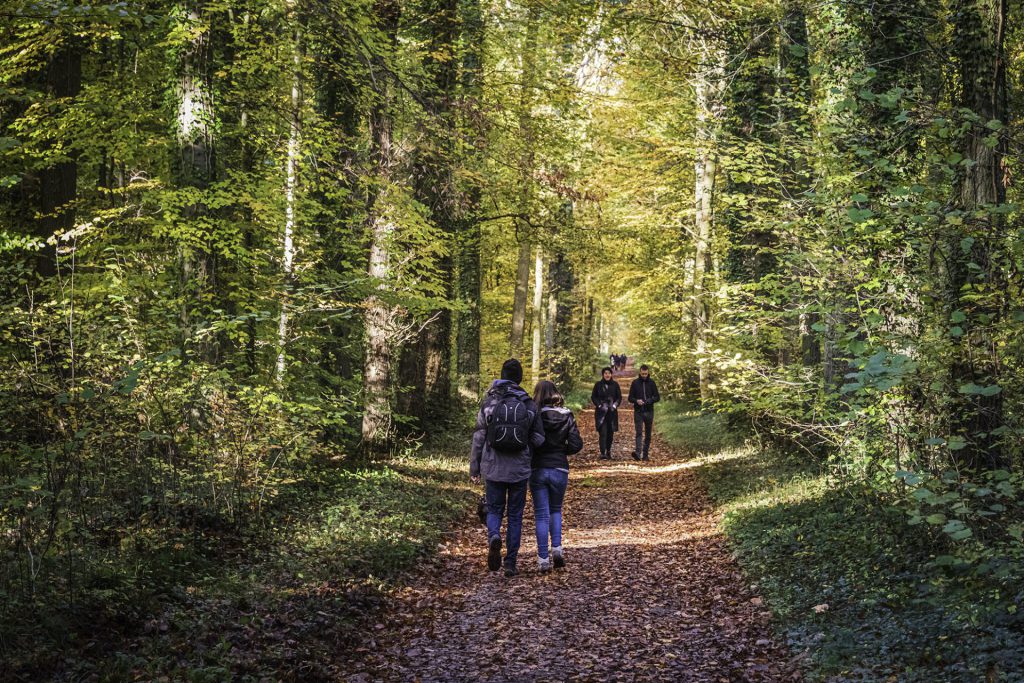
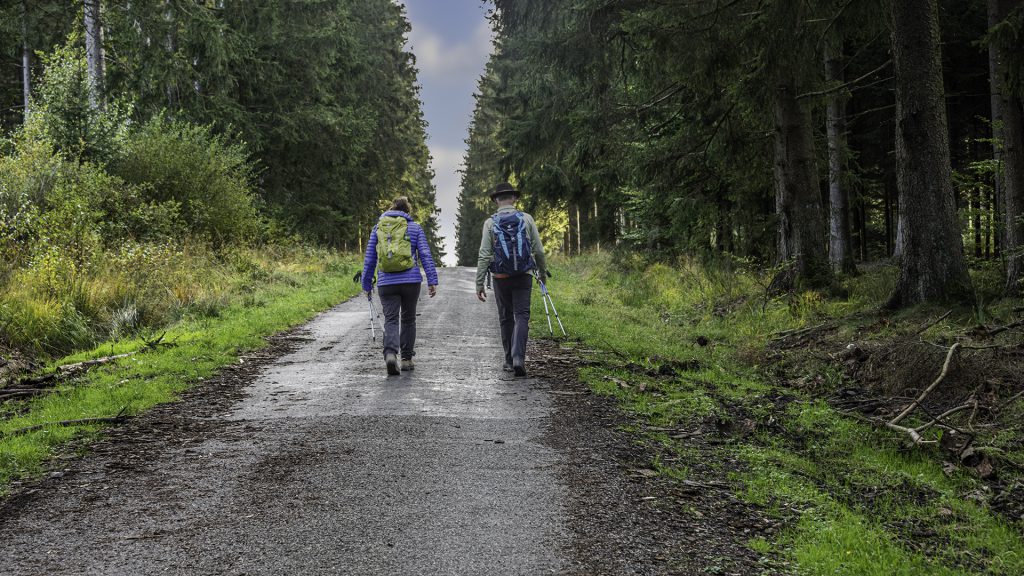
Including a person in your frame is a great way to demonstrate the scale of vast landscape scenes effectively. Finally, when including a person in your landscape image, do not forget the rules of composition.
Tip# 7. Sun rays (solar harps)
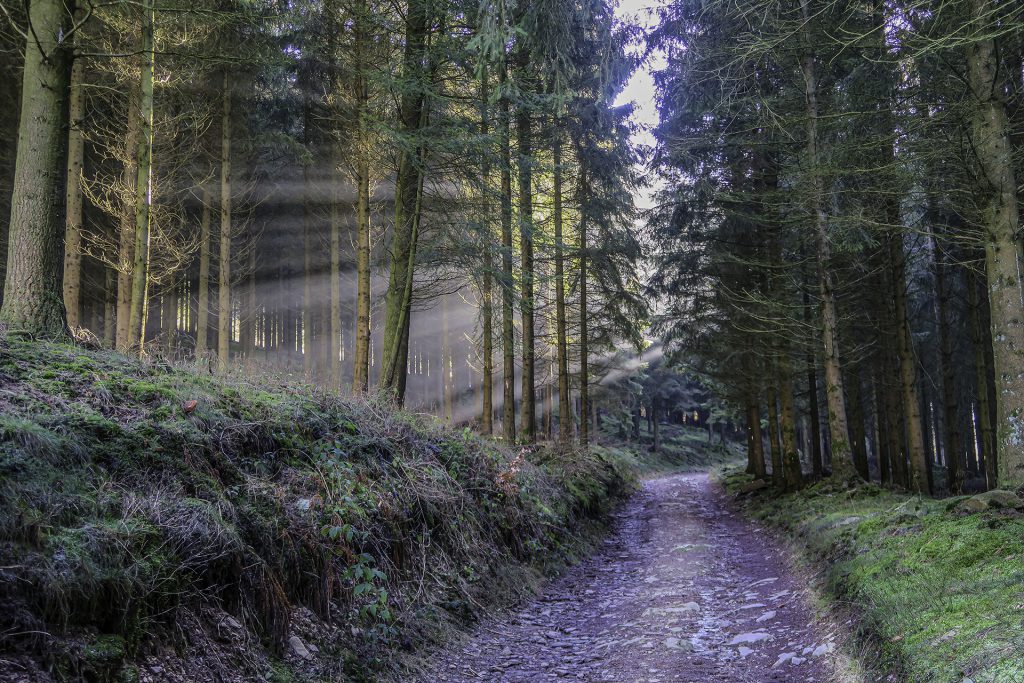
During autumn, there is also a greater chance of colder nights, which, combined with high humidity, give good chances of dew and fog.
When the sun breaks through in the morning, and you walk in the direction of the sun towards trees, you will sometimes see beautiful sun rays or so-called sun harps. Don’t wait too long to take your picture because the effect can suddenly disappear. Sun harps and sun flares can be very unpredictable, which is part of what makes them fun to work with.
Tip# 8. Add a sun-star
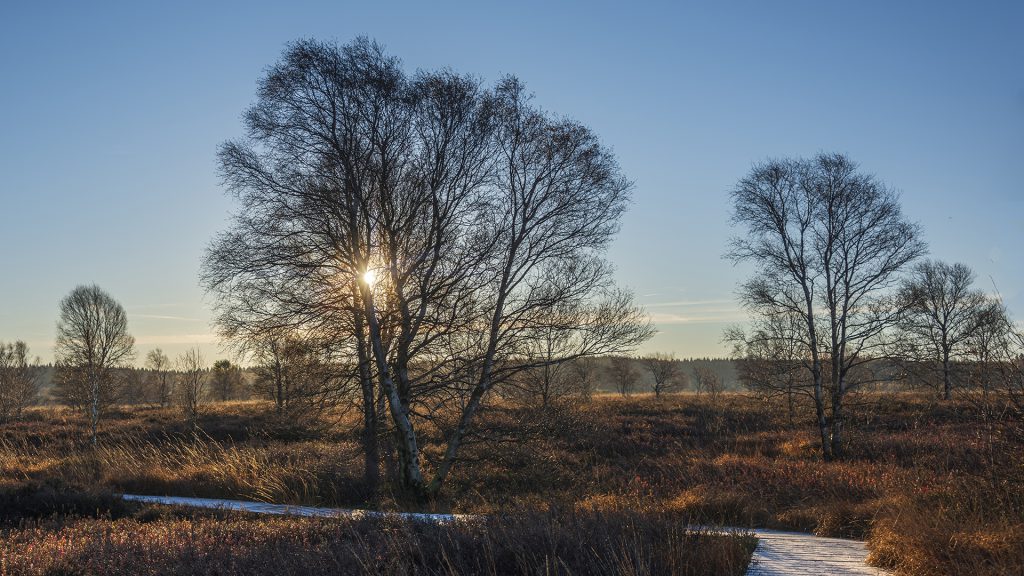
It might be an excellent idea to add a sun star in your autumnal composition in a landscape with lone trees or a forest, now that the sun sits so much lower in the sky. If you want to do so, you must point your camera at the sun and choose a narrow aperture from 1/16 and upwards. This narrow aperture will cause the light to diffract around the edges of your lens aperture blades as it goes through the lens. This works best when you hide the sun partly behind a tree or other object so the sun shines through a bit. The effect will be different with different lenses. So, you might want to experiment with various lenses and standing points.
Tip# 9. Mushrooms
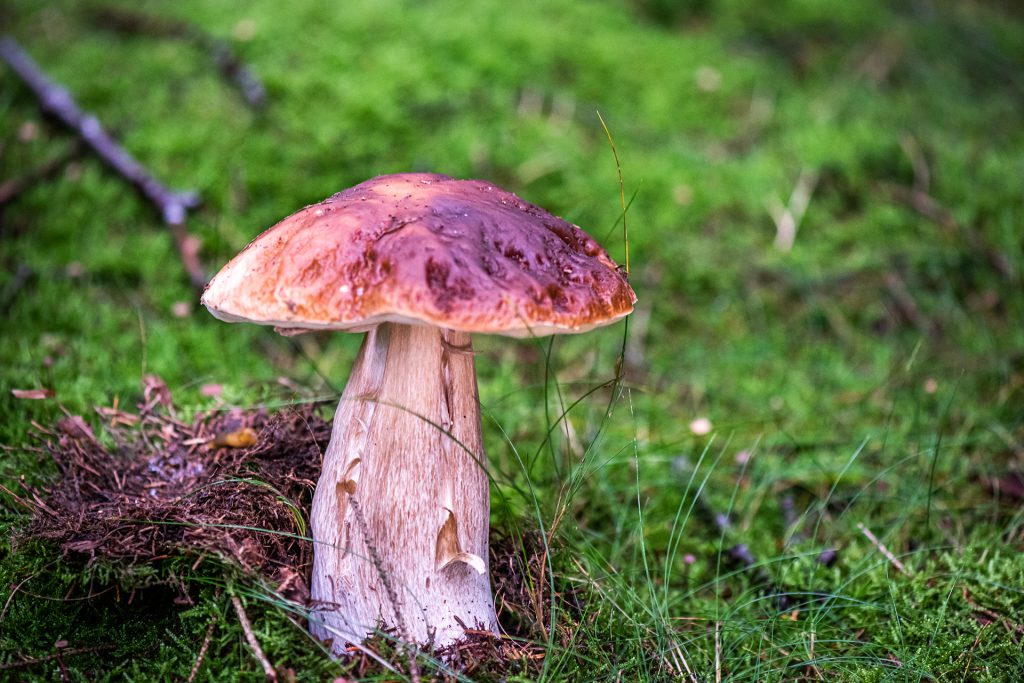
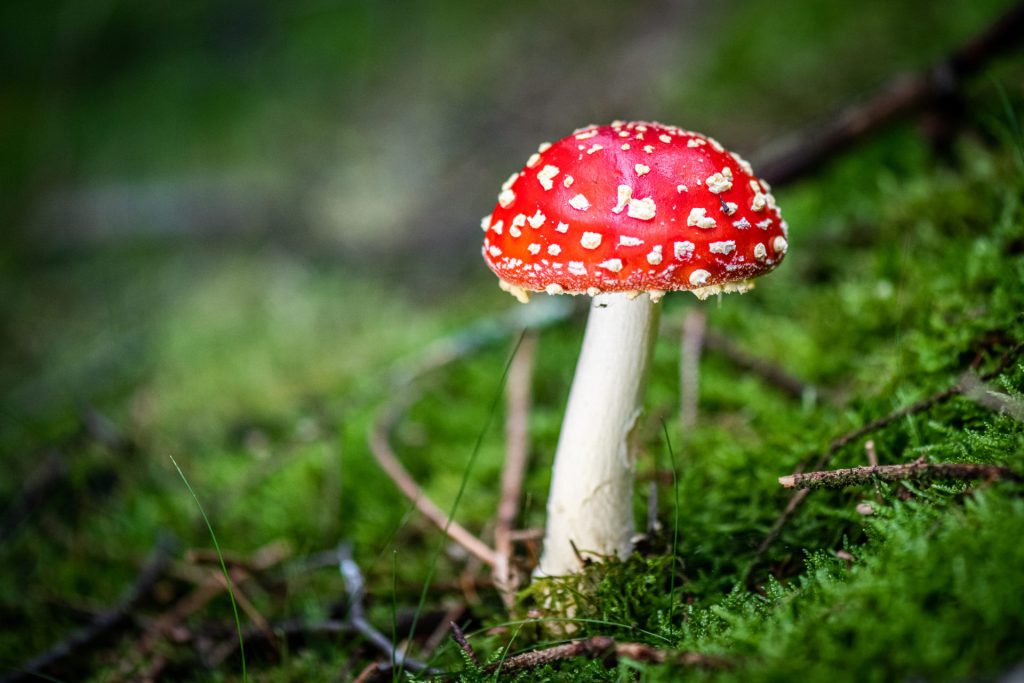
Autumn brings beautiful colours and mushrooms, which now thrive in these humid conditions. Usually, you don’t have to look far to find them. Small and delicate mushrooms can be found in damp areas or forests until November. Mushrooms like it dark and moist. They want to hide. You will find the most beautiful specimens close to the ground.
If you like bokeh (out-of-focus), try shooting as low as possible with your camera from the bottom to the top towards the foliage where the light plays through. Often, experimenting with your point of view and aperture is a matter of experimenting. Using a low aperture value, you get a nice blur effect (bokeh). You will find more details in my blog, “How to add bokeh and a blurred background to your landscape photo.”
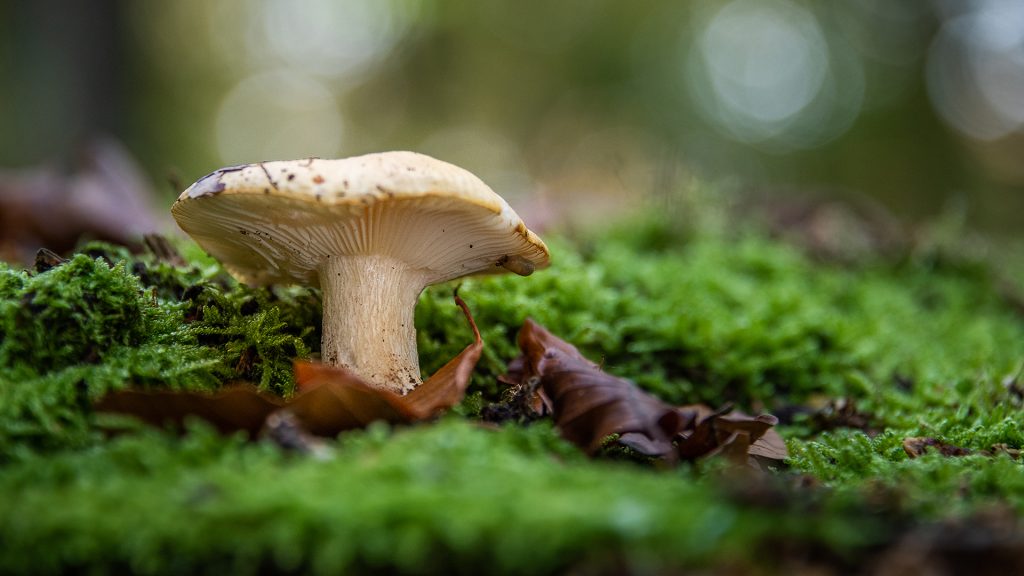
A macro lens will get you close enough to the subject. Combine it with a tripod and a remote trigger to avoid any shaking. Use a mini tripod or a bean bag if your tripod does not allow you to go very low. Ensure the foreground and background are calm so the subject looks harmonious. Low to the ground in the woods, it is often dark, and it can be worthwhile to add external light with a lamp or a flash, with or without a coloured gel, around your light. In such a case, a mat or plastic bag on the ground to lay on comes in handy.
Mushrooms can thrive even before autumn colours appear on the trees.
Tip# 10. Get creative
Try to step out of your comfort zone once in a while and try something new. Discover how light and shadow play with each other, and try different compositions and standpoints. Is everything sharp or not? Where does your eye go? And what exactly makes you like the photo?
Look around or behind you as you shoot a landscape before you. Perhaps there are some pleasant situations close to you. You can also zoom in on detail to create a more abstract or minimalist image.
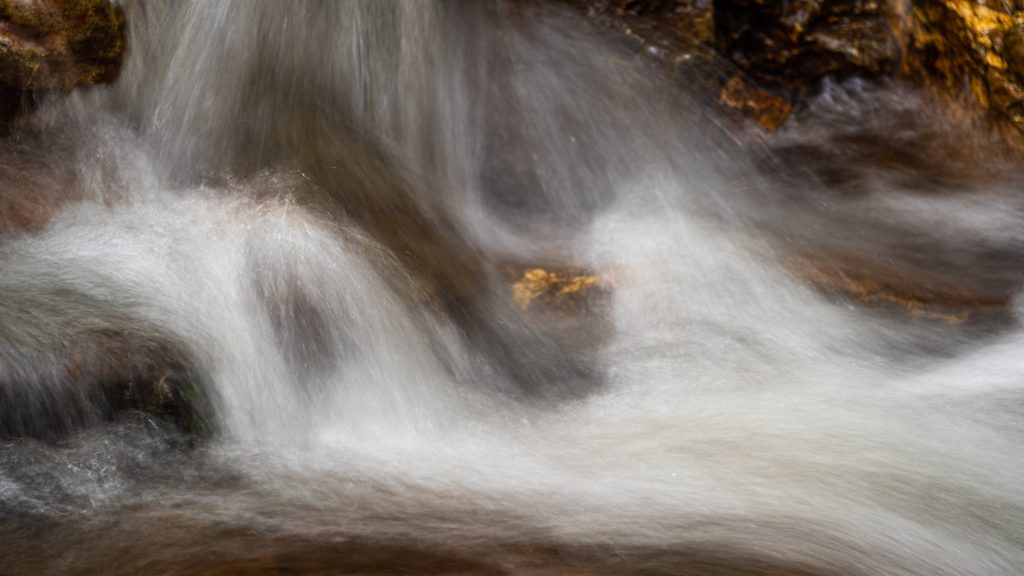
So, try to take photos now and then which is different from what you usually take. For example, you can use multiple exposures in the camera or deliberately blurred images. Even a combination of a moving and a still image on top of each other can be interesting. Intentional camera movement (ICM) produces surprising and unpredictable results, but a slower shutter speed is a prerequisite.
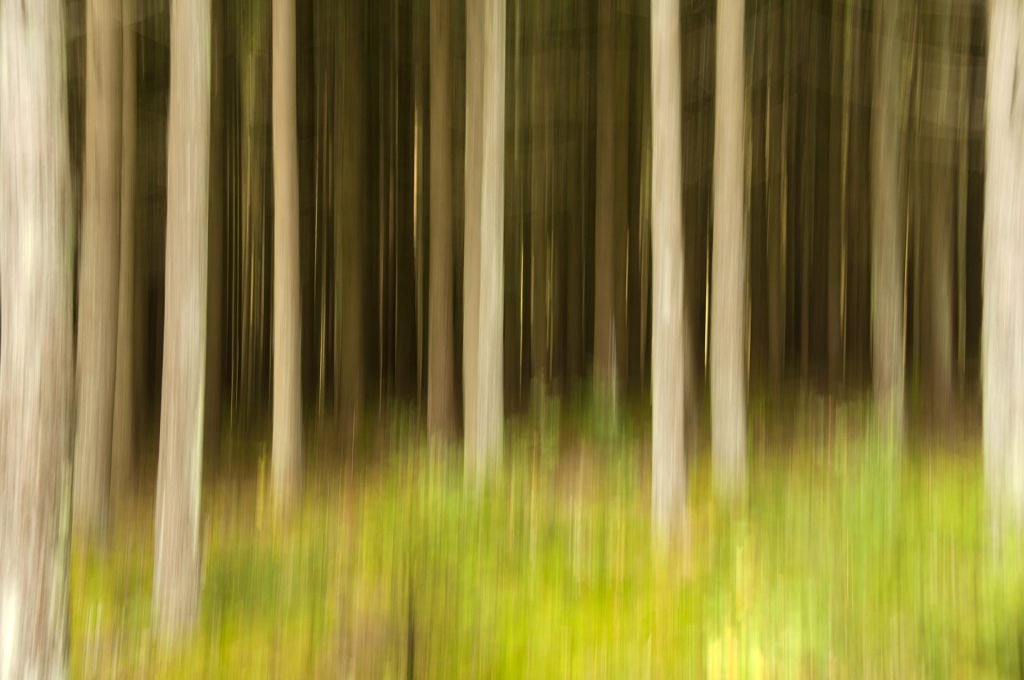
When defining your image, change your point of view regularly to achieve a beautiful and creative composition for an atmospheric image.
Tip# 11. Use a polarisation filter
I rarely go out without a polarisation filter in my photo bag because the effect you can get with this filter cannot be obtained in photo processing. I use a circular polariser from LEE Filters. But of course, there are different brands available.
For the use of the filter, please refer to my specific blog about polarisation filters, but once again, summarized:
- It enhances the contrast and colours, which improves the autumn atmosphere.
- It enhances the blue sky on clear days.
- It removes unwanted glare from rain and wet days on leaves and rocks.
- … and it allows you to use a slightly slower shutter speed, which is ideal when photographing rivers and streams.
Do not forget that the polarisation filter typically darkens the image by approximately 1.5 stops. When there’s less available light, you might need to increase your ISO or use a tripod to get a correct exposure that remains sharp.
To use a circular polarisation filter, attach it to your lens, look through the viewfinder or at the screen in Live View, turn the outer section of the filter, and watch as it rotates how the polarising effect changes. When you are happy with the result, you can take your picture.
My blog, Handy Tips about using filters for landscape photography, provides more details about polarisation filters
Tip# 12. Put your ND filters in your bag
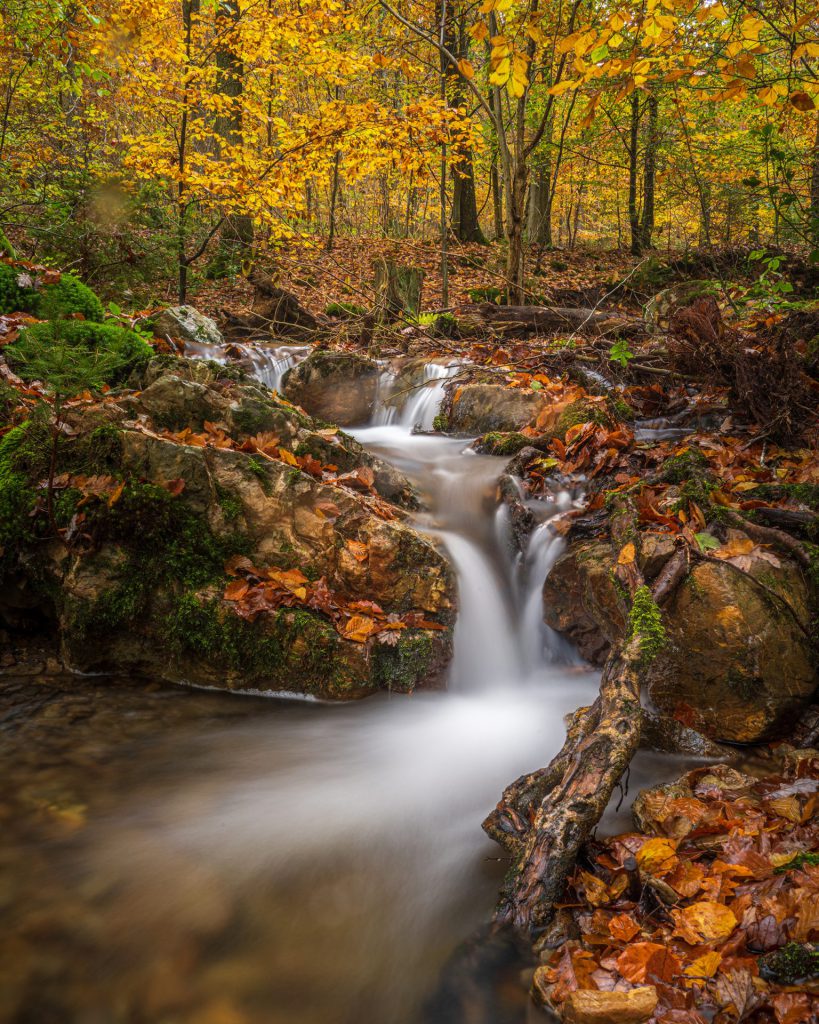
The autumn photography season is also best for moving water and waterfalls.
If you want to get a silky effect on your autumn water images, you’ll probably need a Neutral Density filter if there is too much light, and you’ll need to lower your shutter speed.
If you’re shooting at twilight, you can close your aperture down to f13 – f16, but if there’s more light, you’ll need a 3-stop or 6-stop ND filter.
In my blog: Handy tips about using filters for landscape photography part 2, I explain more about the ND filters. Graduated ND filters are dealt with in my other blog Handy tips about using filter’s part 3.
Tip# 13. Let the sky out of your picture
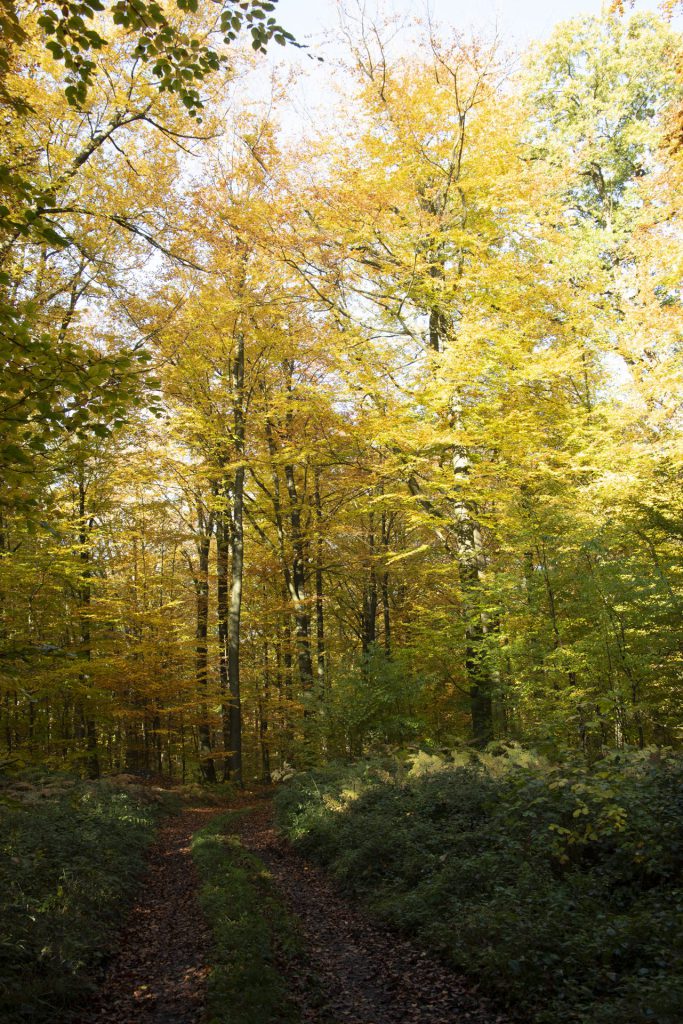
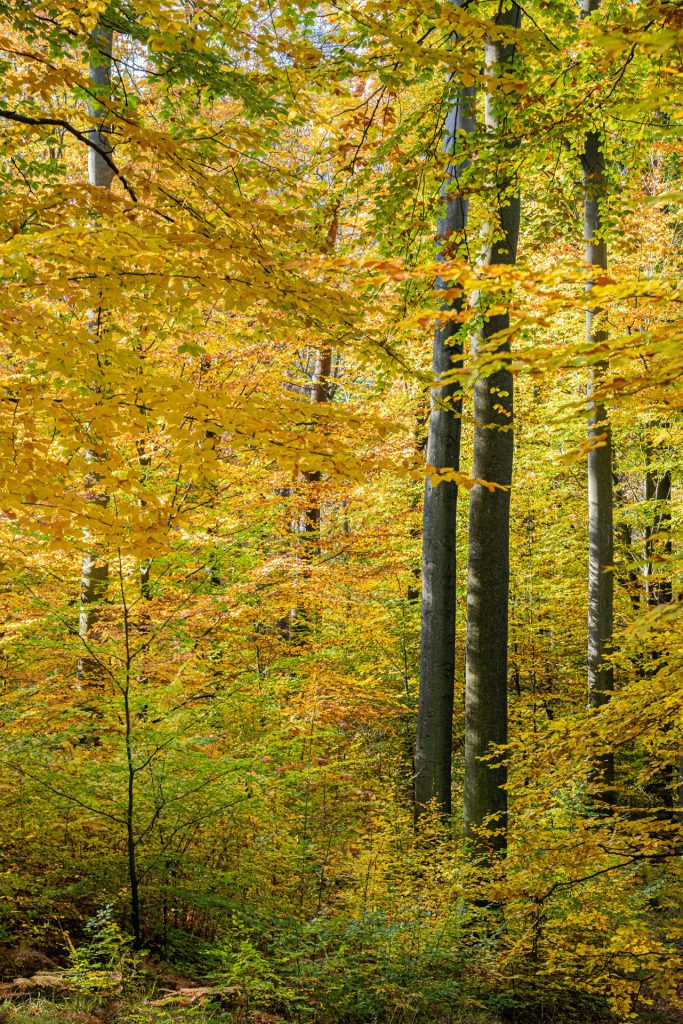
Are you going to photograph autumn landscapes in the forest? Try to leave the sky out of your photo because the contrast differences can be enormous. The light meter of your camera cannot cope with such high contrasts. The result is often dull photos with overexposed skies. Autumn skies are often dull grey, which is not so attractive. So, arrange your composition to exclude the sky when it is not appealing. This gives much better exposure without distracting light spots and enhances the autumn colours and atmosphere. Is it a sunny, clear day? Then, the blue sky can give something extra to your photo’s already particular colour shades because blue is a complementary colour compared to the yellowish-orange tones.
Tip# 14. Do not forget to look upwards
In a previous tip, I said to forget the sky, but it might be worthwhile to look at it occasionally. We’re used to shooting from an everyday perspective, but during this season, above all, the trees are the protagonists, and there are other original ways of shooting the autumn foliage from a different perspective.
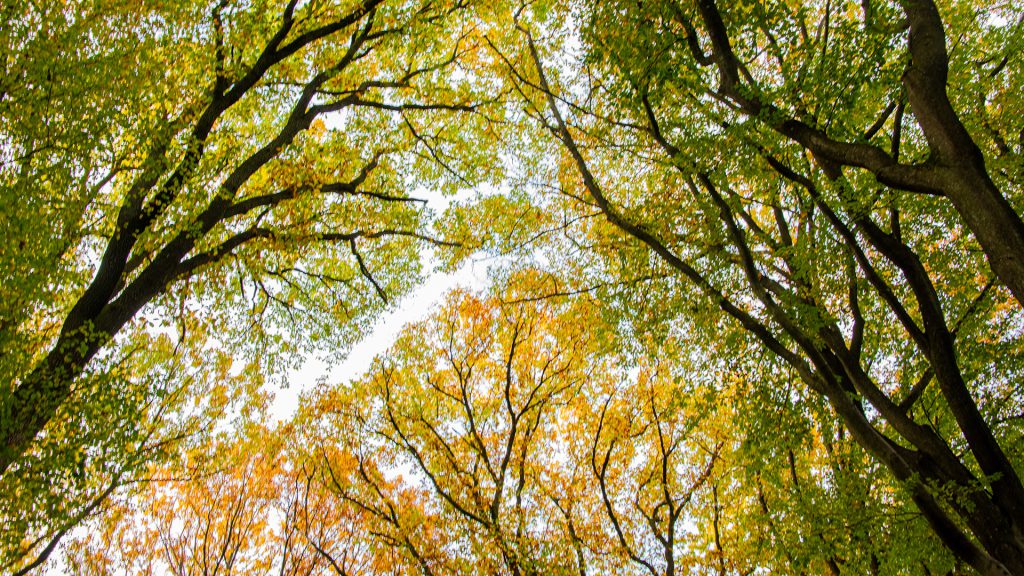
This works best with a wide-angle lens. Place yourself in the middle of a group of trees and point your camera up to the sky. Composition-wise, it is good that some trunks start in the corner of your photo.
Tip# 15. Go with the flow and take it slow to shoot water in your autumnal landscapes
My favourite theme in autumn colour photography is water in motion. When I explore locations, I look for bodies of water, especially rivers, preferably with some rapids or waterfalls. But remember, you do not need jaw-dropping waterfalls to get great shots of moving water. A gentle stream can work as well. However, you will need a longer exposure to get an impressive shot.

These forest streams are incredibly photogenic with autumn colours when some leaves have fallen on the ground or rocks alongside the water. To achieve the smooth look of longer exposures, it’s helpful to have a neutral density filter to reduce the light and permit longer exposures of perhaps several seconds.
Blurring the water is only one part of the process. The most challenging part is choosing the ideal scene and composing it well. This requires some practice and experimentation with the angle of view, the height of the camera, different lenses, adding filters, etc.
This effect will give the water a smooth, silky look that adds a surreal detail to your autumn images. Areas with leaves floating on top of the water can create swirling patterns during long exposures to add foreground interest to your image. You have to experiment with the shutter speed in each case to obtain the best effect or at least the impact you prefer.
Tip# 16. Reflections
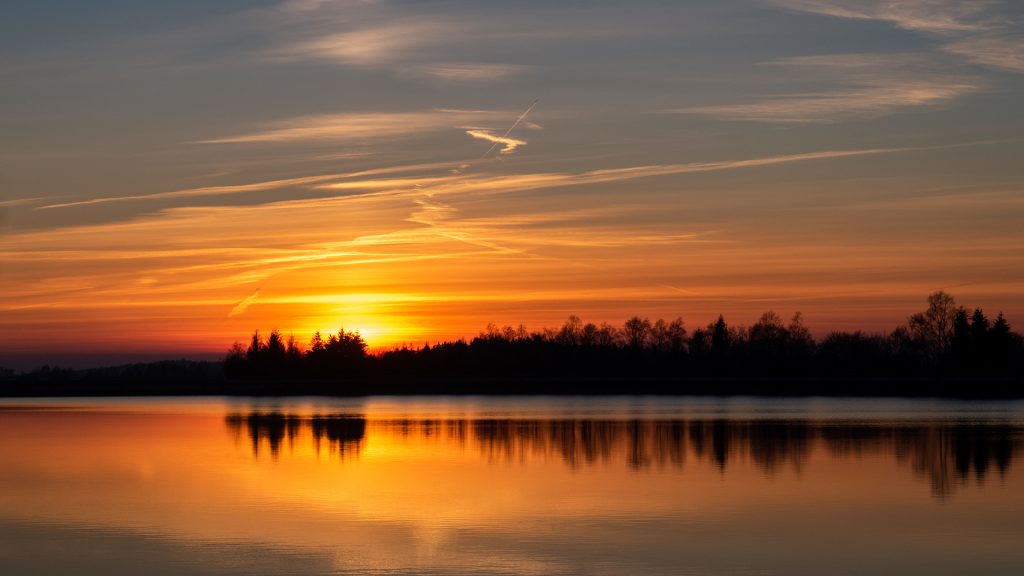
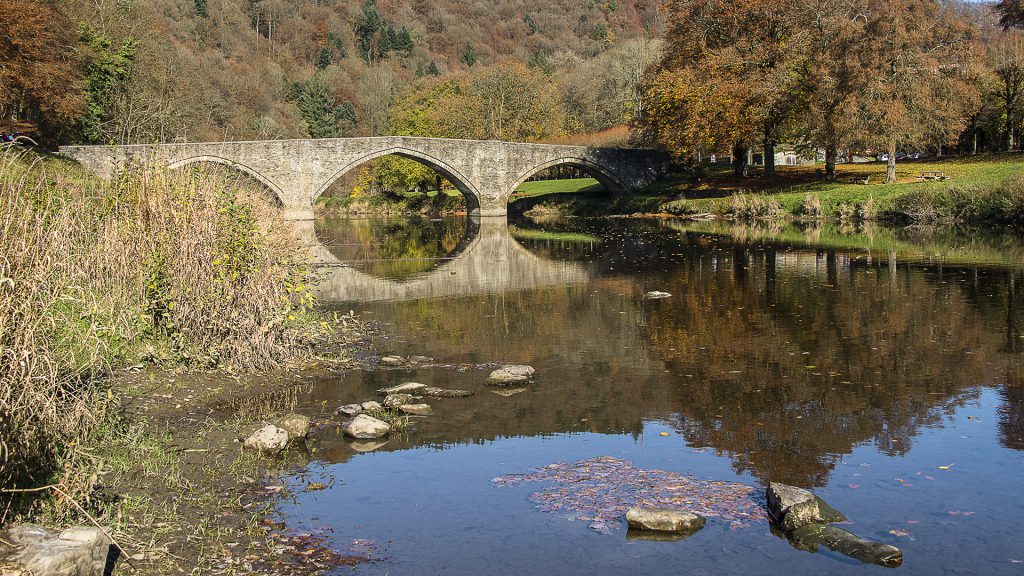
When you visit a location with a lake or other body of water, try using reflections to capture double the vibrant autumn colours. This will work best when heading out on a day with low winds. A calm and still surface is perfect for reflecting the scene before you. This often happens relatively early in the morning or later in the evening.
If it is a windy day, use a long exposure to level out water ripples. You cannot do this without a tripod to avoid camera shake and probably an ND filter to prolong the exposure in bright conditions.
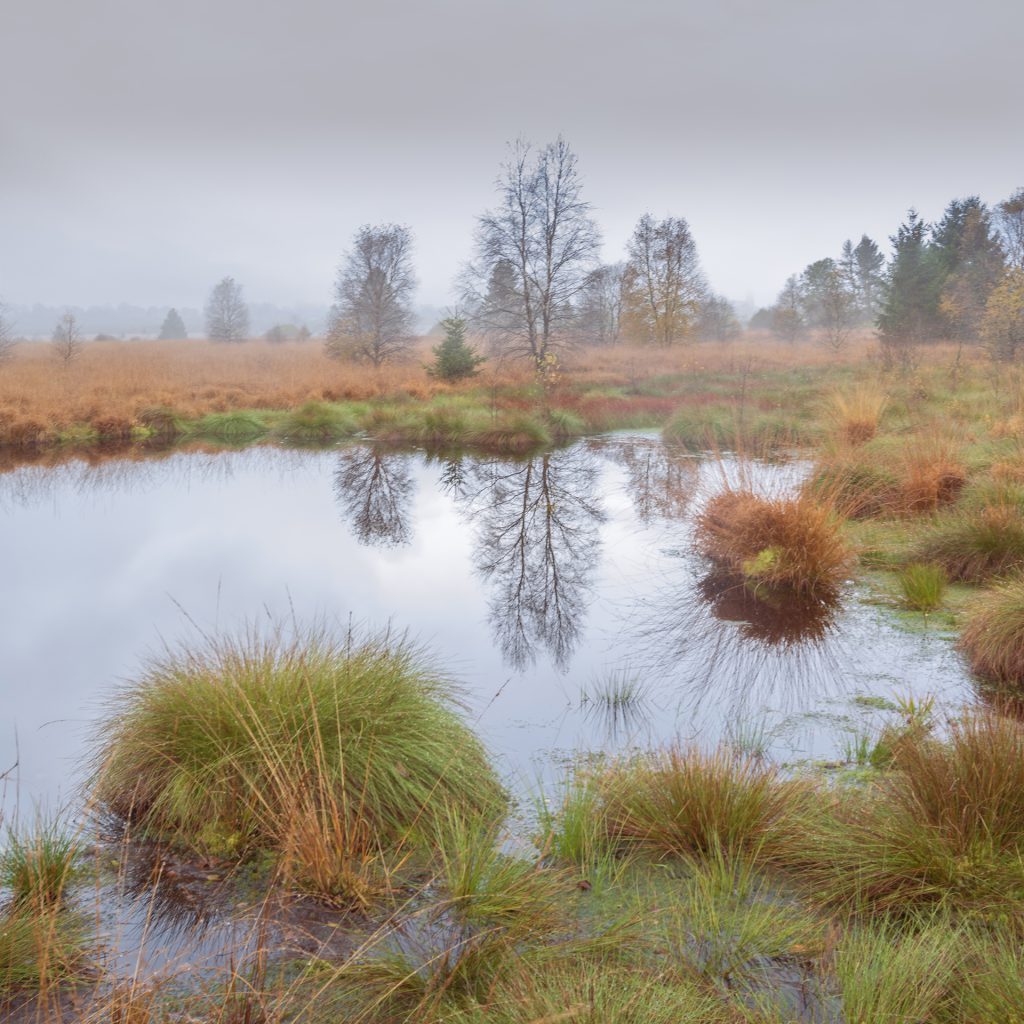
Even puddles can be helpful if the area around them is bright enough. You might have to experiment to find the best angle to capture the best reflection.
Tip# 17. Use colour in your autumn scenes
Autumn colours are predominantly warm-toned and saturated. In a carefully composed image, you will try to present those colours arranged harmoniously. Every different colour has its weight. If possible, I look for complementary colours to balance the bright autumn hues when composing a scene. Blue skies and evergreen foliage are a pleasing counterweight to warm red, yellow, and brown tones.
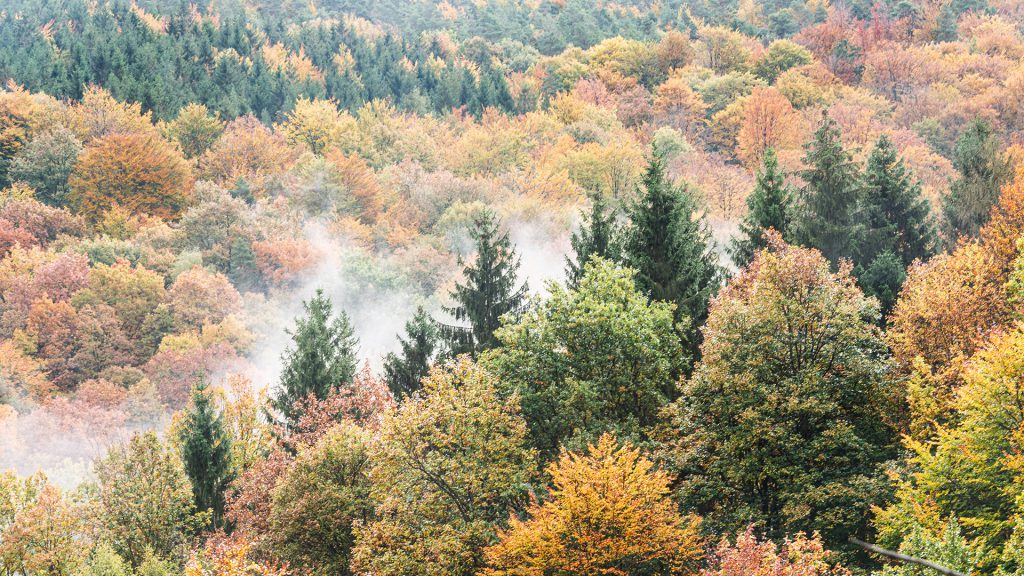
Analogous colours offer tranquillity and provide your image with a harmonious feel. “Analogous colours” are three colours following one another on the colour wheel. Those are very easy to find in autumn. Look at the 12-colour colour wheel below, and you will understand.

Drama can be added to a photo by offsetting the vivid, textured fall tones with dark elements. The dark subject can be anything like a rock, for example. This will create tension and variety and draw your viewer in.
It is still best to shoot in RAW to adjust the white balance during post-processing, and the colours come out much better and warmer. Otherwise, switching to the Daylight white balance setting can often get better colours.
The limited light on rainy days emphasises the small nuances of colour that would be lost in direct sunlight.
For more ideas about colour, go to my blog, “The use of colours in landscape photography“
Tip# 18. Capturing details in autumn landscapes
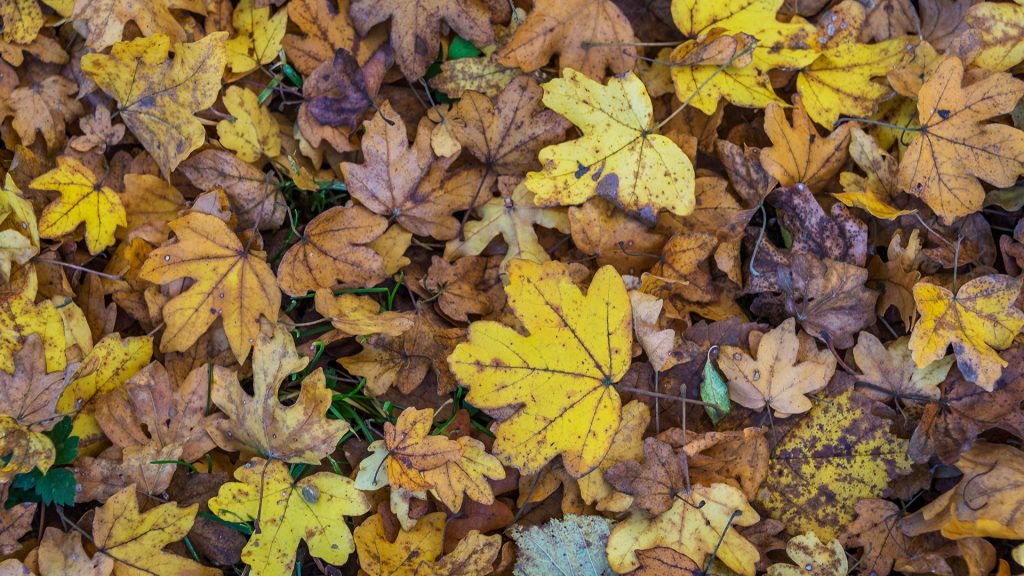
Autumn photos of the details will cross between macro photography and landscape. Sometimes, it’s one or the other; sometimes, it is a little bit of both. Detail images tell a small but essential part of the story. Details can even become a landscape on their own. They are great for discovering how a landscape will come together, but they also play an essential role in providing a sense of scale.
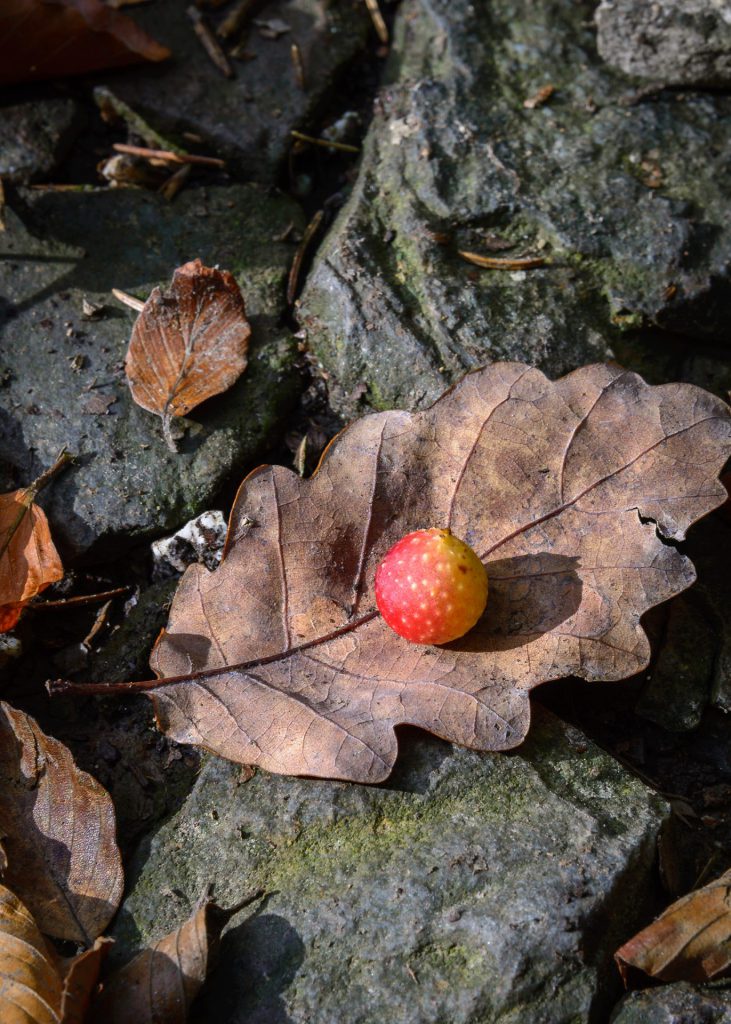
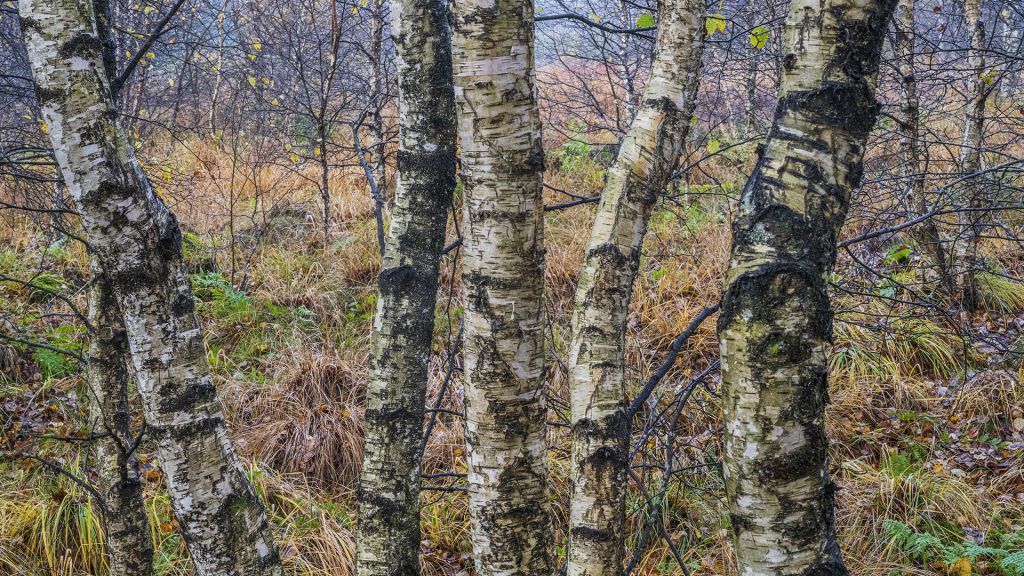
When most of the leaves are already on the ground, and the trees themselves look boring, why not photograph the colourful leaves by themselves or the trunks or even the bark of the trees? Exciting compositions, patterns and textures may be found by looking down or aside and exploring your surroundings. When surrounded by a forest, scout the area and look around yourself. You might find some interesting vantage points. Perhaps it’s a red or yellow leaf in a small puddle, a branch losing leaves, reflections of a colourful tree or a cluster of colourful trees, or odd-shaped trunks. Leave the wide-angle lens in your bag for a while and challenge yourself to use a tele-zoom or macro lens instead. Zoom in on various objects and scenes to see if anything stands out.
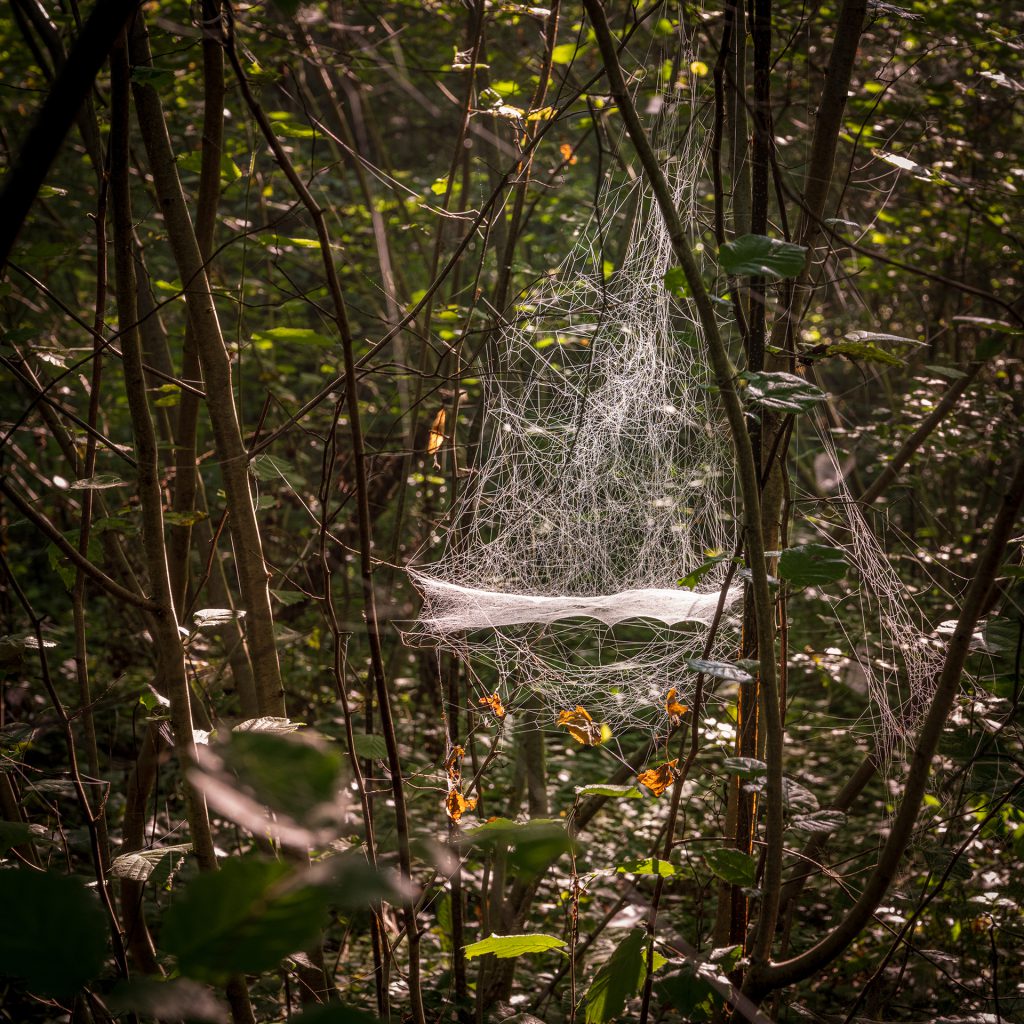
With autumnal damp and sometimes foggy mornings, look out for spider webs delicately adorned in morning dew.
Tip# 19. Don’t ignore the Overcast Days
Autumn isn’t a season where you can expect sunshine every day. Days are getting shorter, and the weather is changing quickly, which usually means there will be a lot of rain, fog, and grey days. Many people stay home when the sun isn’t shining, but such days can be the best days for photography. Overcast days can help create a mood you can’t get on a sunny day, and the images are lovely, generally excellent, and rich. Even rainy days can give you amazing good pictures.
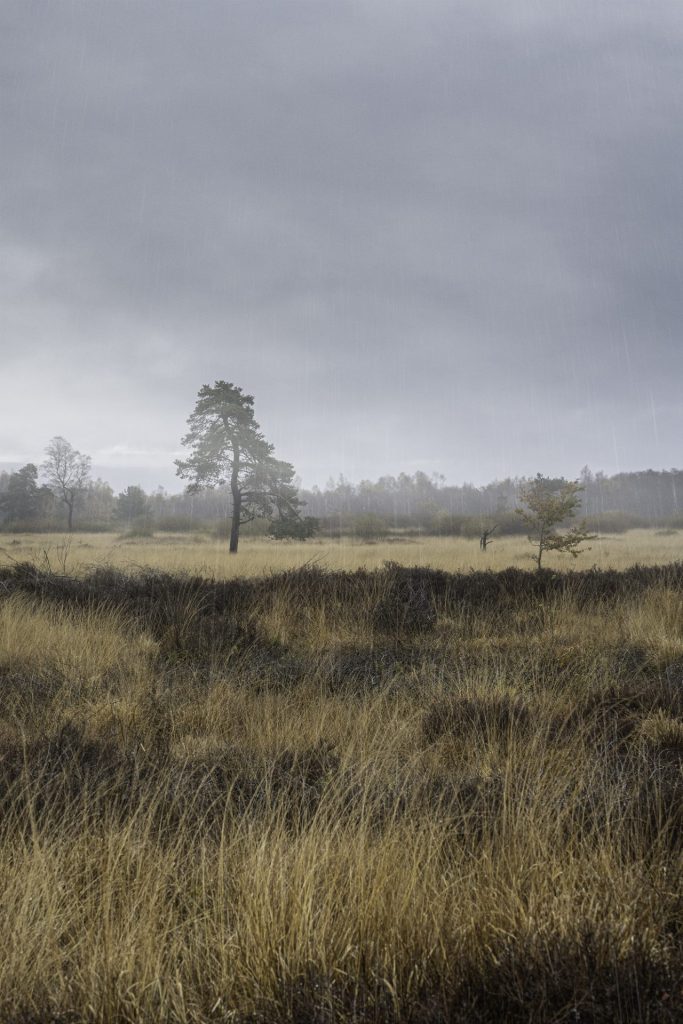
You can always protect yourself and your camera, but the point is to embrace the weather and capture a shot that shows off these less-than-comfortable circumstances.
If you want to read more about weather and landscape photography, look at my blog, “What about weather and landscape photography?”
Tip# 20. Look for that magical fog after sunrise
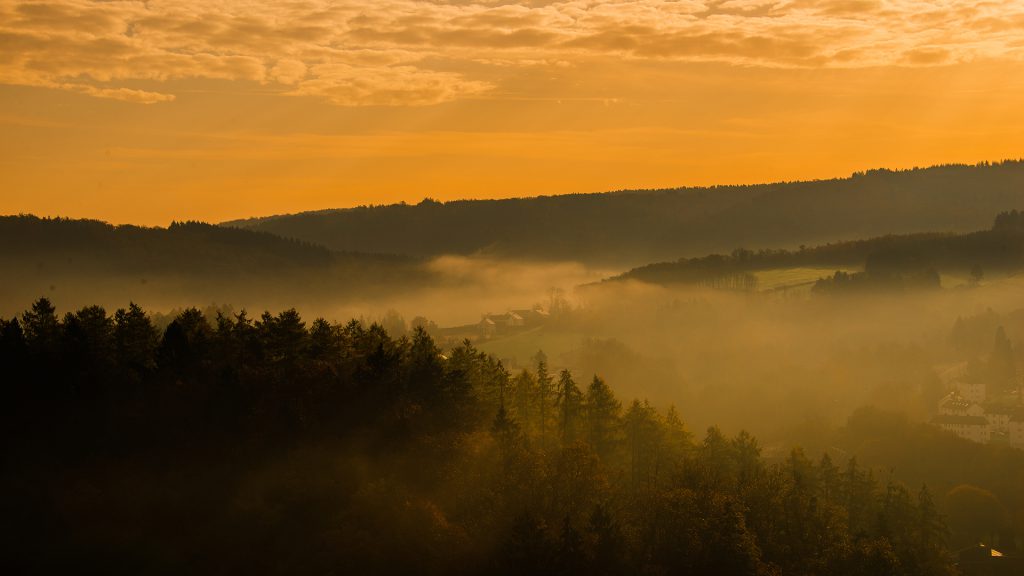
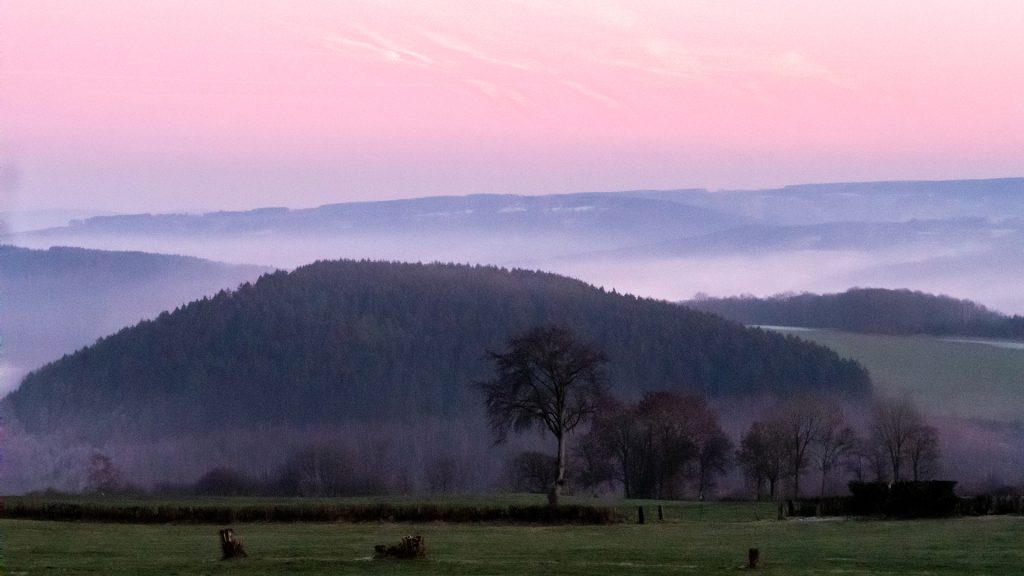
Getting up earlier isn’t my strongest point, but it’s worth it. Luckily, in autumn, the sun does not rise as early as in summer. The early morning hours are great for capturing the patches of fog that appear in low-lying areas. The thickest fog forms in the first two or three hours after sunrise and then begins to dissipate.
Luckily for those having trouble getting up early, with colder and humid evenings, there might also come a chance for mist photography around sunset.
When shreds of mist cover landscapes, a mystical atmosphere is created. Fog can also hide annoying or disturbing elements, simplifying your image. In all cases, you are more likely to encounter fog in valleys and after a clear night. Fog sometimes hangs over the landscape like a subtle layer, sometimes like a thick blanket. It is, therefore, always worthwhile to follow the weather reports closely. Don’t give yourself too much time when you notice fog because fog can dissipate quickly.
Experiment with the exposure time. Short exposure times produce fog with precise contours. The longer the exposure time, the more blurred the contours become. Photograph dense ground fog from an elevated vantage point to envelop the autumn landscape in your photos under a flowing, soft blanket.
Tip# 21. Visit places more than once or make your walk again in the inverse direction
Although foliage colours peak in October, returning to the same spot in November or December is still worthwhile because a patch of forest can transform quickly and make for an entirely new photo; it can even change from week to week. Autumn is a constant transformation, and that makes autumn photography so exciting.
Haven’t you had the experience before that when you make your walk or hike in the opposite direction than the first time, you will see completely different things? Spots or topics you walked by the first time might grab your attention the second time.
Conclusion about our autumn landscape photography tips
The beautiful colours that occur in autumn are incredible on camera. This makes autumn landscape photography one of the most exciting and rewarding types. However, the quickly changing light and conditions lead to many challenges, and it doesn’t take more than a few mistakes before you have to wait an entire year for the next attempt. It is most rewarding to photograph the autumn foliage during its colour peak. Once the colour is there, take the right gear to apply the best techniques to photograph the autumn, as explained in this blog. I hope that you will be ready to capture breathtaking images of the autumn season!
When you go out to shoot, remember to use the tips mentioned above to help you make your autumn photography stand out.
Take your time setting up the shot and experiment with composition and perspective. You’ll capture images that you can’t wait to share with the world.
Please leave a comment below or share your experiences. We can all learn from each other’s experiences.
Leave a reply