Why shoot in black and white?
Why would we return to black and white when our cameras can capture so many colours? Isn’t black and white old-fashioned? It’s easy to see why so many landscape photographers work in colour. Colour is powerful and evocative, and it helps to capture mood and atmosphere. Colour shows us a place as it is.
So, why work in monochrome? The answer is simple: Black-and-white photography is beautiful and captures the landscape in a semi-abstract, expressive, and dramatic way. Black-and-white pictures have a more pure and timeless approach and quality.
Black-and-white pictures can sometimes have an even bigger impact than colour pictures. In colour pictures, punchy colours can distract our attention from the essence of the overall picture.
Not every image in colour converts well into black and white because of the lack of tonal range (see further). Black and white photography is often used in street photography and cityscapes. I also love black and white for long-exposure landscapes and fine art photography. So why not try it in landscape photography?
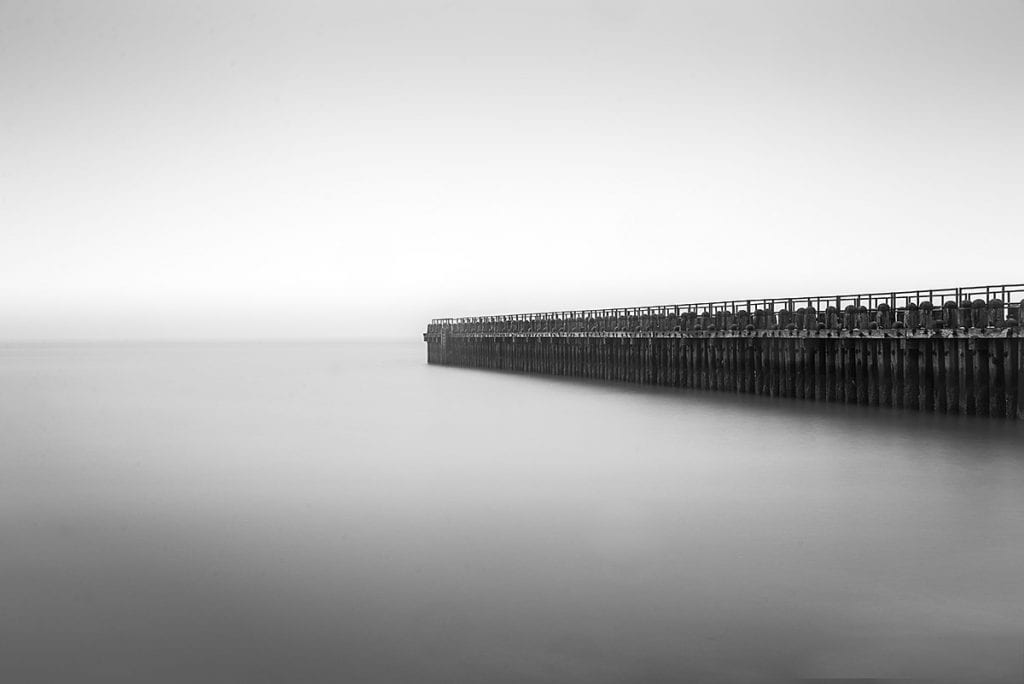
Westkappelle, 2017, Guy
Photographing in black and white presents a new challenge. For one, it’s very different from taking coloured photos. It can even be difficult. It is about creating a powerful image without the important tool of colour. Instead of thinking about which or what colours to capture, your focus should be finding the right or ideal light, texture, and contrast.
This blog will break down my approach to black-and-white landscape photography into different steps. I will provide tips to create drama, depth and impact. All these techniques can easily be applied to your own images. Let’s explore some of those ideas more deeply in the following tips.
Tip# 1. Use the Perfect Equipment for Black and White Landscape Photo Shoots
It might surprise you, but the perfect equipment for colour landscape photography is also perfect for black and white. There is no need for particular gear. The photographer needs to observe and look at the landscapes differently.
Camera: Any DSLR or mirrorless camera will work when you start with black & white landscape photography. The best camera is the one you have with you. There is nothing wrong with using a smartphone as a camera. What is more important is the person behind the camera. Smartphones may not be up to the task of big prints, but they are an excellent tool for finding and testing compositions in the field.
Lenses: Wide-angle lenses are the most popular choice for black-and-white landscape photographers. Longer lenses, however, will help you to single out a particular element in a landscape. More often than not, a good quality zoom lens is almost as good. Almost. So, it pays to carry different lenses in your bag so that you can respond flexibly to the circumstances.
Filters: I use the LEE Filter system with 1 Stop, 3 Stop, 6 Stop, 10 Stop, and 15 Stop ND filters in combination with graduated filters and a polarizer. See also tip 11. Of course, other brands will also work.
Tripod: When using low ISO and a small aperture, there won’t be a considerable quantity of light making its way onto your sensor. This causes slower shutter speeds, so tripods are indispensable for landscape photography. And that is not different for black and white landscape photography.
Tip# 2. Pre-visualization of the black-and-white landscape
I believe pre-visualization is most helpful in Black and white photography. Previsualization is where you, as a photographer, can see the final print (in your head) before your image has been captured.
Shooting only in black and white is not a good idea, as the camera will choose a standard black-and-white conversion in your photos and lose a lot of information. Some photographers use a trick to understand how your black-and-white images will appear. That is shooting RAW photos while your DSLR’s JPEG mode is black and white. Once you have taken the photo, a black and white jpeg photo appears on your LCD screen instead of a colour image. However, the colours have not gone. The RAW image on your computer will be in colour, although the LCD preview is in black and white. I don’t do this anymore because I feel capable enough of “looking in black and white” with my eyes.
Even if you usually only use a JPEG version, I recommend saving the image in RAW (set it up on your camera). It is always smarter to shoot in RAW anyway.
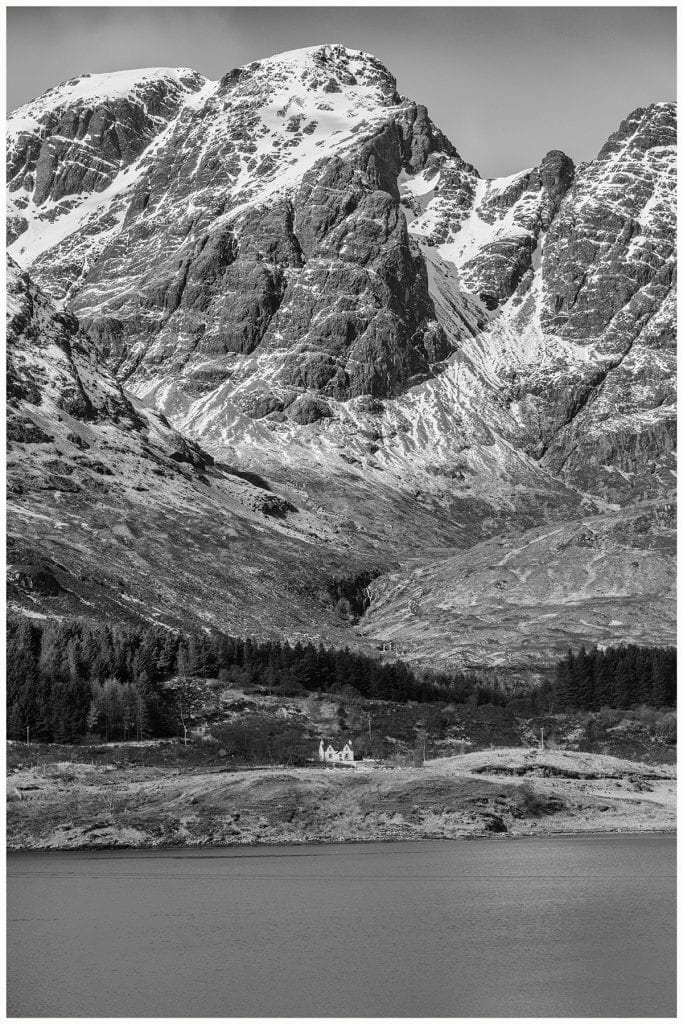
Black and white layers, Isle of Sky, Guy, 2019. The small house illustrates the dimensions of the mountains.
Tip# 3. Composing black and white pictures
Turning your landscape photo into black and white simplifies the picture. By doing so, the composition of your picture becomes even more important. In black and white (B&W), you cannot rely on the strength of colour to carry the image. It would help if you had other things to support the image and build a black-and-white photo on firmer foundations. Lines, light and graphics are of the utmost importance. While composing your image, look for interesting lead-in lines and shapes, depth, and layering in combination with the light. Black and white pictures are an aesthetic or artistic choice. It opens lots of possibilities for minimalist and abstract fine art photos.
Read also my blog on minimalism in landscape photography
Black and white photographs reduce the picture to the pure essence. As always, the eye of the viewer is drawn to the brightest part. As a black-and-white artist, you can exploit this to strengthen your image.
Whether you choose a cityscape or a landscape, understanding where the light falls will make a big difference in black-and-white pictures. Strong black-and-white landscape images rely on the basic building blocks of composition, like texture, line, shape, pattern, form, placement and negative space. Learning to base your composition on these elements, not just colour, helps you create stronger images even when you shoot in colour.
Of course, the rules of composition apply whether you shoot colour or black-and-white landscape photos. When framing your shot, keep these things in mind. This will add creativity, drama, and life to your monochrome photos.
Also, don’t be afraid to experiment with portrait rather than landscape format. Let the scene dictate what will look best.
Please have a look at my blog on composition: Composition in landscape photography
Tip# 4. Shades of grey: Look for the contrasts between light and dark in your landscape
There are other important things to consider when shooting monochrome. It would help if you thought about how the tones of the scene in front of you will look in the final image. A different shade will represent each colour. It would be best if you found a pleasing balance across the picture. The end result does not directly correlate with the original colour and the grey tone. The funny thing about black and white photographs is that grey is the most important colour. In completely black or completely white areas, you will lose all details. Like a painter, you have a range of tones at your disposal. Luckily, we have 254 shades of grey in between (completely black (0) and completely white (255).
This means that contrast is extremely important. To obtain a correct black-and-white landscape image, you need a strong range of tones, from almost pure white to deep, rich black and everything in between. Of course, you may want to deviate from these strict rules, especially if you, for example, want to take high-key or low-key photos. Ultimately, it is the photographer’s choice of which style to use.
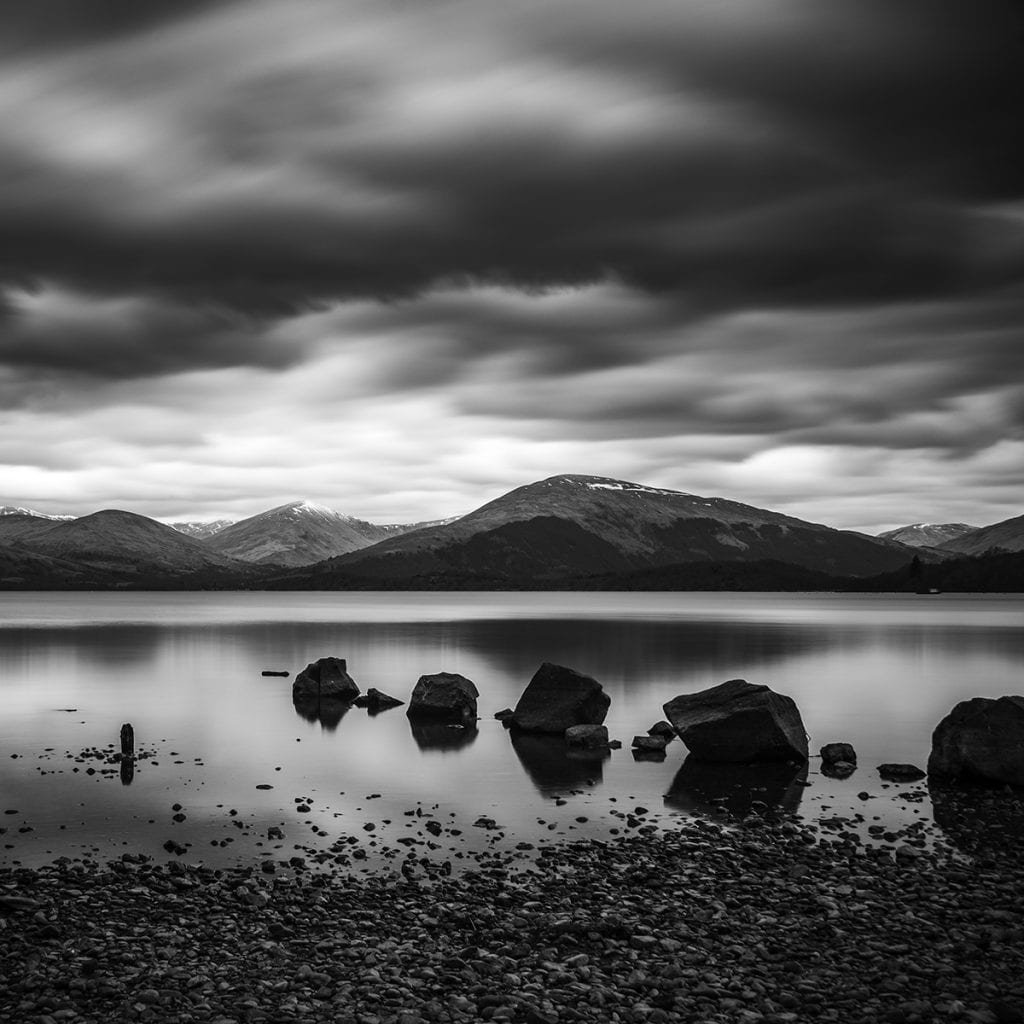
Using black & white to emphasise your landscape’s light and dark areas will give your images balance, atmosphere and a more three-dimensional feel through its tonal contrasts. You will be able to tell a story based on light and contrast. A scene will change throughout the day, with areas thrown into deep, dark shadows and other areas in splendid light. Try to revisit a location at various times of day (and year) and see how it changes. Pay attention to shadows on your photos and use these to your advantage.
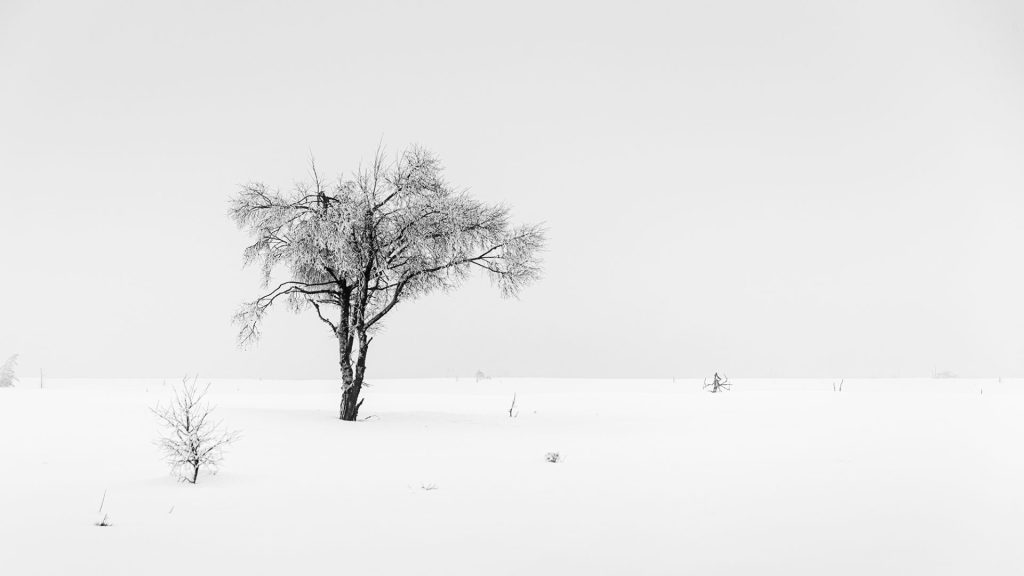
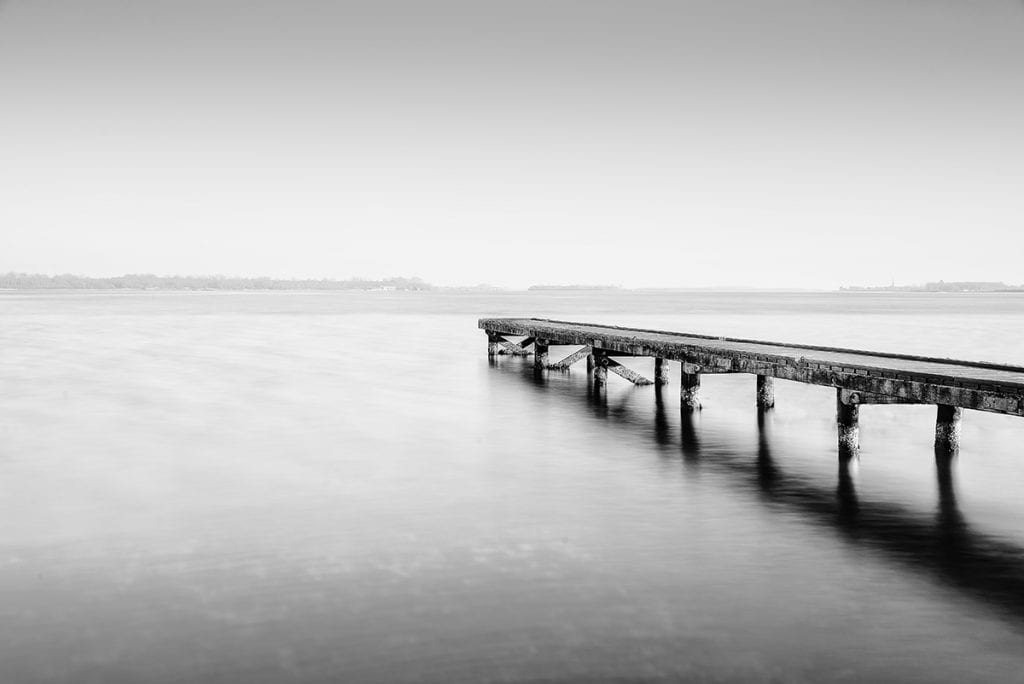
There is nothing wrong with a lot of white space in a black-and-white photo. It’s all about balance and the visual story you are trying to communicate. When appropriately used as negative space, white can help define a focal point, isolate a subject, and accentuate visual balance, like in the picture below.
Tip# 5. Look for textures in the landscape
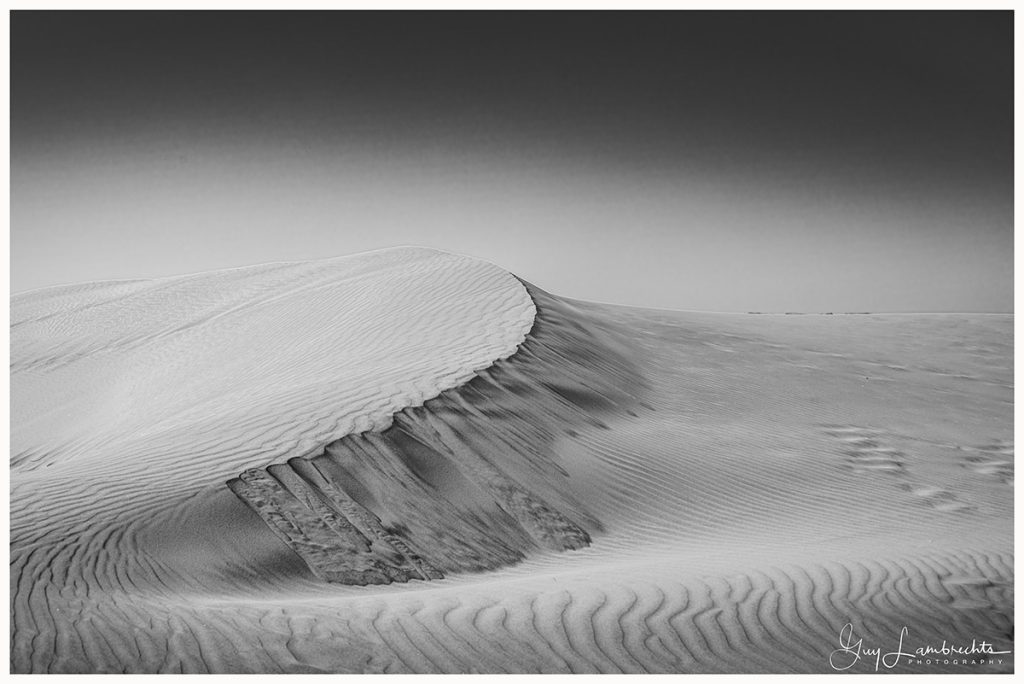
Shape largely makes the picture, but the texture does the rest. It can also influence mood and emotion. Every landscape is the sum of its parts, including the distinct details of its textures and patterns. These can be found everywhere, whether it’s the wind patterns in a desert’s sand or the erosion of a rock or cliff face. The world around us is full of texture, both natural and man-made aspects. Black & white is a perfect way to draw your viewer’s attention to these elements, particularly if you place them in the foreground to lead our eye into the scene. This helps to create another sort of contrast.
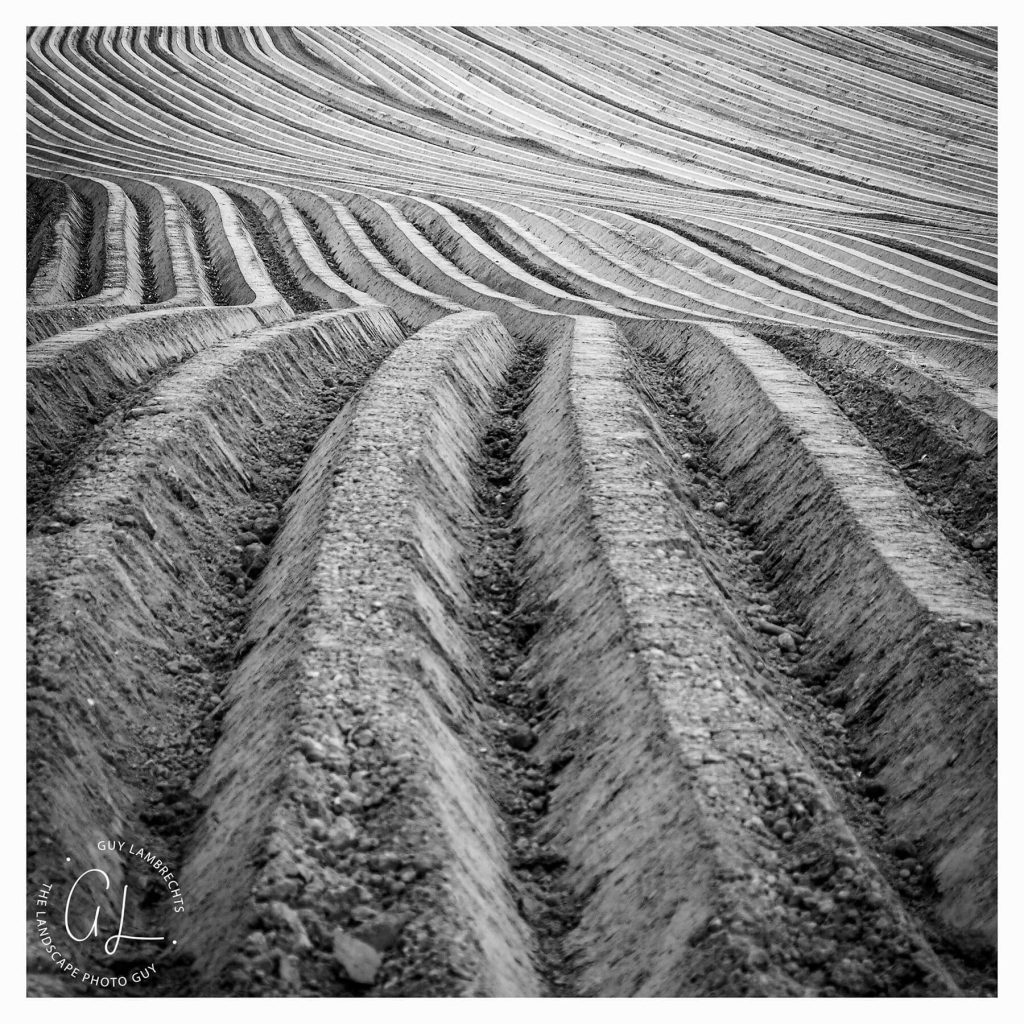
Strong side lighting or backlighting can emphasise an object’s texture. Therefore, shooting later in the day pays off when the sun is lower and the light comes from aside. This will strengthen the landscape’s undulations and help you avoid a flat image.
Tip# 6. Be expressive
Without colour, we can enhance a sense of simplicity, loneliness, or tranquillity in a black-and-white landscape. Black-and-white photos inherently feel like a more artistic and emotional expression of the scene. Black-and-white brings us to the inner beauty of a scene and evades the distraction of colour.
I find evoking a feeling and emotion important in an image, especially in a landscape. That is probably why I am always strongly attracted to black-and-white images. Have also a look at my blogs on creative landscapes and the one on fine art landscape photography
Tip# 7. Keep it simple
Our wide-angle lenses make it tempting to include as much as possible in the scene. It’s a simple trap to fall into. Black & white allows you to reduce your scene, so focusing on your composition’s simpler and more formal elements is better. Rather than looking at a landscape and thinking about how you can include more, think, ‘How can I include less?’. Snow helps to simplify your landscapes.
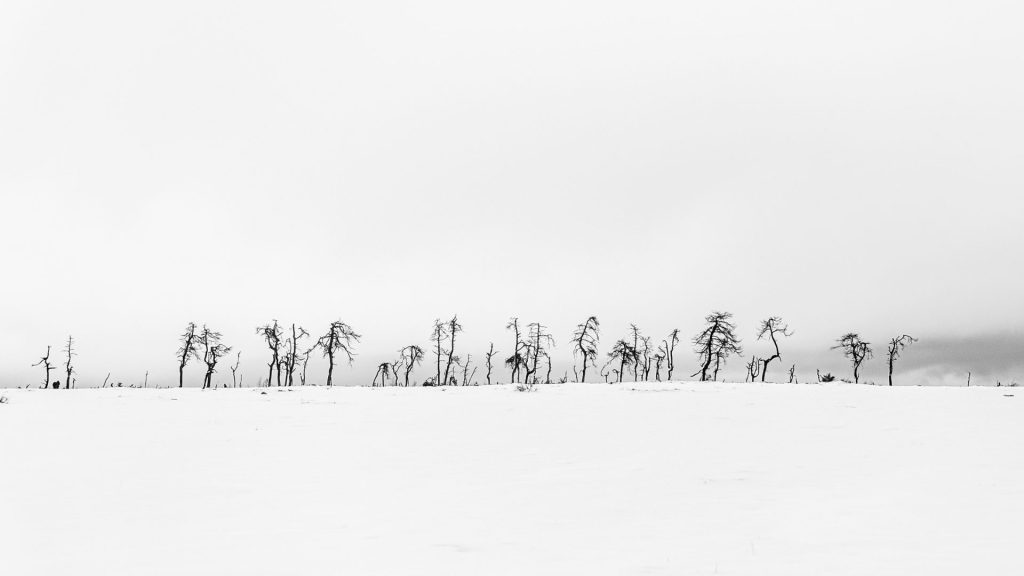
Speaking about simplicity, do also have a look at my blog on minimalism in landscape photography
Tip# 8. Get started with long exposures landscapes
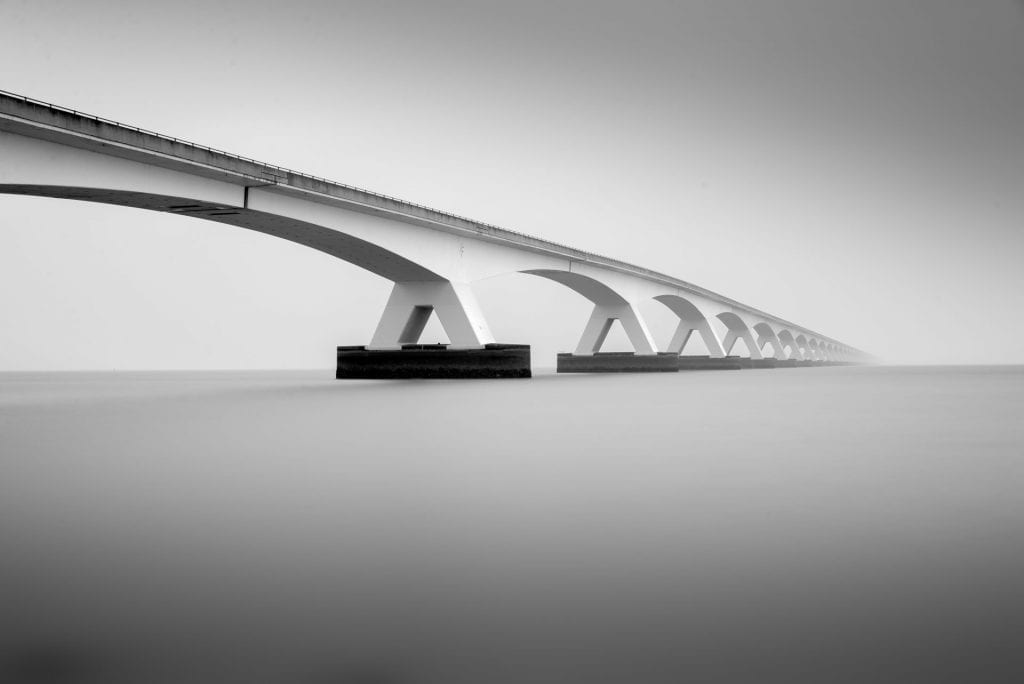
Long-exposure black and white photography is becoming popular mainly because long exposures reduce your scene. This can have the effect of making clouds appear as brushstrokes or the surface of the water of a river or ocean look as if made of milky white glass.
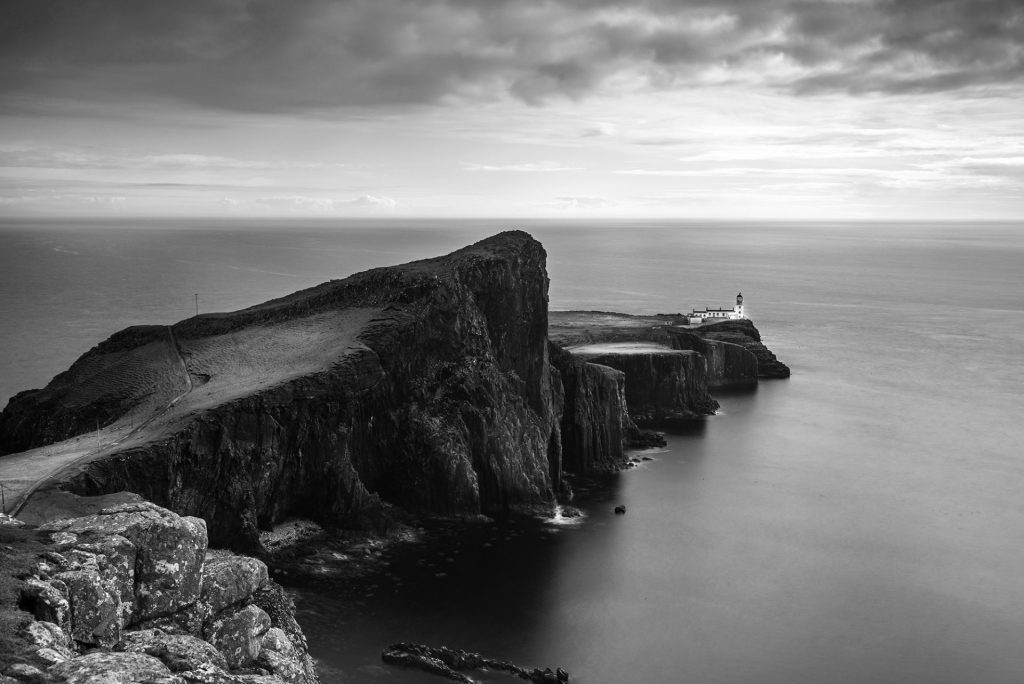
Another advantage of long-exposure photography is that you can do it on cloudy days. And the result will probably be even better than in colour. It’s surely a way to take advantage of the light unsuitable for the colour landscape.
Have also a look at the blog about the weather: weather and landscape photography
Tip# 9. Look for balance
By balance, I mean that the image looks balanced throughout the composition. You do this by shifting the frame and juxtaposing subjects within the frame so that objects, tones, and colours are of equal visual weight to compare or contrast or to create an interesting effect. The photo will be balanced when subject areas command a viewer’s attention equally.
Compositional and thematic elements relate to one another. At first, you will try to arrange your scene (with leading lines, the golden ratio or framing), but while doing that, you will hopefully also notice the more poetic instances. This can be the rush of waves or the sweep of clouds in the sky. This will come to you as second nature when practising.
You can use your histogram to visualise your photo’s tonal value to balance the tones. We want a healthy balance of light and dark deliberately chosen to create mood, feeling, and emotion.
Tip# 10. Choose the best season for black-and-white landscapes
Every season has its virtues, but autumn and winter are probably the real winners for black-and-white landscapes.
These seasons bring the weather with more clouds (diffusing the light) and lower and more moody light, giving your scene a dramatic edge. Mist and fog are more likely in these seasons, elevating your shot to another level.
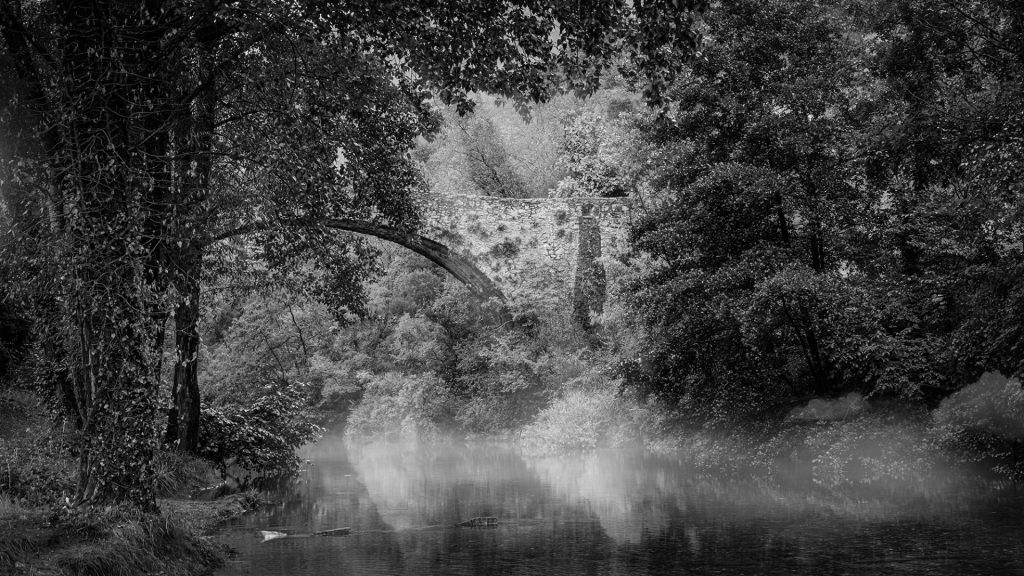
Go to my blog on weather and landscape photography. Working in black and white can extend the usable hours in the day for landscape photography because there is more emphasis on the composition than the quality of light. You can often shoot in harder light than you can with colour.
Tip# 11. Use filters for black-and-white landscape photos
For many landscape photographers, filters (polarisers, graduated, neutral density, etc.) are the next step towards outstanding photos in black and white. Filters are available in different strengths
A polarising filter reduces the reflection on shiny or wet surfaces and darkens a blue sky.
A graduated neutral density filter (clear on the lower half and then graduated into a darker tone at the top) will help overcome the strong transition from light to dark (dynamic range). It will also help balance the bright sky and the darker foreground.
A neutral density filter increases the length of your exposures to emphasise movement and motion blur. How much blur will depend on the strength of your filter (3, 6, 10, 15… stops). Use filters smartly, and look at my three-part blog on filters: filters-part 1, filters-part 2, filters-part 3.
Tip# 12. Converting photos into black and white
Black and white might sound simple, but it is more than removing all the colours and desaturating the picture. As already explained, composition and light are paramount. Processing black-and-white photos can also be complex because of the use of luminance masks or Photoshop techniques.
Over time, I might produce a blog on the black-and-white conversion process. So, I will not go into too much detail here.
Black and white is a matter of light, or no light and all shades in between. The best results for black and white photographs are created in post-processing. When taking or composing your picture, you can already previsualise in black and white. When shooting raw files, you will retain all colour information if needed during processing.
While post-processing, you make artistic choices of darkening or lightening other parts, as the famous Ansel Adams did in his darkroom (dodging and burning). You can play with more or less contrast wherever you want without overdoing it. I advise you to be very selective and edit localised in specific areas only.
Working in black and white requires learning new skills, regardless of which software ( Adobe Lightroom or Adobe Photoshop) you prefer to use to process your landscape photos. It may also be learning how to use a plug-in like Silver-efex-pro.
In Photoshop, there are many different possibilities for making a black-and-white conversion. As usual, some ways are better, and some are worse. As already said, I will return to that in a future blog, but I do not recommend changing the mode of your picture to grayscale. Of course, you get a black-and-white picture, but it will surely be too flat and with too little contrast. Also, working with a Hue saturation layer mask and turning down the saturation will not give you the best result. You will get better results with the black-and-white layer mask or the gradient map layer mask. These two options allowed playing with the colour information and adjusting the tonal values accordingly.
As already mentioned, I strongly advise taking RAW pictures in colour because the colour information is needed to produce a nice black-and-white photo in post-processing. If you would take the photo in black and white, you discard already invaluable information.
Also, take your time for post-processing. A good black-and-white landscape photo should not be edited in a few seconds. You will have to work step by step, bit by bit, to achieve a result that makes you feel good. Remember that the famous Ansel Adams also spent hours in his darkroom dodging and burning. And remember that the black-and-white conversion is the finishing effect in a matter of speech. First, your colour picture should be optimised for colour and tones because that information will tell Photoshop how to translate this colour information into black-and-white tonal values. After the black-and-white conversion, you can still improve with dodging and burning and bring in texture but also draw the eye of the viewer to your focal point in your landscape. We will use black to narrow the viewer’s focus to the focal point, and the mid-tone values are used to create depth.
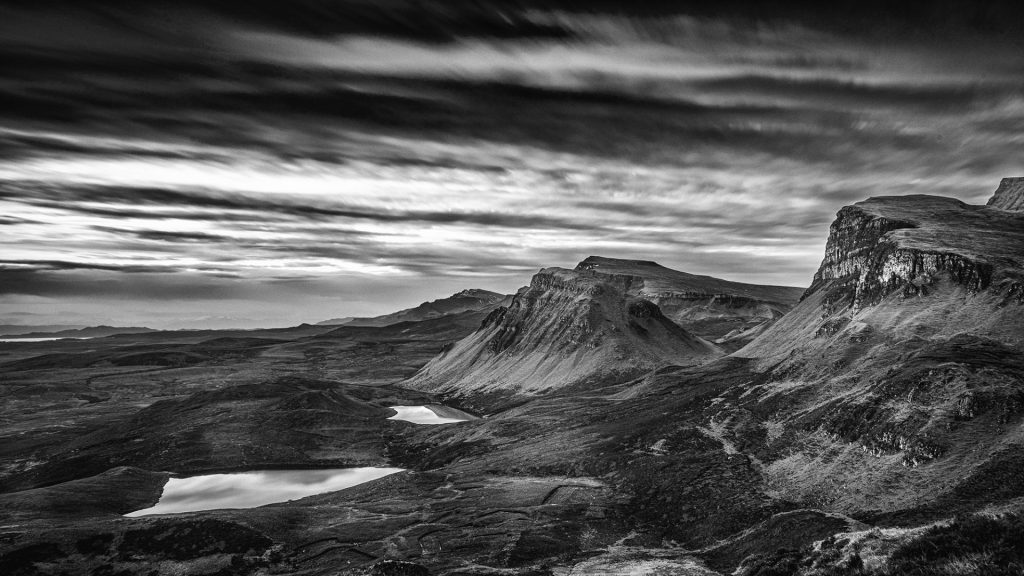
When talking about editing, we come close to the subject of “fine art landscape photography”, where the photographer can decide how to process a file to his or her taste and feel. Please have a look at my blog on fine art photography: Fine art Landscape Photography
There is no right or wrong. You, as an artist, will decide what the result should become. Should it be light, calm and delicate by reducing the tonal range, or bold, confident or dramatic by exploiting the tonal range? Of course, we do not want to create technical flaws in the process by overdoing things or creating clipping in the histogram. Strive to retain detail in the blacks and the whites.
Black and white photos often allow more intense processing than colour photos before they appear fake, but it’s just as important as ever to be subtle and not overdo your edits.
Tip# 13. Study your location
Landscape photos, as mentioned earlier, rely a lot on colours. However, this doesn’t mean they must appear flat or lifeless in black and white. As you know, a nice landscape does not automatically give a good landscape photo. Through the different tips, it should have become clear that black-and-white landscapes need a lot of effort and that some scenes or light conditions are better than others. You need to use your artistic eye to determine which scenes will give you amazing black-and-white images (or maybe not).
Prepare yourself by using Google Maps, Google Earth, and apps like the Photographer’s Ephemeris or Photopills to know in advance the direction of the sun and the light. This will allow you to nail the perfect composition and accentuate the contrast. You can always continue with the colour version whenever you doubt whether it might work in black and white.
Tip# 14. Experiment and Practice
Before finalizing your shots, experiment and practice on the spot. Play around with the settings on your camera, the position and the height of your camera etc. Turn your camera from landscape mode to portrait mode or vice versa. Try to determine what feels best for you. Try different apertures (from f4 to f16), shutter speeds, and ISO. The ideal set-up, however, is a low ISO and small aperture; the lower the ISO, the better. You can also try using different lenses. Experiment with a wide-angle lens and switch to a telephoto lens to compare results.
And, of course, you could also experiment with post-processing and try different methods. Make different conversions and compare the results to create your story exactly.
Conclusion
While black-and-white landscape photography is not something you can master overnight, there are things and tips you can master to develop your abilities. It’s not easy, but it can be learned by experimenting.
I hope that these simple tips can boost you to the next level.
As always, leave a comment or question on this blog.
Leave a reply