In this blog, I want to take you along to “Minimalist Landscape Photography”, one of my favourite disciplines of photography.
Landscapes are one of the most popular genres among photographers. However, they can also be one of the most difficult to master in terms of light, exposure, composition, and other techniques. Therefore, minimal landscape photography is about going the extra mile to reduce the landscape to its purest essence.
The minimalist art movement originated in the 1950s and 1960s and aimed to limit the number of visual elements. Minimalism also entered photography. Therefore, minimalist photography is a concept that requires little effort to understand and challenges the viewer fully.
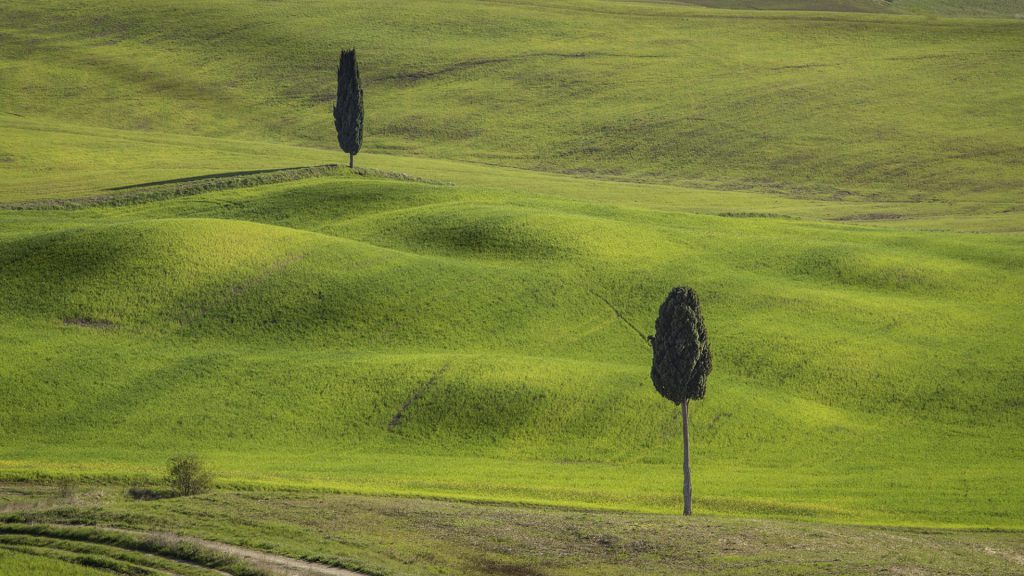
Minimalism is reducing the image to its essential. The focus is entirely on the subject, which draws you into the image like a magnet. Even though there is little to see, you keep looking at it. So, what is the secret of a strong minimalist image? It is an interesting composition, with the most beautiful light and the proper technique. The image should also tell a story about you as a photographer, making your photos personal, unique, and powerful. A minimal picture tells a personal vision, and the photographer’s eye is decisive.
Making minimalistic images is not always easy. The idea is to show a certain feeling to the detriment of the details. Aesthetically, minimalist photography is a purified form of beauty. It is a representation of order, simplicity, and harmony. This makes the context less evident for the viewer or sometimes makes the subject partly or entirely unrecognisable.
Minimalism is much more than just not having much in your frame. When taking a minimalist approach in landscape photography, you should consider at least the following topics: subject choice, subject placement, negative space, isolation, and colour. What we’re trying to do in minimal landscape photography is to remove all the visual chaos surrounding us and choose what to leave out of the composition. Then, we reduce the scene to its simplest form, perfectly distilling and capturing the landscape’s essence. You probably know the statements “Less is more” and “Less but Better” precisely express the essence of minimalism. But, again, emphasis is given to simplicity, limiting the work to a minimal quantity of colours, forms and lines. We speak of abstract or minimal photography when it becomes more important “how” you photograph the subject rather than “what” you photograph.
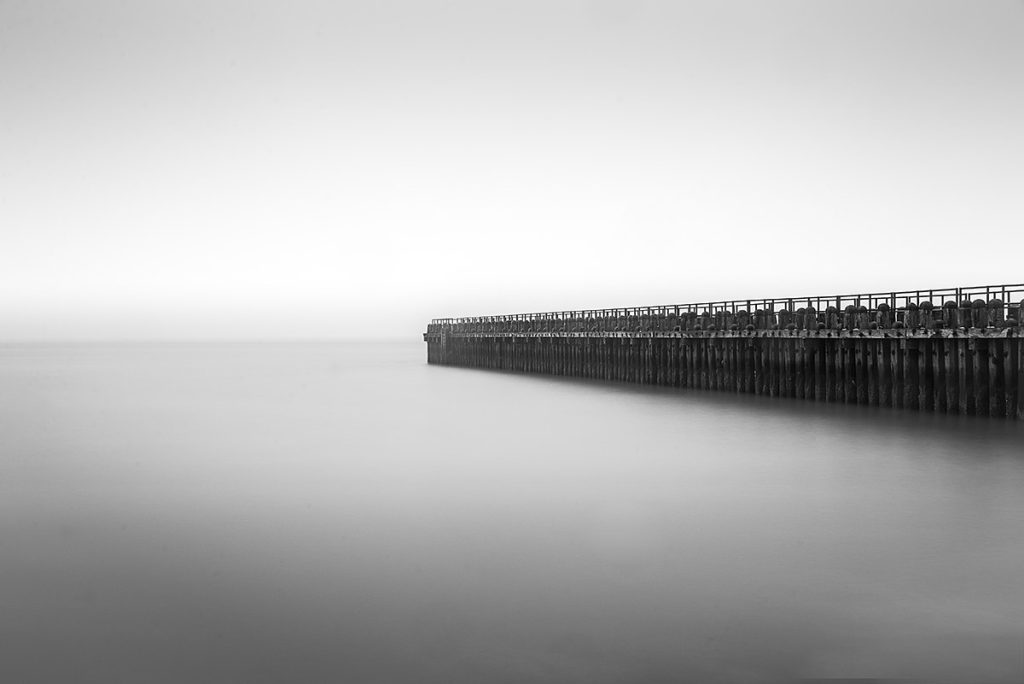
I love capturing minimalist photographs, which often come naturally to me. The Zen-like view is more pleasing to my eye than the mess in the frame. I will always search the scenery for the main subject and how to frame the composition as simple and beautiful. The landscape is still recognisable in my landscapes and black-and-white long exposures. So, I ask myself: How far can one go in simplifying an image and still be able to call it a landscape?
Please also have a look at my blog on fine-art-landscape-photography
Why would we make minimal landscape images?
Well, here is a non-exhaustive list of good reasons:
- Originality and uniqueness: The chances of someone taking an identical photo are low, and frequently photographed and well-known locations can be portrayed differently.
- Satisfaction: Minimalist photography is not always easy and forces you to look much more and for much longer. However, if it works, it is much more satisfying.
- Infinite possibilities: Nature, landscapes, cityscapes, and seascapes offer plenty of subjects you can portray in a minimalist way. The landscape is full of lines, patterns, and textures.
- Everywhere and always possible: minimalist images can be discovered everywhere, and you don’t have to wait for the very best light
In today’s blog, I would like to give you plenty of tips to create beautiful fine art and minimal landscape images. Do not forget that you should combine these different tips. The more tips you combine, such as location, timing, composition, exposure, colour, etc., the better.
Our 27 minimalist landscape photography tips
Tip# 1. Try to find a simple landscape.
Tip# 4. Choose an appropriate angle of view:
Tip# 7. Think About Composition
Tip# 11. Use lines to lead the viewer’s eyes
Tip# 13. Introduce patterns and textures
Tip# 14. Tell a story with minimalist landscape photography?
Tip# 19. Keep your images balanced
Tip# 21. Eliminate colour and shoot in black and white
Tip# 22. Use long exposure (and B&W)
Tip# 26. What equipment do you need for minimalist landscape photos?
Tip# 27. Remove distracting elements
Tip# 1. Try to find a simple landscape
A simple landscape is the best option for getting started with minimalist photography. When you’re out and about, scan your surroundings for scenery with just a few elements. For example, a simple field and a blue sky are perfect. A small hill or rocky outcrop could also work well. Specific locations like coastal scenes, dunes, deserts, and agricultural fields lend themselves to a minimalist approach. They offer large expanses of uniform background, perhaps interrupted by the occasional post, bridge or tree.
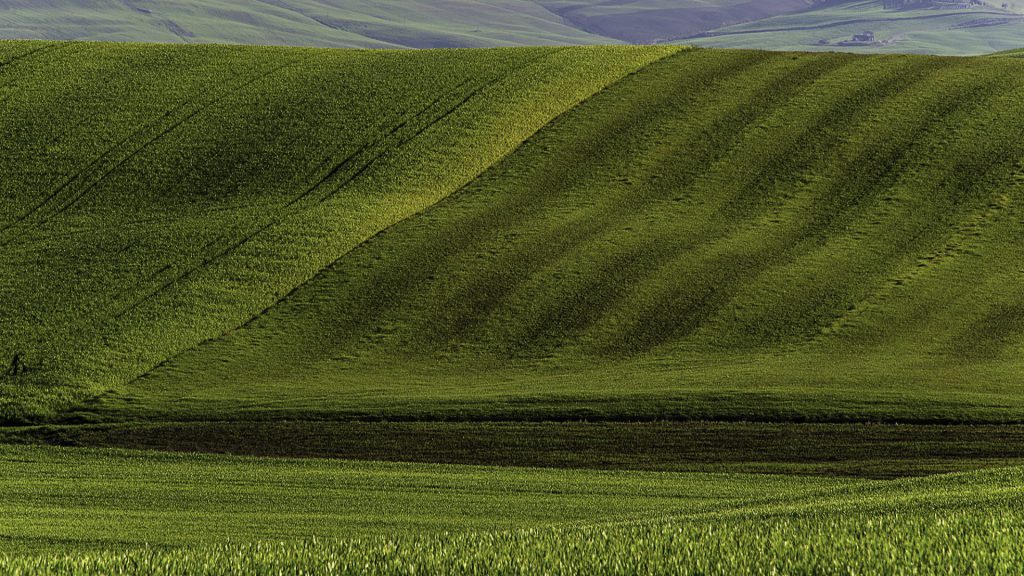
So, choosing a location is very important. Of course, it will be apparent that an urban environment is not the place to go for vast, minimal landscape photos. However, it is not excluded that you could make perfect, minimal shots by focussing on specific details.
Try to avoid busy landscapes with many visual elements. However, if you must shoot in a busy landscape, there are specific techniques you can use to eliminate distractions, and we’ll discuss some of these tips further in this blog.
Quite often, there’s so much visual chaos wherever we’re standing in the landscape, so much information coming into our eyes and usually parts, which can dominate. But for a minimal image, it’s often not what you’re looking for. It’s something smaller, something more discreet and sudden. So, it’s not always immediately apparent when we arrive at the scene.
Therefore, I would say take your time, slow down, take a breath, and look around the landscape to see if one element captures the feel of the landscape that we can isolate from everything else. For that, we can go to the next tip.
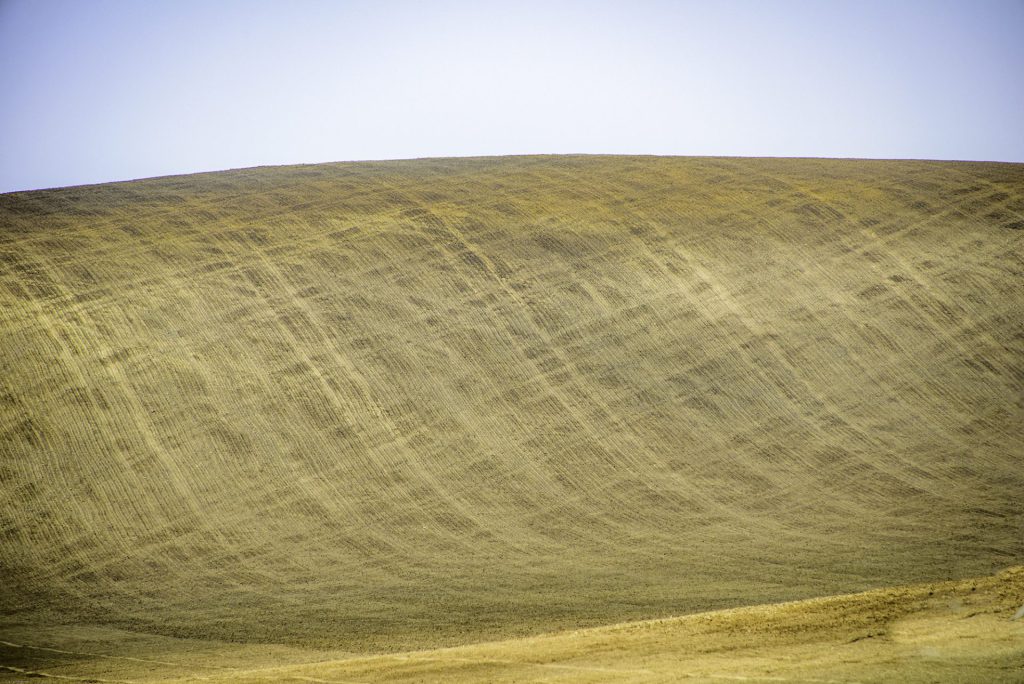
Preparation and studying the location before you go out will give positive results for landscape photography. Everything starts with good preparation, analysing the various possibilities and subjects in advance. On location, be open-minded. Take time, observe the surroundings, and be open to new approaches.
Tip# 2. Include a focal point
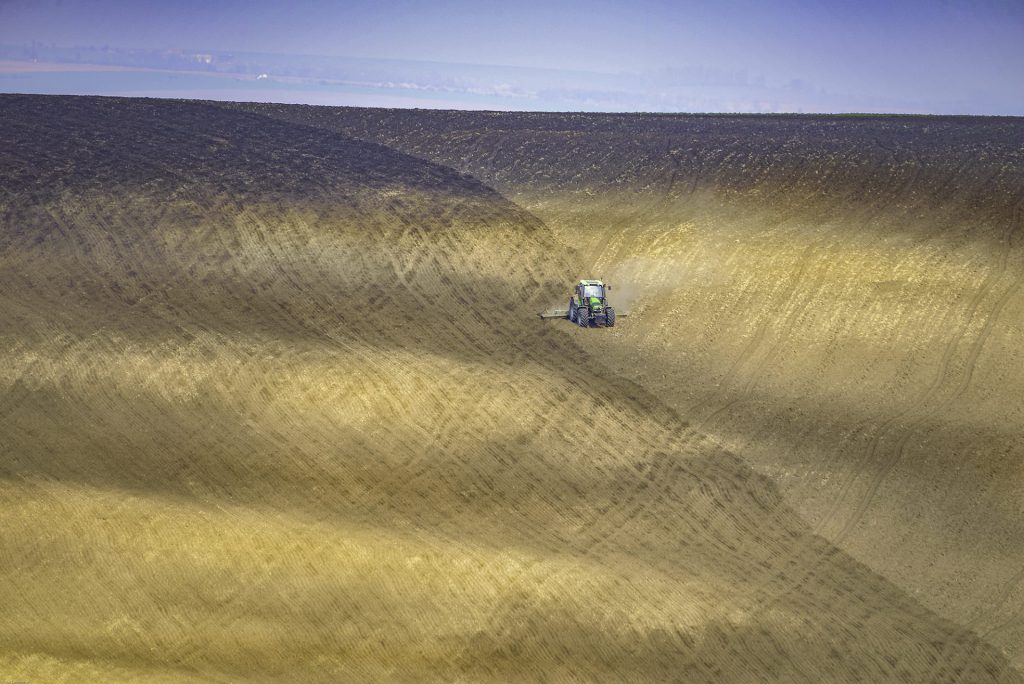
What can we do to create compelling minimal landscape images? First, we need to find elements within a scene that can be isolated from the rest of the landscape, like a tree, rock, cabin, boat on the water, or mountain peak. And to do that, we need to take our time when we’re actually on location. So, once you’ve found a suitable landscape, look around for an intriguing object you can use as your focal point.
The point of interest is often far away. Still, by spending a little time observing the scene, a telephoto lens can usually find just one tiny part of the landscape that can be isolated excitingly and cut off from the rest of the scene to create a more minimal frame.
You can then start to build your composition around this central subject, and in a minimal photograph, that focal point is often the only thing in the frame.
If your eyes spend too much time searching, perhaps your focal point isn’t strong enough.
If you can’t find a focal point, using a person as the focal point could be a good idea. Why not ask a friend, partner, or even your kids or dog to pose in the scene? You could even pose alone, using a remote control or delayed capture.
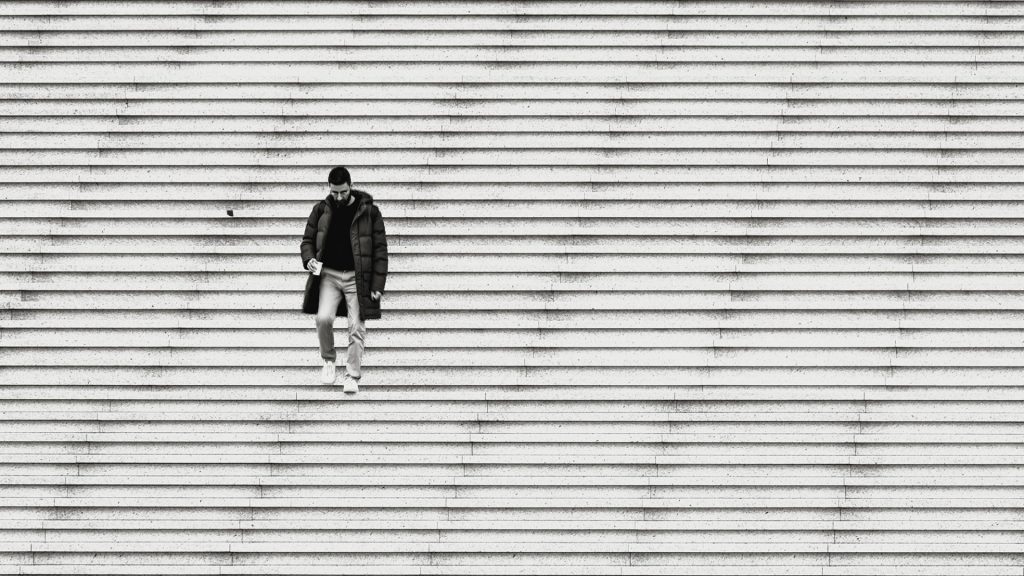
When composing with a telephoto lens, giving the subject or focal point plenty of breathing space is essential. That means there’s lots of space between the subject, the edges of the frame of sight, and the top. If we get too close to the borders, it will feel cramped. However, having lots of breathing space makes the image more prominent and increases the sense of isolation.
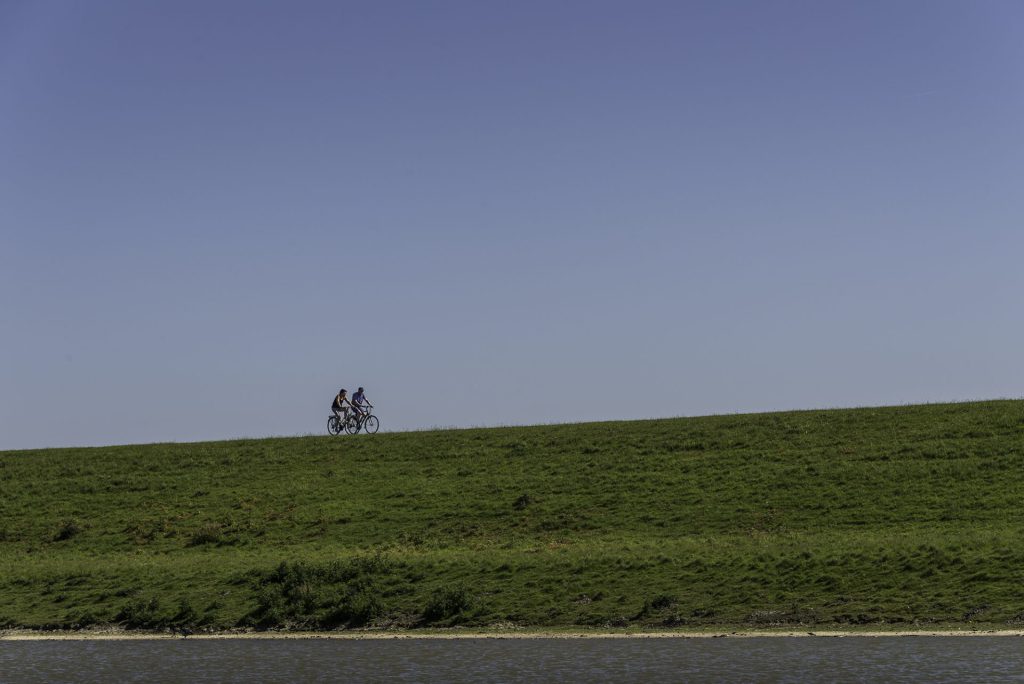
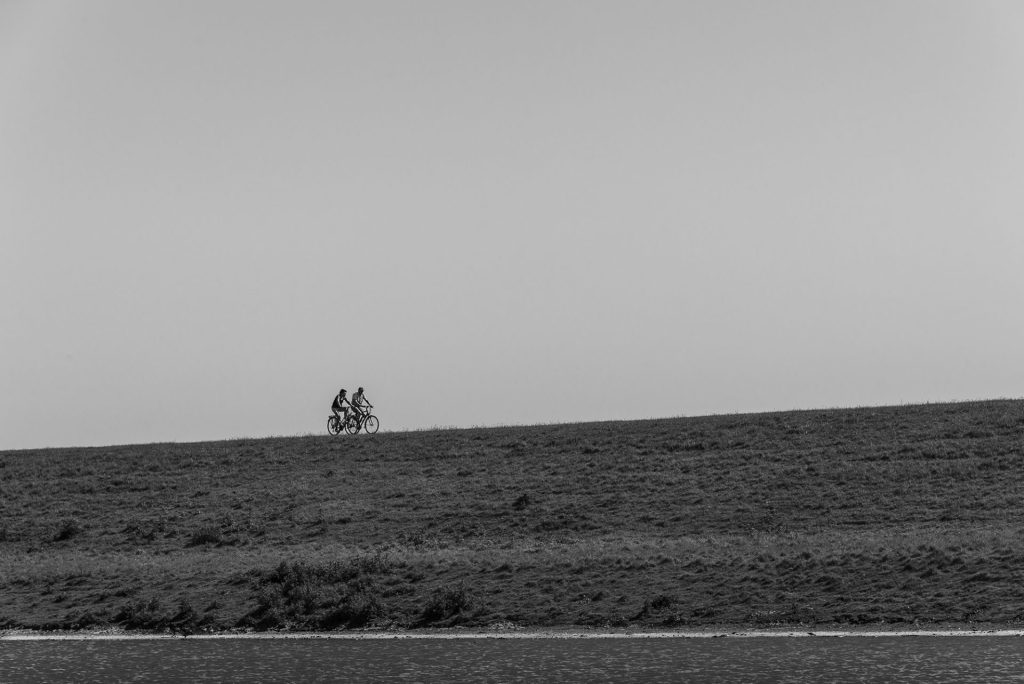
See also tip #9 on negative space
Find different perspectives to have fewer distractions. Walk around the subject and find the perfect spot to take a photograph. If it’s impossible to get a clear view of the subject, and the subject is something you want to capture, you can use Lightroom or Photoshop to eliminate some elements you don’t want to see in the final photograph.
Tip# 3. Look for a lone tree
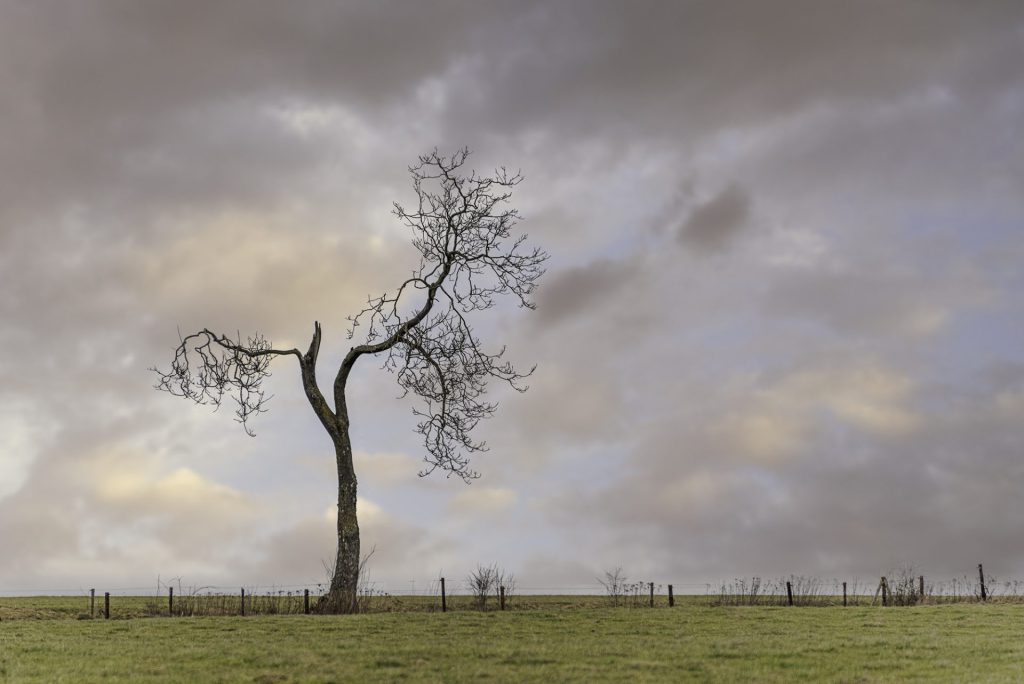
A lone tree always makes an attractive focal point in a minimal landscape. The shapes of solitary trees add great detail and interest to an otherwise empty landscape. In the meantime, I have a vast collection of lone tree photographs on my computer’s hard drive. During my hikes, I can’t resist taking pictures of solitary trees, young and old, who have survived age, weather, fire, and human interference. Even damaged trees with broken branches express great appeal to the eyes.
Trees can also seem almost human-like, evoking the viewer’s emotions and helping them connect with your image. The tree symbolises growth, strength, personal development, character, seasons, balance, strong roots to the past and possibilities in the present and the future. Furthermore, the tree of life symbolises eternal life: budding in spring, lush growth in summer, fruits and decay in autumn and tranquillity during winter. The tree represents growth, strength, personal development, character, seasons, balance, strong roots in the past and possibilities in the present and the future. To convey this feeling to the viewer is also the task of the minimalist landscape photographer.
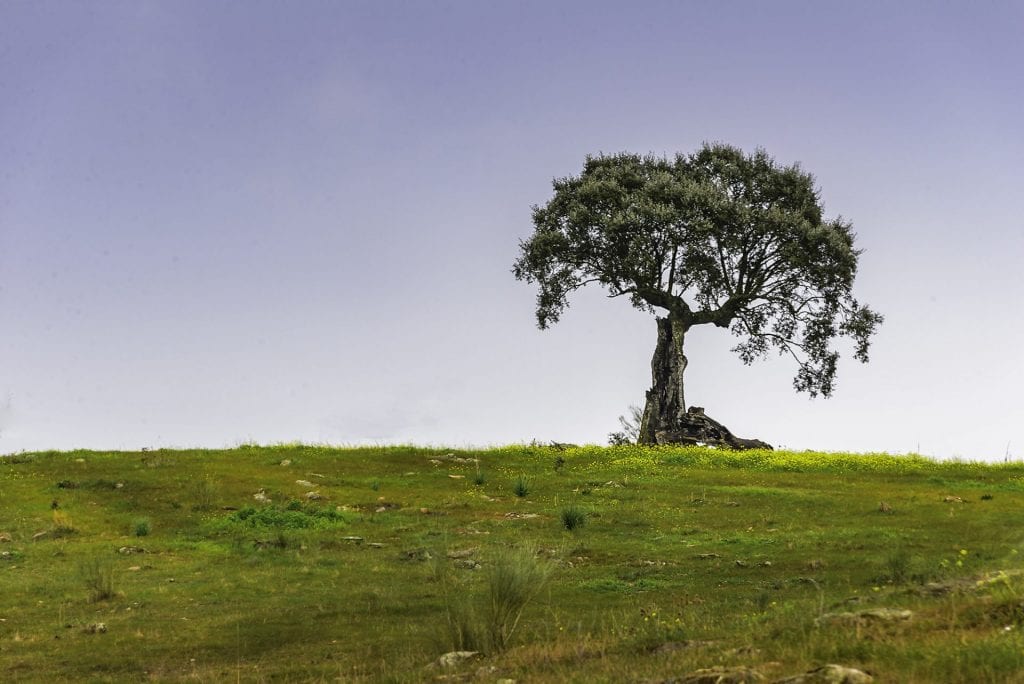
So, keep your eyes open for single trees in open spaces while in nature. For example, if you’re shooting in a busy landscape, try getting closer to the tree to eliminate the surrounding distractions. Experiment with your shooting angle and composition until you achieve a clean, minimal image with a solid focal point. Shooting from a low angle will give you a plainer sky behind the tree.
Tip #4. Choose an appropriate angle of view:
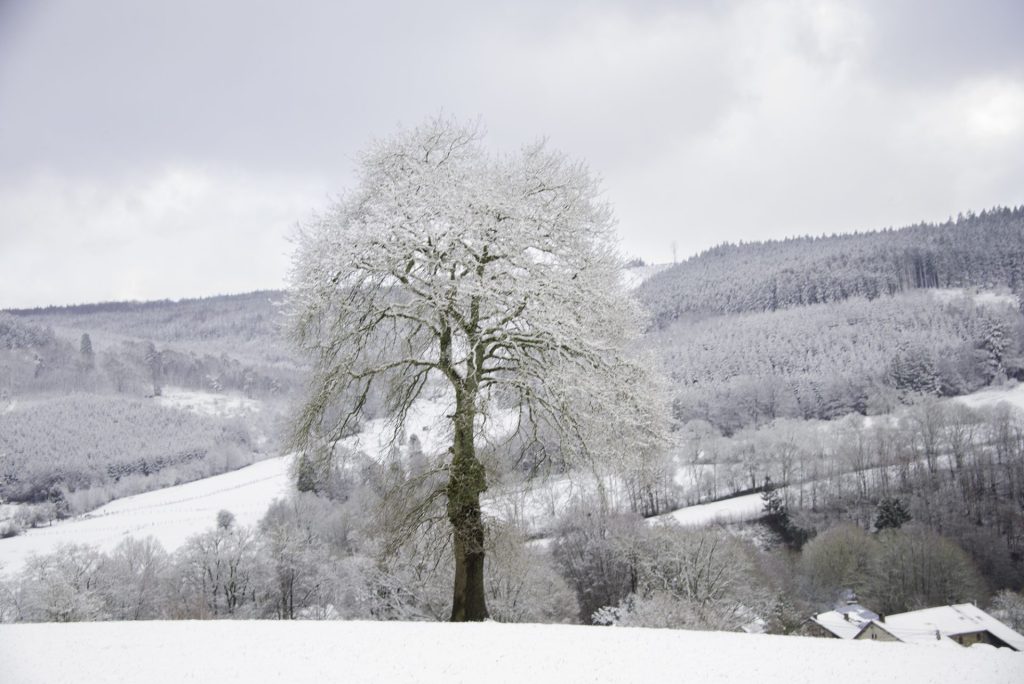
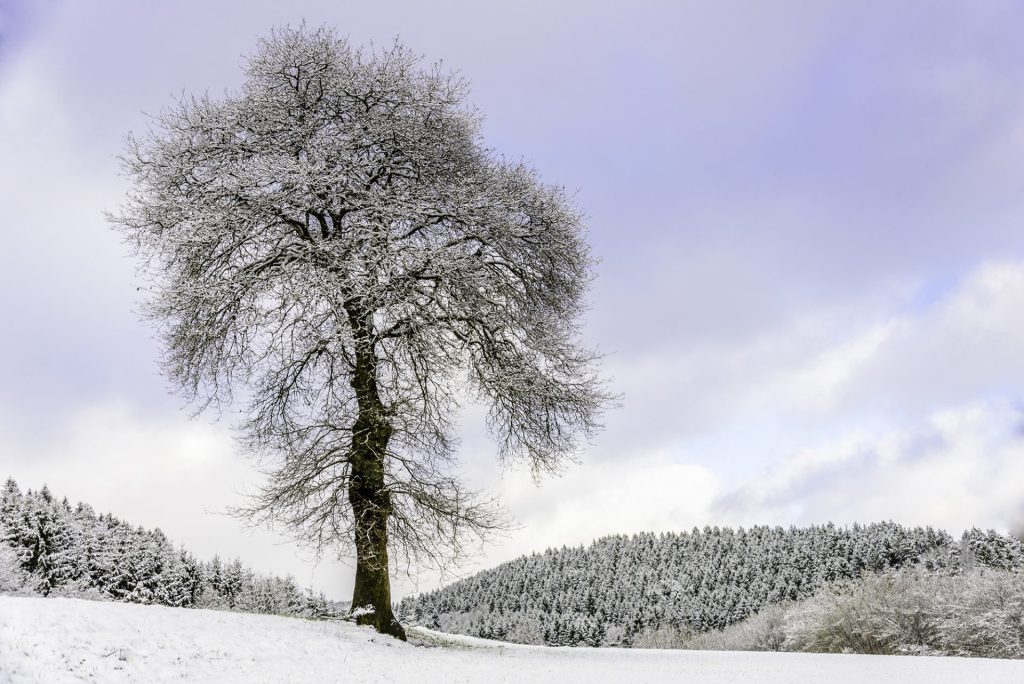
Choose an appropriate angle of view. By shooting a tree from a low point of view, for example, we can project it on a plain background—the sky. Then, if more trees are behind your tree, it will not show off or go unnoticed.
Placing the subject in more extreme positions, such as the centre or edge of the frame, can create a more dynamic look to an image. Rules can be broken. But be aware that deviating too far from the traditional rule of thirds will often disturb the eye and look inharmonious. You will have to find out what works and what does not.
Tip# 5. Include more sky
One way to simplify the image is to include lots of sky. Shooting from a low angle lets you get more of the sky in your photo.
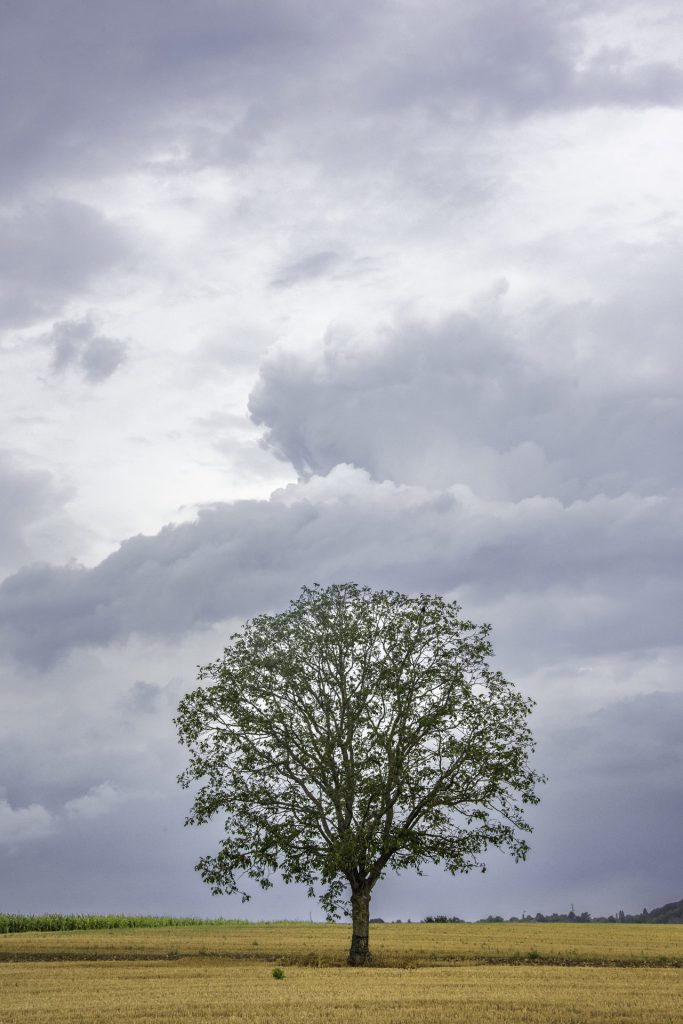
Alternatively, as the tip about lone trees explains, have your subject stand high on a hill while you shoot from below.
When pointing your camera at the sky, you must consider the lighting and the sun’s direction. If you shoot with the sun behind you, your subject will be well-lit, and you’ll be able to make out the colours and details in the scene. If you shoot directly into the sun, your subject will be backlit, making them appear as dark silhouettes.
While the colour and detail of your subject won’t be visible, a silhouette can add a fantastic sense of drama to your photos. For example, it can be fun to put your subject on top of a hill and try shooting from different sides to see the difference.
Tip# 6.The use of colour
Colour is another essential element when it comes to minimal landscape photos. Bright contrasting colours don’t work, like a colourful sunset or a beautiful autumnal scene, because there are too many details to catch your eye and distract you. What works well is a limited palette and more subdued tones, which is one reason snow works so well; covering the landscape in this white blanket creates this friendly white canvas system.
You can have two or a maximum of three prominent colours in the landscape. Either go for contrasting colours or different shades of the same colour – whichever is effective for the scene you photograph.
The reverse of suppressing colour or keeping colours to a minimum so the viewer can focus on something important in the landscape is emphasising a colourful focal point. Once you’ve found a uniform background, like snow, water, or a field of grass, you could try adding a pop of colour to your photo. Adding a pop of colour to your landscape photos will make your subject an easy target for your viewer’s eyes. I think red and yellow work great. Both are cheerful and provide terrific contrast.
If you’re using a person as your focal point, the easiest way is to use colourful props or clothing, such as a bright-coloured dress, jacket, backpack, or hat. A coloured umbrella is also an option. Be creative. Or look for something colourful in the landscape that you could use. Think of a painted house, shed, or boat.
Colour contrast can make minimalist photography powerful and unique. Try finding colour combinations pleasing to the eye, like contrasting sets of black and white or dark and light.
Using a limited number of complementary colours (opposite each other on the colour wheel, like yellow and blue) can also succeed in minimalist landscape or cityscape compositions. Between analogue colours, you have far less contrast.

A pale yellow flower in a sea of green bushes may not provide much pop. But a bright red flower in that same green field will stand out. This is because red and green are almost directly across from each other on a colour wheel. Combining complementary colours can create captivating images.
There is no shortage of combinations to choose from. Some of the most used combinations include shades of purple and yellow, red and blue, and orange and blue.
See my blog on colour: colours-in-landscape-photography
Tip# 7. Think About Composition
So, you have chosen your location and focal point; now it’s time to consider the composition. Even though a minimalist landscape photo has few elements, arranging these elements within the frame is very important.
The composition will affect how easily the viewer’s eyes are drawn toward your focal point and whether the image feels balanced. We will not invent special rules; the general rules of composition in photography also apply here and become even more critical.
See also my blog on composition.
An open mind helps to observe. Calmness, letting go, confidence, and knowledge ensure an open mind. Watching with an open mind becomes more difficult if you are too preoccupied with the technique or the material, you” have to” take a nice picture, are in a hurry or stressed, or are uncertain about the location. Don’t focus only on what you like. Focusing too much on one subject narrows your field of vision. Beautiful subjects can distract you.
Leading lines, such as roads and pathways, are powerful composition tools. Use them to direct the eye into the scene, add depth, or create symmetry. See also tip 11 about lines.
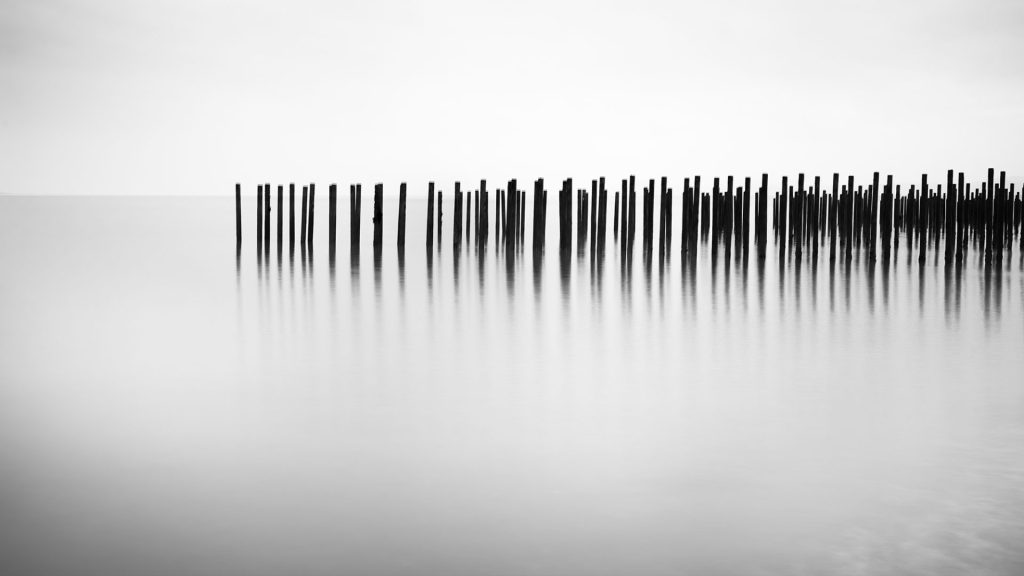
You could also look for elements in the scene to create a “frame” around your subject, such as tunnels, bridges or tree branches. They provide an easy way to isolate your subject and draw the eye toward your focal point. But in my opinion, there is already a danger that it complicates the photo and makes it less minimal. So, if you go this way, the frame should be as simple as possible.
It’s also essential to consider where to place your main subject within the frame. For example, would it look better in the centre, to one side using the rule of thirds, or at the edge of the frame?
If unsure which composition would work best, take multiple shots with the subject in different positions within the frame. Then, you can review and choose the image that works best.
Thinking through your composition before you shoot the photo will reduce the time you need to spend editing and cropping the image.
The first and most crucial compositional rule is keeping it simple and removing distracting elements. Simple means beautiful and is the best way to convey your idea. We want the image to be simple, enjoyable, and meaningful to the viewer. However, we must find a theme that speaks to us and works with lines, shapes, and light to identify the final image with our vision.
Apart from your theme, any other elements included in the frame must contribute to the intended idea and enhance the presence of the main subject—the less cluttered the image, the more accessible it is for the viewer to understand and connect with it. Therefore, as the photographer, you must first decide the main idea and what is necessary for conveying it and exclude everything else from the image. Of course, it is well known and is easier said than done, and sometimes it is not easy. However, as you practice framing, you will improve and find ways to create space between the elements.
You can crop out anything (in camera) that gets in the way of the subject. Sometimes, the only way is to crop on your computer.
When composing a scene, always pay extra attention to the edges of the frame and keep them clean. “busy edges” means placing elements too close to the edge. If you must put your elements on the side, give them room to breathe.
Single-point compositions that consist of the subject (occupying a tiny part of the frame) and plenty of negative space work very well. In photography, the simplest form is an isolated object in a plain background—a boat on the sea or a bird in the sky, seen from a distance.
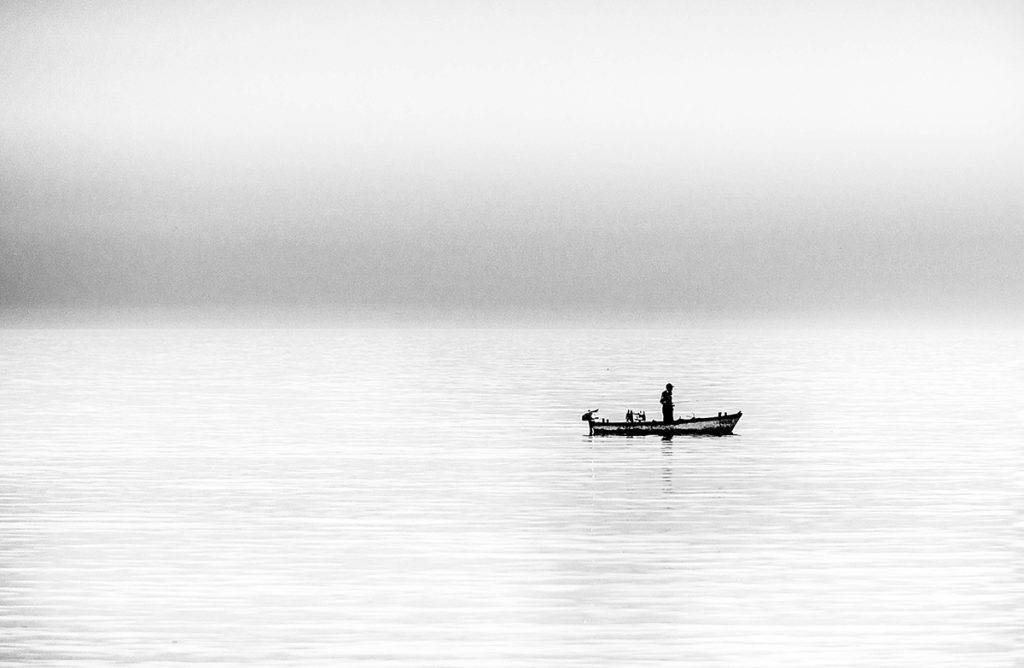
This photo has a single-point composition and a lot of negative space. However, bold compositions can be created with a single subject.
When composing a scene, always pay extra attention to the edges of the frame and keep them clean. Removing them in post-processing is perfect if you cannot avoid particular objects. Photoshop has several tools for this. If you must put your elements on the side, give them room to breathe.
Create a coherent whole. Ensure the sky, foreground, or other elements in the image work together and simplify. The sum of its parts characterises a good landscape photo.
Tip# 8. Light
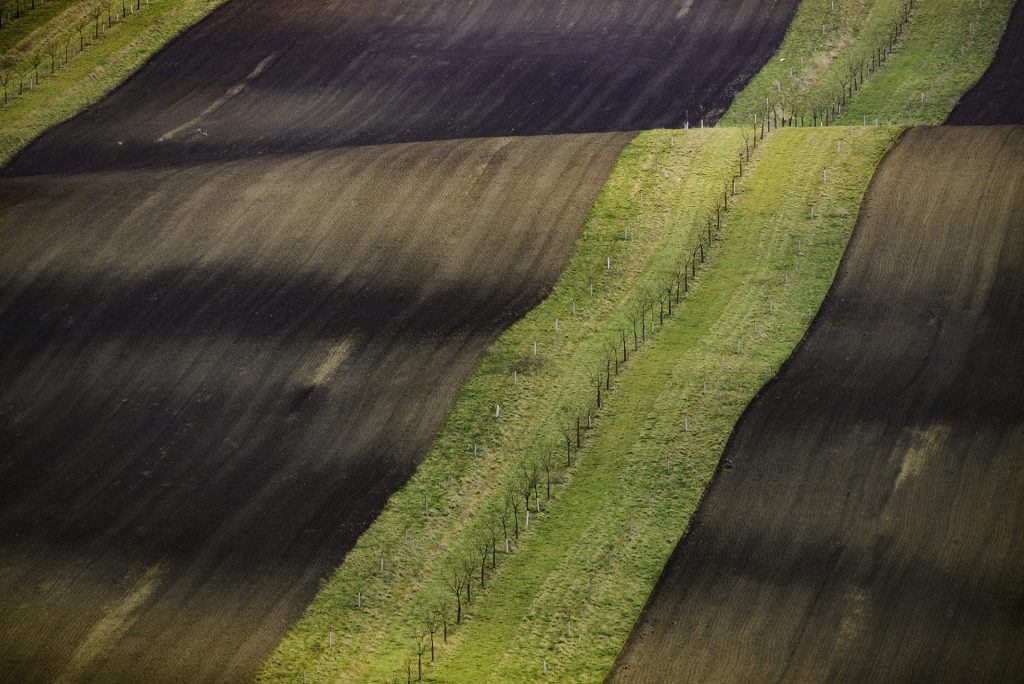
You can also use light to compose minimal landscape images. Early morning and late evening lights create long shadows and are brilliant times to highlight a part of a scene, add depth, or clearly show the shapes and forms on a landscape, especially mountains, dunes, etc.
Tip# 9. Action
Look for actions in the landscape to make the minimal landscape look interesting. For example, the wind blowing away the sand, trees blowing in the wind, birds flying in the scene, someone walking, a rainbow, an interesting shadow, reflections, etc. These can make the minimal landscape more attractive.
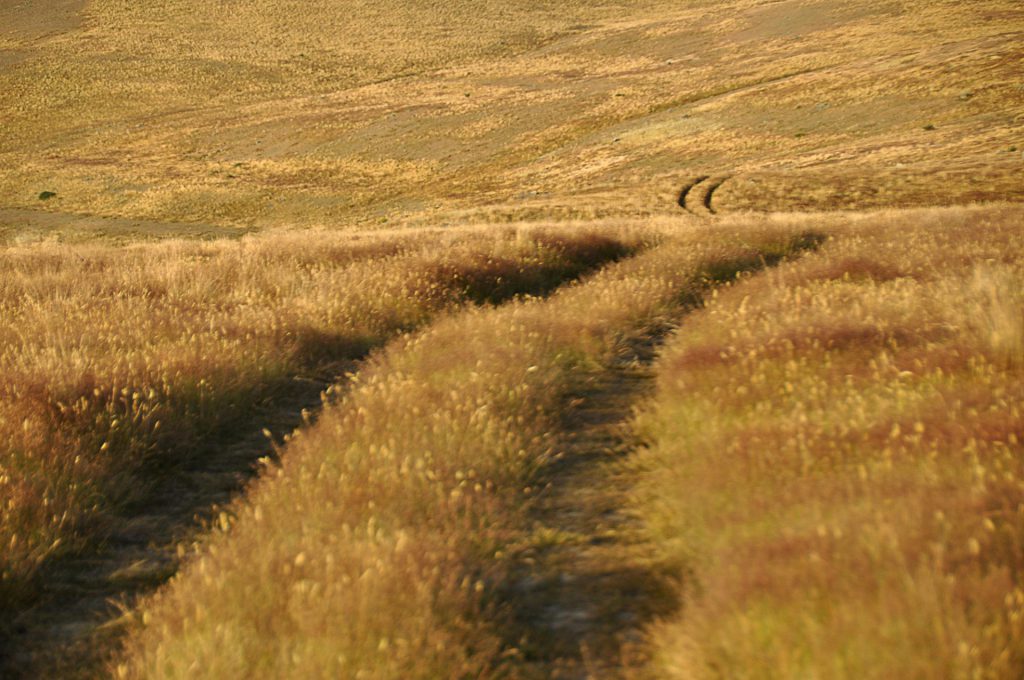
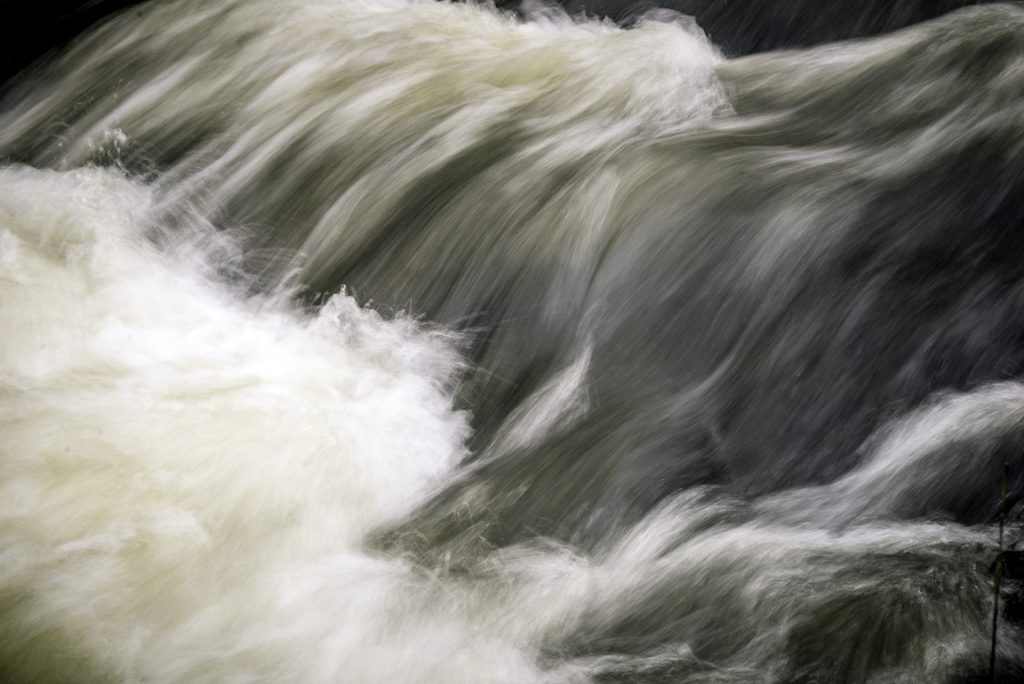
But take care; action can also complicate the view and bring unrest to your picture. One splendid way to simplify action is by using long exposures. See also tip # 22.
Tip# 10. Use negative space
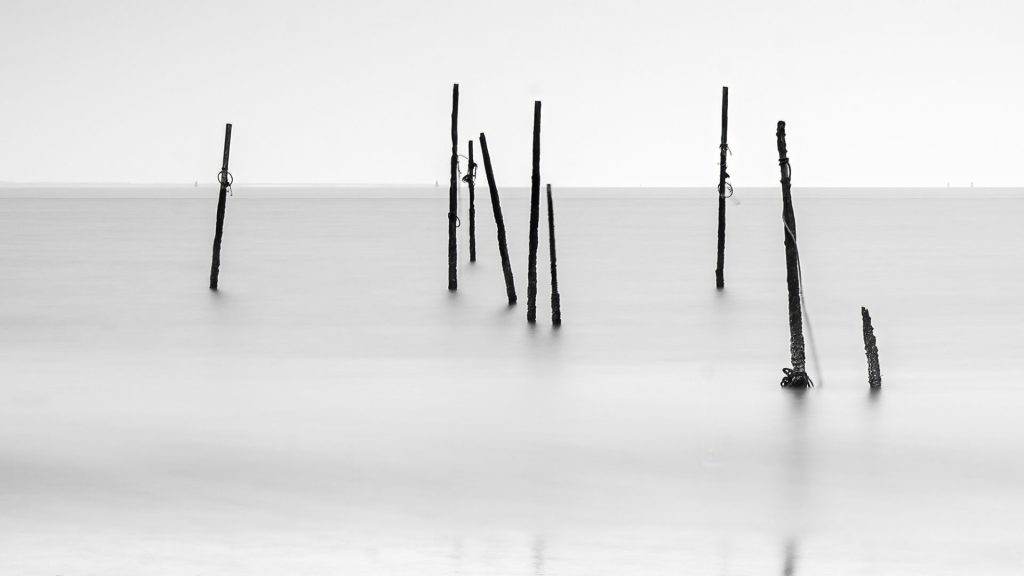
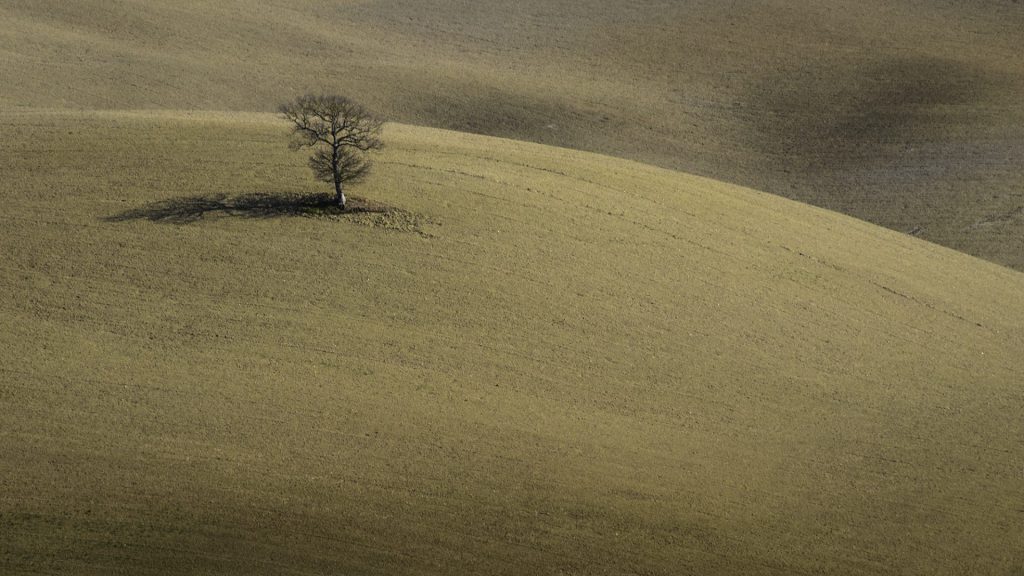
Adding negative space is an essential concept of minimalist composition. In photography, negative space refers to the space around the subject. This space is usually simple in composition and texture. However, it emphasises the subject and makes it more appealing. The spacing can appear in the foreground, middle ground, or background. Even when it is small, the subject should be the most powerful element of the image, and the proper use of negative space must enhance its significance.
Negative space allows you to create an image with a dramatic feel, attract a viewer, and then lead their eyes towards the smaller area of positive space, creating a more minimalistic view. The subject will be more prominent when surrounded by the right amount of negative space.
If the sky is cloudless, try tilting the camera to create a wide-open sky with a tiny subject. Mist and fog give the perfect opportunity to use negative space in photography, but water elements do well. You can use darkness as negative space and light up the subject or have a light around the dark subject.
Negative space will be part of the image in balance as a subject, increasing that sense of isolation. The subject’s position in the frame is vital in any minimal image. What matters the most is balance.
If you have just one element in the frame, you can put that right in the centre, which perfectly balances a symmetric image. (See tip# 12). However, moving the subject from the centre onto a third must be balanced against something else in the frame. So, in a minimal image, you have no other elements in the frame; negative space provides that balance.
Even if small, the subject must be the most potent element of the image, and the proper use of negative space must enhance its significance.
Tip# 11. Use lines to lead the viewer’s eyes
Clean lines and simple shapes are another way of creating compelling images while maintaining a sense of simplicity.
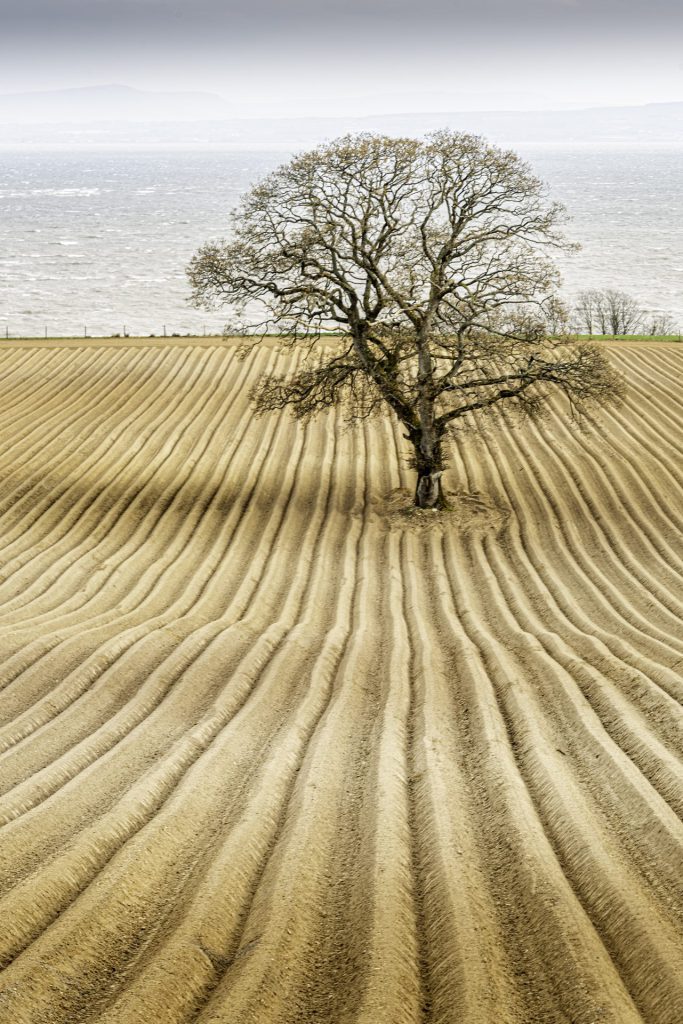
Leading lines, horizontal, vertical, or diagonal, help direct the viewer’s eyes to your subject. The combination of colour contrast and lines can provide a powerful viewing experience. Leading lines may not even need a subject—sometimes, the lines are the subjects themselves.
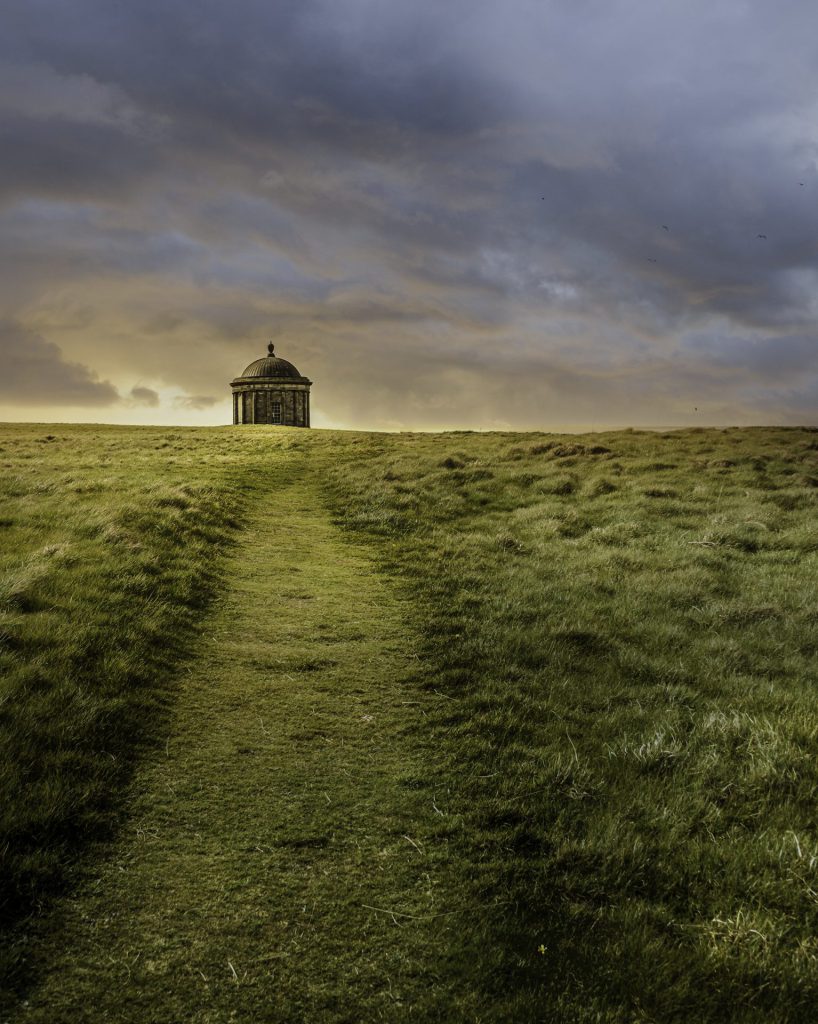
Tip# 12. Use symmetry
In contrast with the general rules of composition, the central positioning of the theme works quite well in many cases of minimal composition. It highlights the subject and creates a sense of balance and stability. It is especially suitable for symmetrical, stationary themes.
Some like it, some don’t, but you should do whatever pleases you the most.
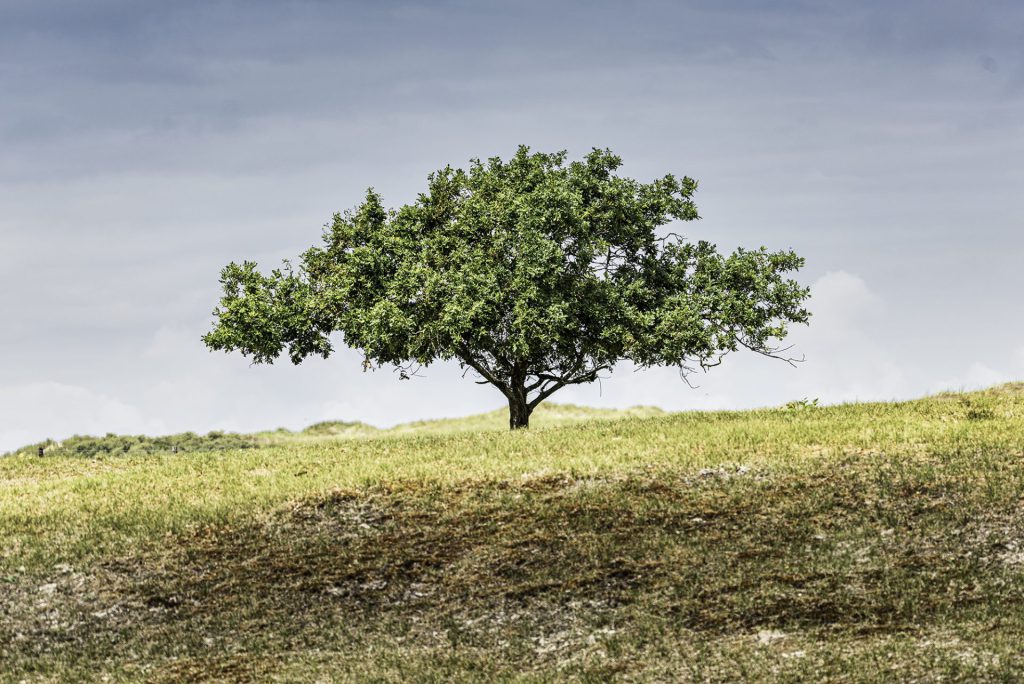
Symmetrical compositions are appealing because they can create harmony and a sense of wholeness. They can also enhance the orderliness and balance of a scene. Symmetrical compositions also highlight the subject, usually in the middle of the image, along the dividing line.
For example, symmetry is popular in minimalist architectural photography. I think it enhances the sophistication and design of architecture.
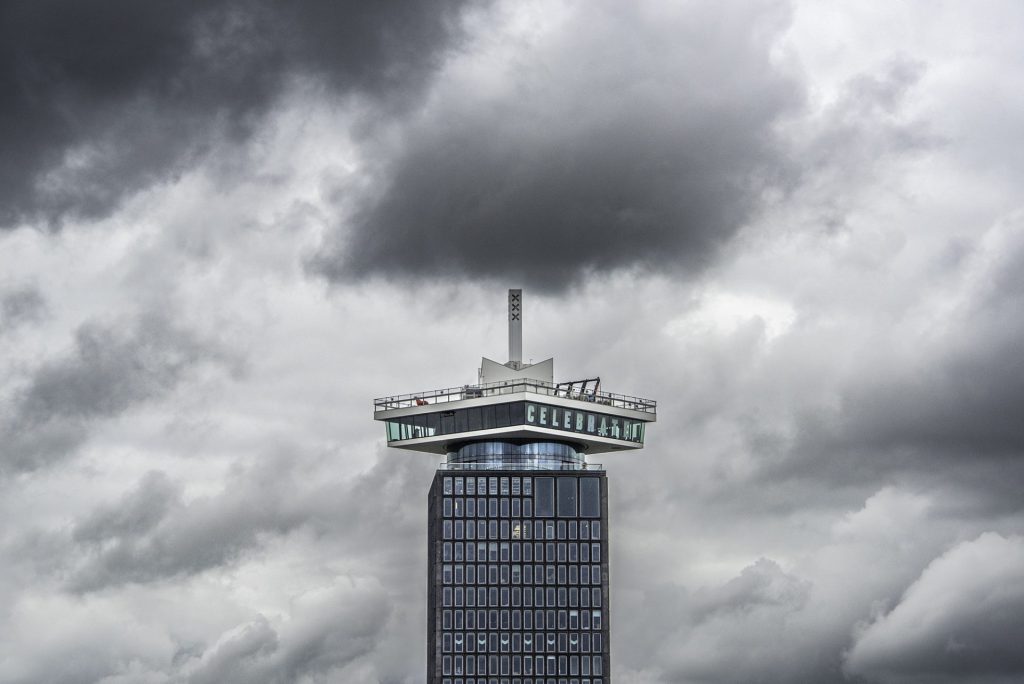
Balance is essential in a photo. Look for areas or elements that become too dominant and ensure the image is balanced.
Tip# 13. Introduce patterns and textures
Texture can also become the subject when used as a frame-filling element or a repeating pattern, both of which can be found in nature.
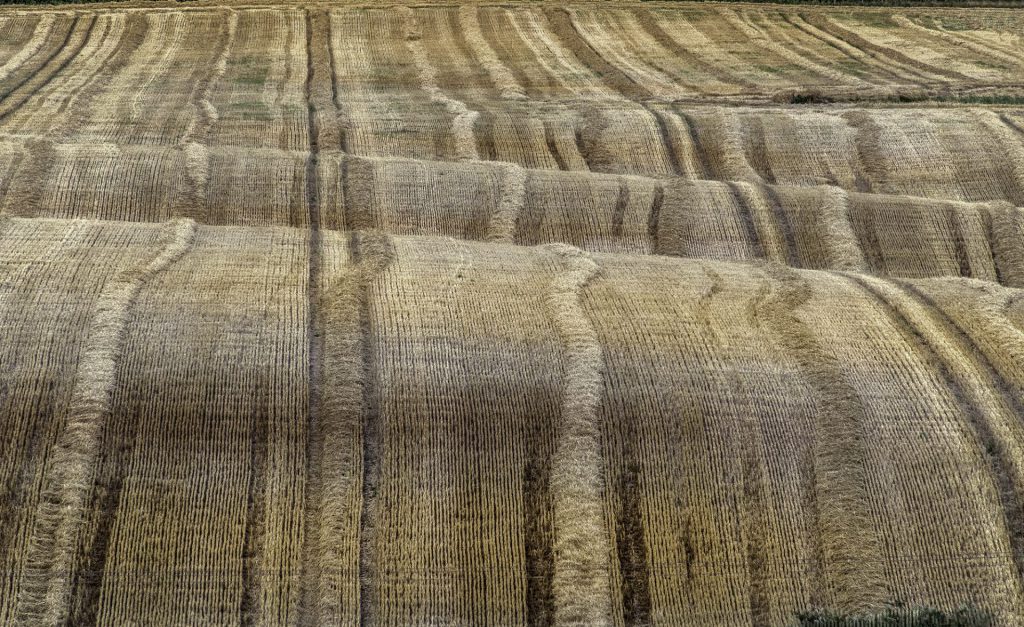
Having the most spartan landscape in a minimalist landscape photograph is not always necessary. Instead, use nature’s patterns, such as trees, to create a pleasing and harmonious landscape photograph. For example, trees and fog go well together.
Some people think it is counterintuitive to have a pattern in the scene and fill the frame with it. But if you can find a repeated pattern in nature and fill the frame with it, then that repeated pattern turns into and becomes a negative space. Patterns and texture are a great way to produce simple, powerful minimalist photography. A texture can become the subject when used as a frame-filling element or a repeating pattern. Both of which can be found in nature. Zooming into objects close enough to see their texture will make the texture become the focus of the picture. There are limitless possibilities for this effect in both man-made and natural scenes.
Using a textured object or subject against a smooth, simple background maximises this effect’s impact. Instead of colour, texture works as the contrast needed to make your image uncluttered yet exciting to the viewer’s eye. As a result, you can eventually create a sense of harmony and abstraction with them.
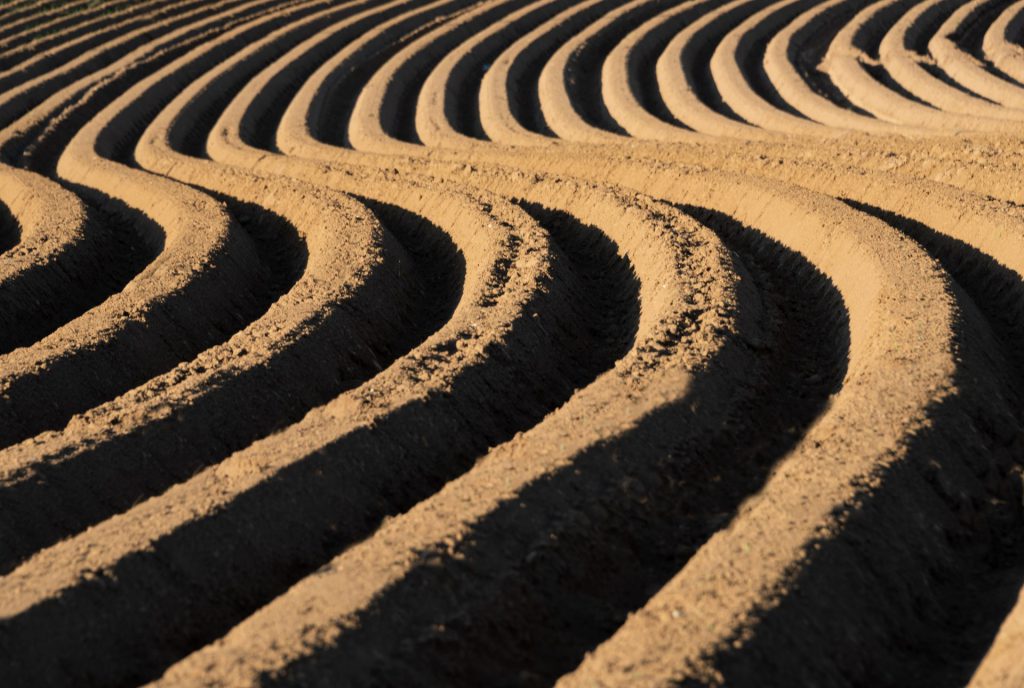
Another example is this image of dunes from the Little Sahara in Gran Canarias. Here, the dunes’ lines run diagonally with the frame. Again, the contrasting colour of the yellow sand and the blue sky works very well here.
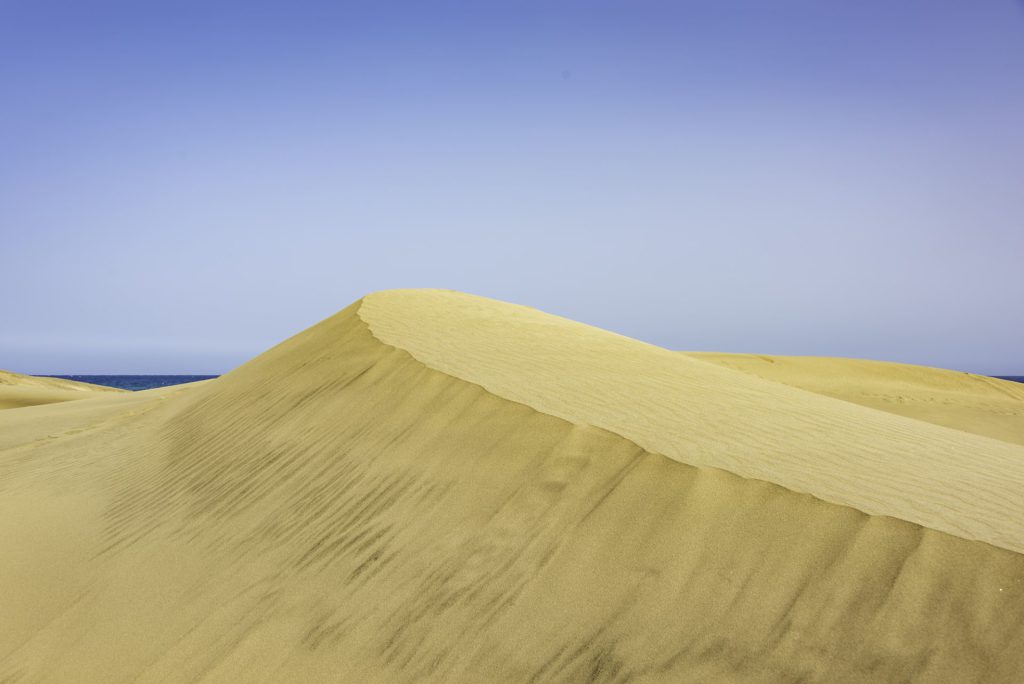
Tip# 14. Tell a story with minimalist landscape photography
Stripping a scene to the bare essentials can help your image tell a story. With fewer “moving parts”, the viewer can understand the photo more quickly.
As a photographer, you must hold the viewer’s attention. What story can you tell with just a few objects and a plain background? If you can’t construct a possible narrative just from looking at your photo, your viewers won’t be able to either. So, find a way to add more visual storytelling to your minimalist photographs. In my opinion, it’s also not wrong when the viewers themselves can think of a story to go with your image and let their imagination work.
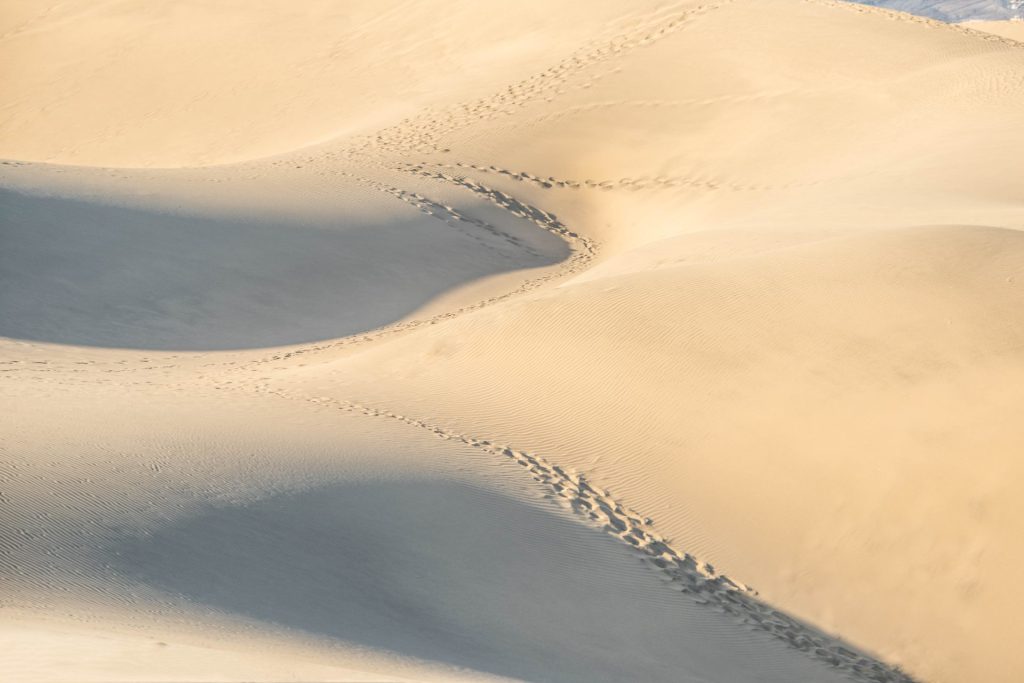
An example is a photo of these dune parties without a horizon with footsteps in the sand. The viewer can imagine different stories about what is suggested here.
Tip# 15. Look Down
Shooting from a high angle allows you to use the ground as your backdrop. This technique is great when shooting in a busy landscape as it eliminates the distracting background.
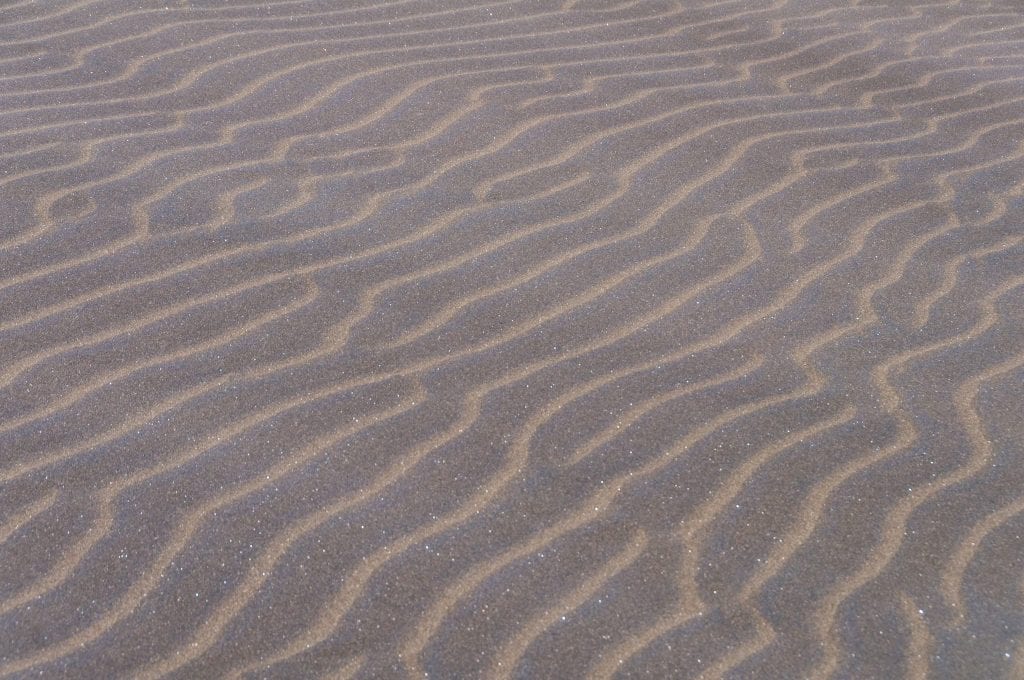
Using the ground as your backdrop can add wonderful texture and colour to your images. Try using pebbles on a beach, bright green grass, or a field of golden crops. You could also shoot down onto the water.
Ensure you include a focal point, such as a person, an interesting object, a duck swimming in the water, etc. Playing with shadows, reflections, and light in this situation can also be fun. Make sure you experiment with your shooting angle, as a slightly different viewpoint can completely change the look and feel of your photo.
Tip# 16. Timing and weather
A great way to create minimalistic photography is to capture the image when the light hits the subject just right or when there is mist. Photographing in fog or mist is a fantastic way to isolate a subject and find minimalistic compositions. I love to capture fog and often go out when I know there will be a possibility for some foggy views. You can also go out at night when you want to have a great contrast between the elements.
You can shoot minimal and abstract images in a variety of conditions. Cloudy, rainy, snowy, and misty weather should not stop you.
Look for more details in the following tips.
Please also look at my blog, weather and landscape photography, and portfolio for more examples of minimal winter landscape photos.
Tip# 17. Shoot in the Snow
If it’s snowing a lot, go out because it is the perfect opportunity to isolate subjects and create simplistic photographs. Using snow as a background is one of my favourite techniques. It makes a lovely blank slate, like a blanket of white snow covering the landscape. Snow completely removes almost all the detail and allows a single element, like trees or huts and splashes of colour, to stand out on the photo against an almost entirely white background.
In the following image, snow removed almost the detail of the landscape foreground and sky, adding a sense of isolation to the trees. The snow here also acts as negative space that doesn’t just serve as breathing space around the subject but balances against it.
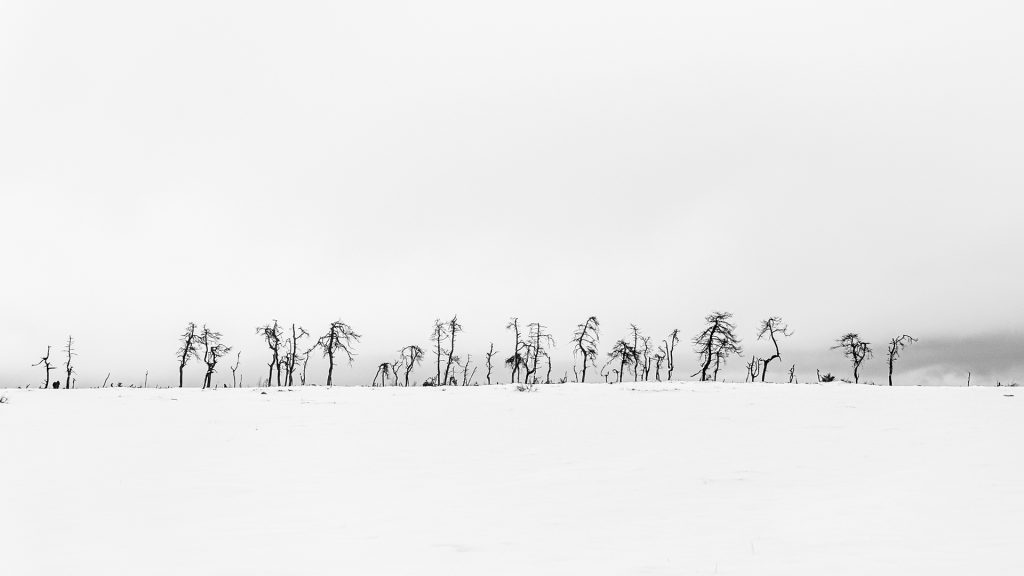
Snow is helpful for minimalism and provides this kind of negative space.
Remember that you can further adjust the exposure and white balance in post-processing. Just use your favourite editing application to adjust the brightness levels and contrast. You’ll be surprised at how much an exposure increase can clean up the snow.
In my blog, 17 tips for winter landscape photography, I show how much you can tweak an image in post-processing. You will also find more information on exposure in snowy conditions.
Tip# 18. Shoot In Fog
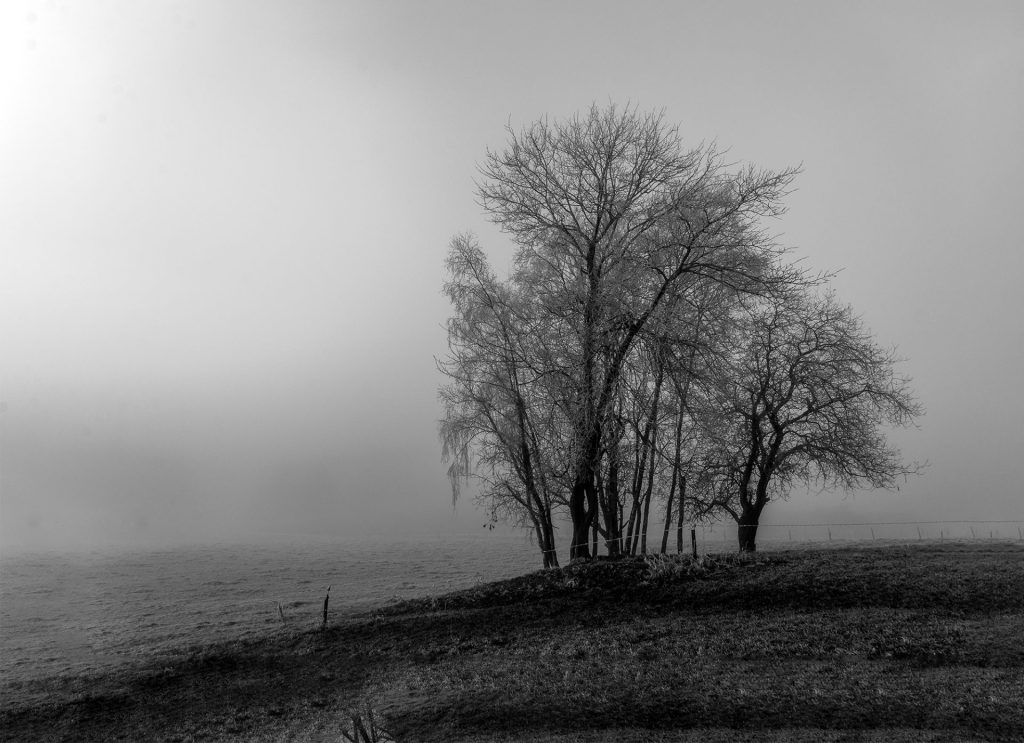
Fog is also great weather for shooting minimalist landscape photos as it completely transforms the scenery. It will hide dark and distracting backgrounds, creating a white or light backdrop for your subject.
It provides a clean background against which you can photograph your chosen subject. It can also create a wonderfully calm, serene or mysterious atmosphere in your images. Just like when shooting in snow, increase your exposure if necessary. You can do this in camera at the time of the shooting and afterwards in post-processing.
Mist also desaturates and subdues a landscape’s colour, creating lovely, harmonious tones that work much better for minimal photography.
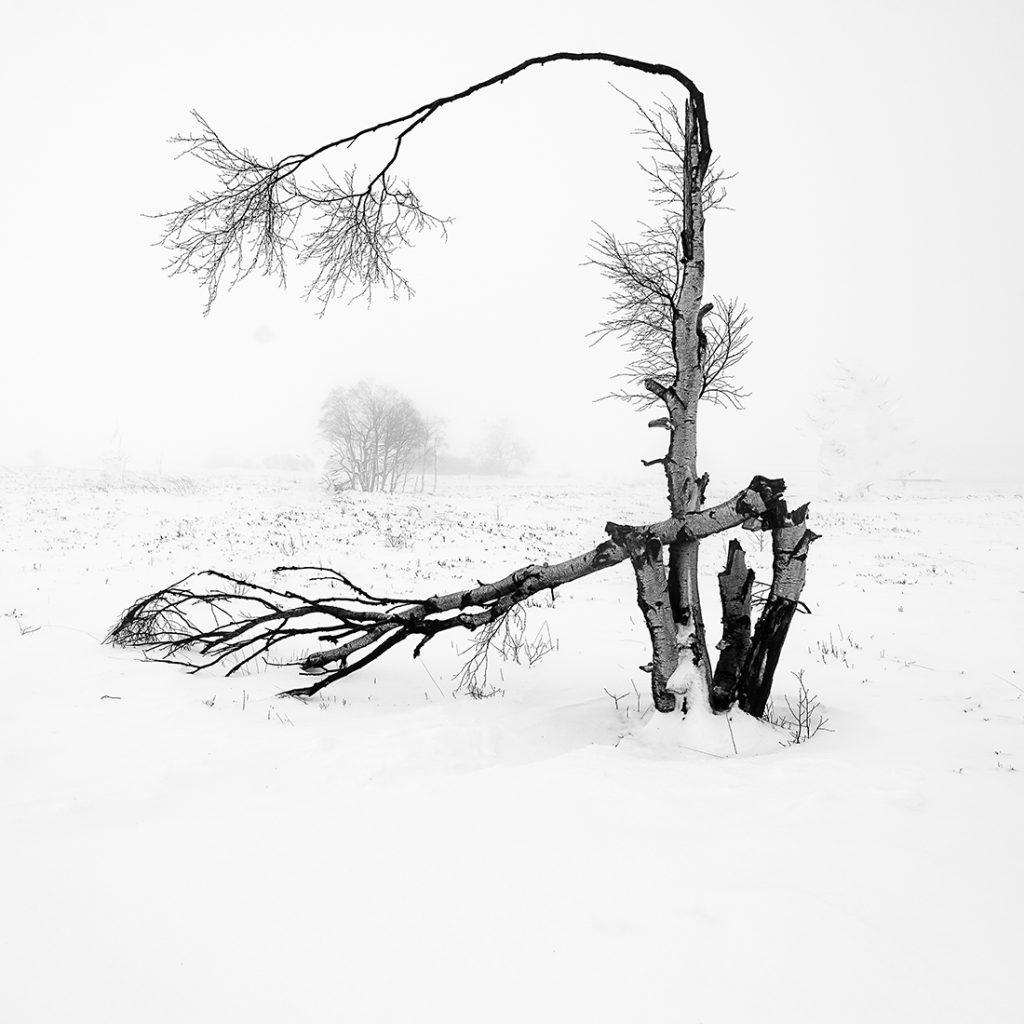
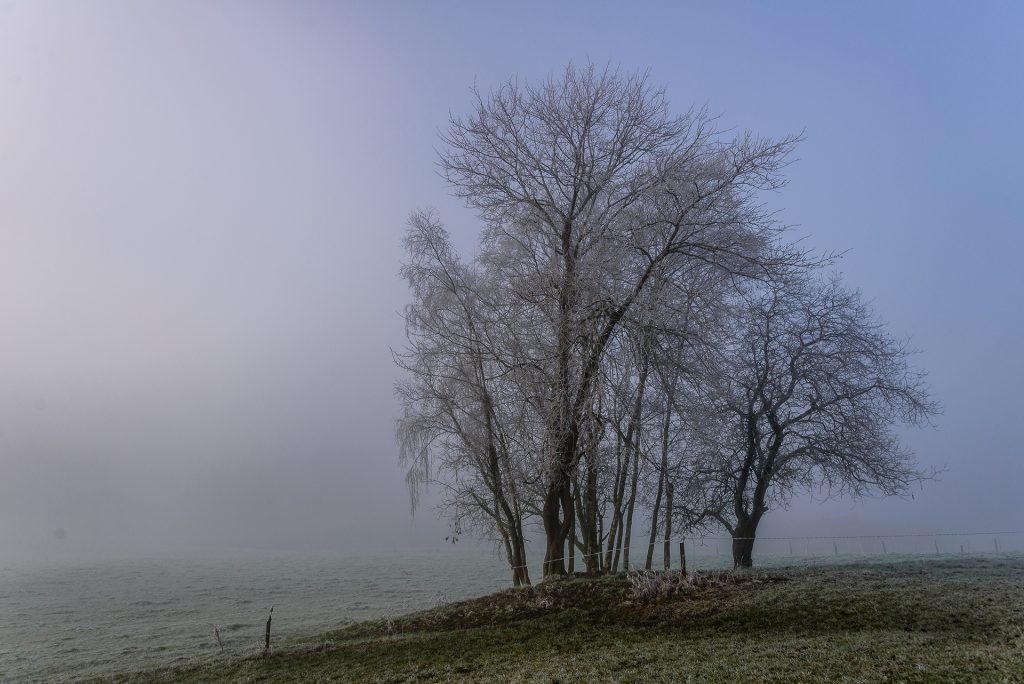
You can see in this image that the mist covering the landscape makes a single element of the frame (the tree) stand out, the morning mist partially hiding the far background and emphasising Without the fog then this wouldn’t have worked because that small tree would be absorbed entirely into the trees behind it.
Tip #19. Keep your images balanced
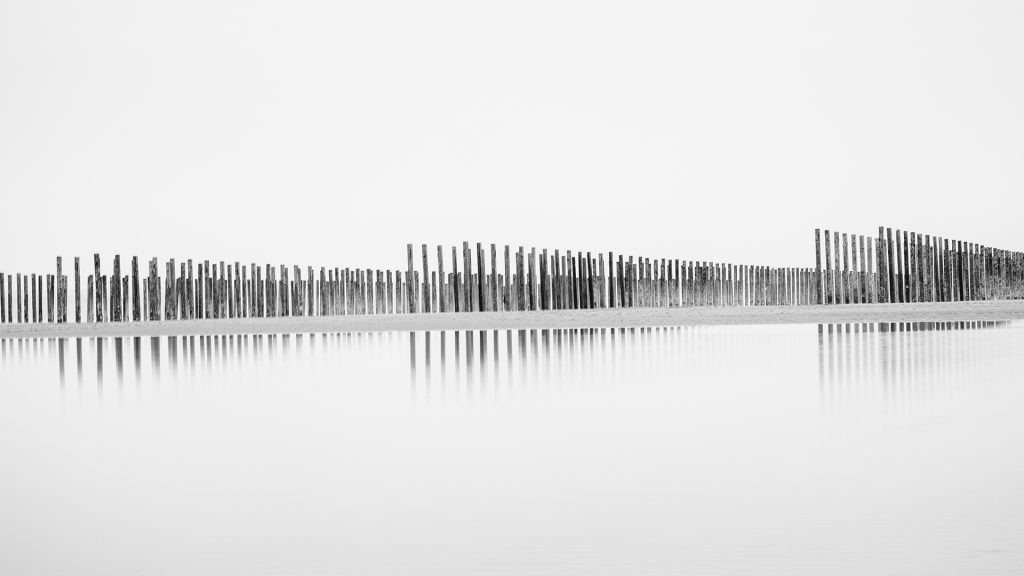
Even if some tension is helpful, it must be used sparingly. A successful minimal image should be minimal and harmonious in every aspect – theme, tension, emotions, framing, etc.
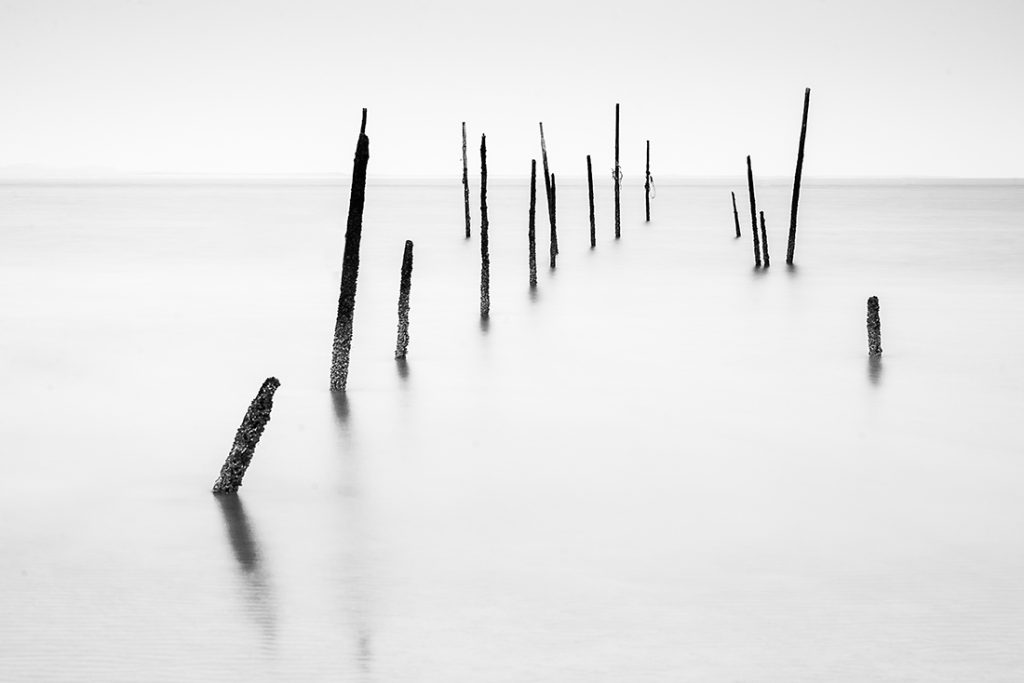
Tip# 20. Avoid harsh light
Dramatic tones in the background can create drama and mystery. However, harsh light falling directly on your subject makes a strong contrast between the lit areas and the shadows that are not aesthetically acceptable. Another problem, especially when you have a reflective surface in the frame, as is the case with moving water, is the bright spots due to the reflection of the direct sun rays.
So, to sum up, the ideal weather for minimal landscape photography can be dull grey, cold, misty, snowy days, believe it or not.
Tip# 21. Eliminate colour and shoot in black and white
My favourite technique for achieving a minimal image is, without any doubt, eliminating colours. Abstracting the image from reality and removing unnecessary details, associations, and feelings connected with colours is a critical tool in the minimalist arsenal. A black and white photo can be compelling for minimalist photos. Removing all colour strips the image down to its bare essentials. In black and white photography, everyday scenes can look much more different. You’ll need to focus more on a subject’s lines and shape than its nature. As a result, it can make it less alive and stiller.
See my blog on the-art-of-black-white-landscape-photography-unravelled-in-14-tips
There are good reasons for removing colour. Intense colours have one dynamic—creating emotions, contrast, and visual intensity—that is extraneous to the essence of our object.
Abstracting the image from reality and removing unnecessary details, associations, and feelings connected with colours is a key tool in the minimalist arsenal.
Converting a photo to black-and-white can be done with Lightroom Lightroom, Photoshop, Silver-efex-pro and others.
Tip# 22. Use long exposure
One exciting way to achieve a minimal image is to use long exposure. This technique has particular advantages and can significantly help photographing waterscapes or skyscrapers. Of course, it only works if you have moving objects in your images, like water and clouds. It removes any details from the background, creating a plain canvas on which our subject is placed.
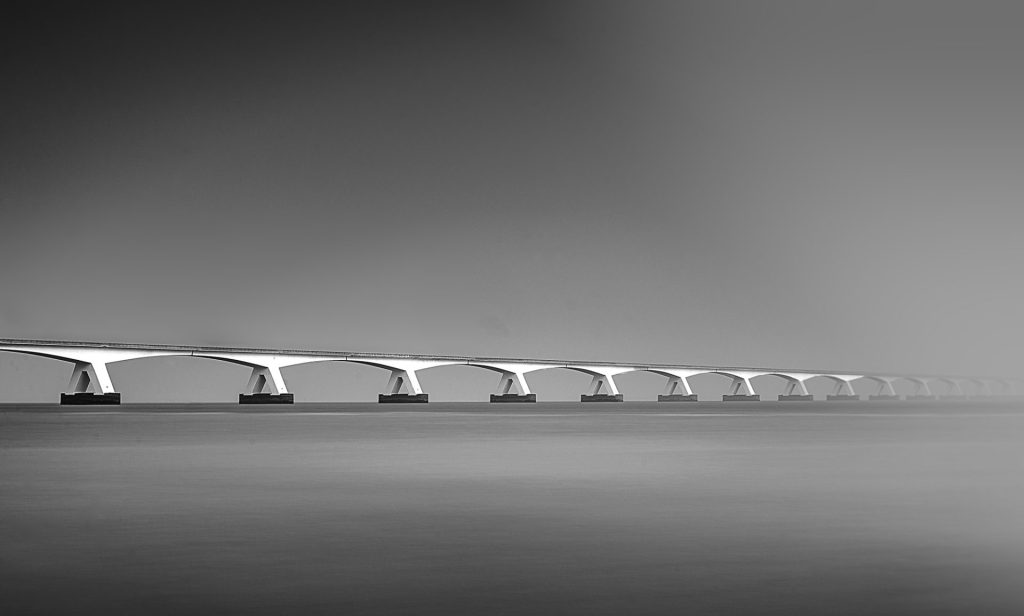
ND filters are necessary to obtain long exposures. I invite you to read my three-part blog with more information on filter use: tips-filters-landscape-photography-part1, part2, and part3.
Tip# 23. Over-underexpose
Another technique used in certain circumstances is removing the details (e.g., water ripples or details in the ground) by over- or underexposing the whole or part of an image during shooting or later in post-processing. You can do this with techniques like dodging and burning.
See also my blog how-to-create-more-impact-in-your-photos
Tip# 24. Avoid symbolism
Last, avoid any elements or features that could give meaning or symbolism, such as photographing people in action or specific situations, facts, street scenes, spiritual or religious themes, etc. In short, avoid overly recognisable objects, people or situations that destroy the minimal character of the image.
Tip# 25. Cropping square?
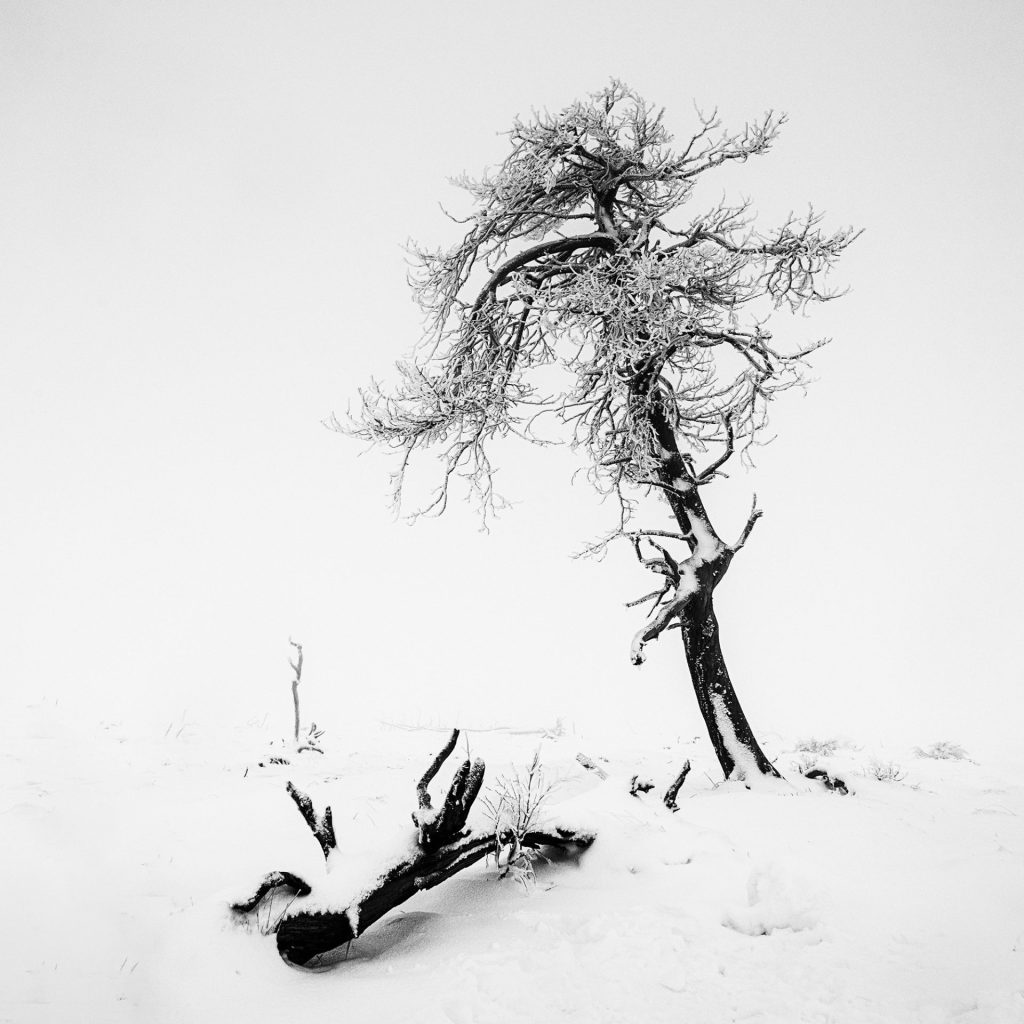
Use the square format where possible because of its inherent qualities of simplicity and balance. Themes that best fit the square format are those with multiple axes or repeated objects (patterns).
Other themes that work well in the square frame are symmetrical and radial objects because of their implied visual centre and equal sides.
Tip# 26. What equipment do you need for minimalist landscape photos?
One of the most attractive features of minimalism’s “less is more” mentality is that it introduces the ability to use minimal equipment. Smartphones have excellent cameras; some can be better than entry-level point-and-shoot cameras. However, smartphones still lag behind DSLRs regarding depth of field and the effect of bokeh. The small sensors required for mobile phones can’t yet capture smooth bokeh effects. In smartphone cameras, you also have less control. And if you want larger prints, nothing can beat proper DSLR or mirrorless cameras.
We already explained that excluding part of the scene is our primary goal. An obvious solution is using a telephoto lens to simplify and create harmony in the photograph. In addition, by narrowing the field of view to be captured, we can exclude many unnecessary elements from the frame that would have been included if a wide lens had been used.
The slightest shake can cause blur. So, use a tripod and keep the shutter speed as short as possible (unless you need a slow shutter speed). Increase the ISO and lower the aperture if possible. Use a remote control. Take plenty of images: if one is out of focus, you will hopefully have some alternatives that are perfectly in focus.
When you want sharpness from front to back in your image, focus stacking, which involves combining several pictures focused on different places in post-processing, can be helpful.
Often, it can be hard to capture a grand landscape view. So, instead, search for interesting foreground elements, and if you see something interesting, you can use a shallow depth of field to capture the subject and thus create a minimalist photograph.
Tip# 27. Remove distracting elements
It is not always feasible, even if it is advisable, to compose our frame during shooting, excluding unnecessary elements. In these cases, we have to remove them during post-processing. There are several tools available. Don’t expect every tool to work equally well in all situations. Depending on its size and place on the image, every object requires a different approach and sometimes a combination of various tools. The most useful Photoshop tools for this purpose are the “spot healing brush tool” for small objects and the “clone stamp tool” for bigger ones, but also the ‘content-aware-fill’ comes in handy at times. In Photoshop, there are, as always, multiple ways to get the same result. It will help if you use those techniques and tools that suit your aspirations and are the easiest for you.
Conclusions
Besides using some techniques, photographing minimalist landscapes also requires that you look at the world from a minimalist viewpoint as you strip your surroundings of all ballast.
Eliot Porter said, “The art of photography is knowing how much to exclude. You can’t photograph the entire world.”
Nevertheless, minimalist photography is a great way to create beautiful and soothing images.
As you’ve seen from the photos in this blog, it’s perfectly possible to create beautiful minimalist pictures of different kinds of landscapes. Moreover, with a few clever techniques, you can simplify a busy landscape with the help of your lenses, fog, snow, etc.
I hope this blog has offered some valuable tips and inspiration to help set you up for success as you embark on or continue your photographic journey.
I’m interested to hear your views on this.
Leave a reply